What's inside
As an Amazon Associate I earn from qualifying purchases. This post may contain affiliate links at no extra cost to you.
Undercutting a door casing is one of the jobs where an oscillating multi-tool earns its place. It can cut a clean 3/4-inch to 1-inch opening at floor level without removing the trim, damaging the jamb, or dragging a circular saw into a confined corner. The best cordless oscillating tools for this work are not necessarily the most powerful tools in a catalog. Balance, blade control, low vibration, and a battery that does not make the tool awkward matter more.
As an Amazon Associate we earn from qualifying purchases at no extra cost to you.


What matters for undercutting door casings
Look for a tool with variable speed, a compact head, and a trigger or speed control that you can operate while holding the blade square to the floor. Most oscillating tools run at roughly 8,000 to 20,000 oscillations per minute. A slower setting is useful when starting a cut in painted trim or when using a carbide blade; higher speeds help with clean wood and thin flooring.
A 1.5- to 2.0-degree oscillation angle generally gives good control for trim work. A larger angle can cut faster, but it may also make the blade harder to keep on the intended line. Tool-free blade changes are worth having, especially if you switch between a flush-cut blade, a scraper, and a sanding pad during one flooring project.
Battery size affects handling more than cutting power. A compact 2.0Ah battery keeps the tool light enough to hold sideways or close to the floor. A 4.0Ah pack can extend runtime, but the extra weight hanging behind the handle becomes tiring when you are making repeated cuts at floor level. For a single room, even a small battery typically provides more than enough runtime.
The best cordless tool types for this job
| Tool type | Best use | Advantages | Trade-offs |
|---|---|---|---|
| Compact 12V or 18V oscillating tool | One room or occasional flooring work | Light, easy to control, usually less expensive | Slower cutting and fewer heavy-duty features |
| Brushless 18V or 20V oscillating tool | Multiple rooms, renovation work, frequent use | Better sustained performance, longer motor life, stronger accessory retention | Higher tool and battery cost; often heavier |
| High-end brushless oscillating tool | Professional trim, flooring, and demolition work | Low vibration, refined speed control, fast accessory changes | Price is difficult to justify for one undercutting job |
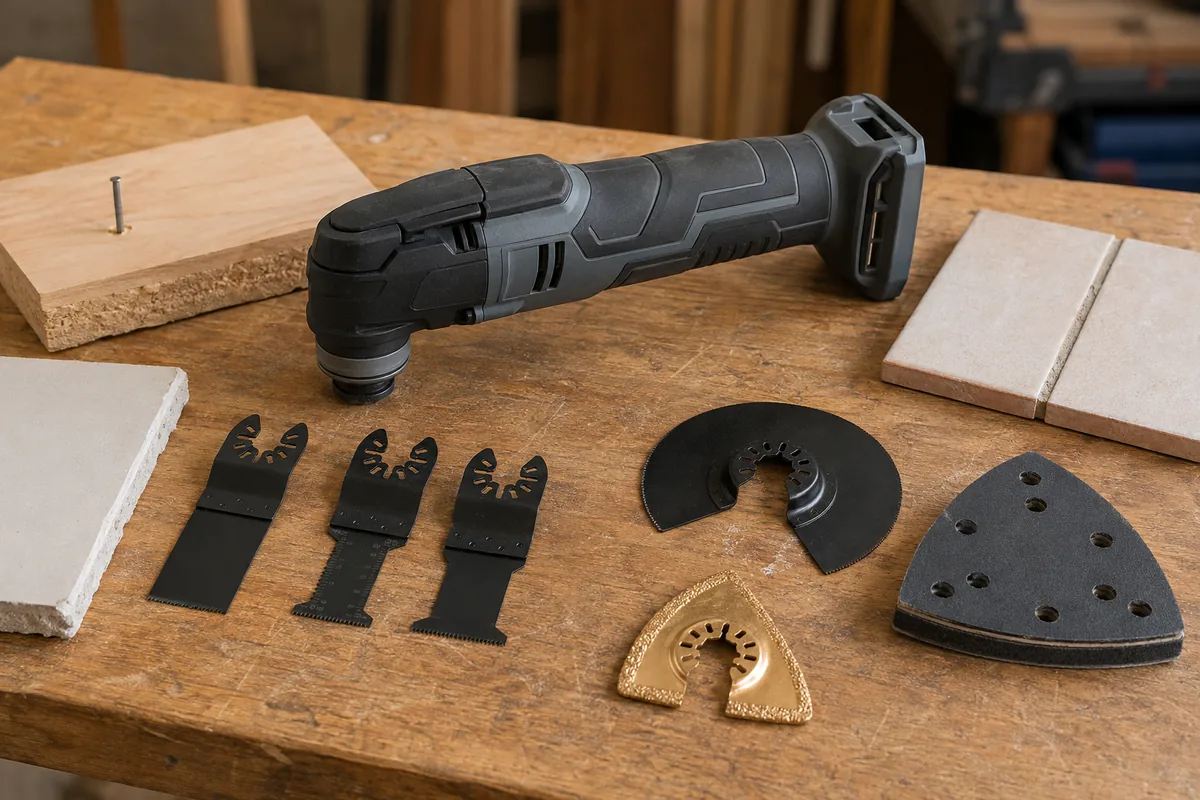
For most homeowners, a cordless oscillating multi-tool kit is the sensible starting point. A kit usually includes a battery, charger, sanding pad, and several blades. Check the included blade before buying: some kits include general-purpose wood blades that are adequate for one doorway but dull quickly in abrasive painted trim or nails.
Choose the battery platform before the tool
If you already own cordless tools, staying within that battery system is usually the best value. The battery and charger often cost as much as the bare oscillating tool, and a shared platform lets you use the same packs in a drill, light, impact driver, or vacuum. This is more important than small differences in no-load speed.
Compact 12V platforms are appealing for trim because they reduce wrist fatigue. They are usually powerful enough for wood door casings, shims, and thin flooring underlayment. An 18V or 20V platform is the better choice if you expect to cut through nail-embedded trim, adhesive, plaster, or hardwood flooring. The voltage labels are not directly comparable across brands; battery capacity, motor design, blade quality, and control electronics all affect actual performance.
A bare tool makes financial sense only when you already have compatible batteries and a charger. If you are starting from nothing, compare the complete kit price rather than the tool price. Also check whether the manufacturer offers compact batteries. A large high-capacity pack may deliver longer runtime but can make a small oscillating tool feel poorly balanced.
Use the right blade and cutting method
For ordinary painted wood casing, use a flush-cut bi-metal or hardened high-carbon steel blade with a width of about 1-1/4 to 1-3/4 inches. A wider blade gives a straighter cut, while a narrow blade is easier to start in a tight corner. If the casing contains nails, use a bi-metal blade rated for wood with embedded metal. Standard wood-only teeth can lose their edge almost immediately after hitting one nail.
Carbide-grit blades are a good choice for cement board, abrasive adhesive, masonry fragments, and occasional nail contact. They are slower in clean wood and cost more, so they are not the economical default for a simple wood casing. Keep a fresh blade available; forcing a dull blade increases heat, vibration, and the chance of wandering into the jamb.
Set a piece of flooring upside down against the casing as a height guide. Add a thin scrap of cardboard if the finished flooring needs a little clearance. Hold the tool flat, with the blade parallel to the floor, and let the accessory cut rather than pushing hard. Make a shallow starter cut first, then deepen it with steady pressure. Cutting through 3/4-inch casing can take 15 to 40 seconds depending on the wood, blade, and tool speed.
Common failures and how to avoid them
The most common mistake is cutting too low. If the flooring will float, leave enough space for the floor and its required expansion gap. The casing should sit over the flooring, but the flooring must not be wedged tightly against the wall or jamb. Follow the flooring manufacturer’s clearance requirement; it is often around 1/4 inch, but it varies.
Another failure is tilting the tool. A slight angle can create a sloped cut that prevents the flooring from sliding underneath. Use a scrap of the actual flooring as a guide and check the cut before moving to the next side. Do not use the tool’s battery as a reference for level; your hand position changes as the tool gets close to the floor.
Dust can obscure the cut line and heat the blade. A small cordless vacuum with an adapter helps, but it is not essential for one or two doorways. Wear eye protection and hearing protection, and stop if the blade starts blueing, smoking, or binding. Those signs mean excessive pressure, a dull blade, or hidden metal.
What to buy
Buy a compact kit if you need to undercut a few doorways and do occasional repairs. The cheaper option is fine when the work is limited to softwood casing and clean flooring installation. Pay extra for a brushless model if you renovate regularly, need better vibration control, or expect to cut nail-embedded trim. If you already own batteries, a brushless cordless oscillating tool bare tool from that platform is usually the most economical upgrade.
Spend more on blades before spending more on motor specifications. A well-balanced midrange tool with a sharp bi-metal blade will undercut a casing better than an expensive tool fitted with a worn accessory. For a larger flooring project, add a compact battery and a carbide or nail-cutting blade to your kit; those two additions prevent most avoidable delays.
Related guides
- Longest Lasting Lawn Mower Battery: AGM vs Lithium vs Flooded Lifespan and Cost per Season
- Duralast Gold Lawn Mower Battery Review: U1 Fit, CCA and When to Pay for AGM
- Greenworks Pro 80V 21-Inch Mower Review: Runtime Math, Push vs Self-Propelled and Yard Fit
- Bosch High Pressure Washer Gun Replacement: Fittings, Adapters and What Fits Your Model