What's inside
As an Amazon Associate I earn from qualifying purchases. This post may contain affiliate links at no extra cost to you.
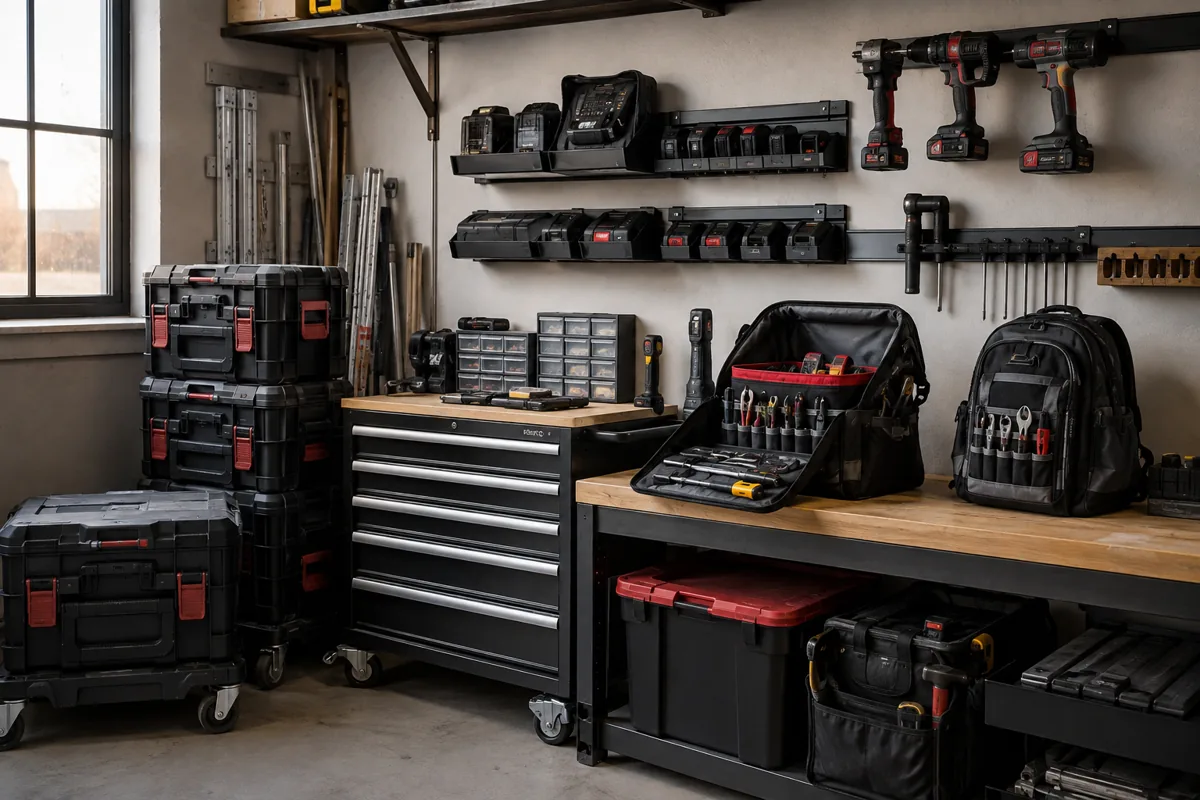
A wall-mounted charging station keeps cordless-tool batteries off the floor and makes it easier to see which ones are ready to use. The job is usually straightforward, but a row of chargers can draw more power than expected, and a poorly anchored shelf can come down under the weight. Plan for the chargers, batteries, cords, heat, and wall structure before drilling.
Plan the layout before buying hardware
Count the chargers you actually use, then allow space for the largest one and its battery. A typical single-battery charger may be about 6–10 inches wide; multi-port chargers can be much larger. Leave the clearances specified in each charger’s manual. Chargers need airflow, so don’t pack them tightly into a closed cabinet or mount them above a heater.
Choose a dry indoor location near a suitable receptacle. Keep the station out of walkways and away from sinks, fuel, solvents, and places where metal dust or sawdust collects. If you regularly charge hot batteries after heavy use, leave room to set them aside to cool first. Follow the battery and charger makers’ instructions; many advise letting a warm pack cool before charging.
Decide whether you need one charging area for a single battery platform or space for several. A wall-mounted shelf is flexible and inexpensive. A dedicated rail or modular holder can make chargers and batteries easier to rearrange, but may cost more and lock you into a particular mounting system. If you want a purpose-built option, compare cordless-tool charger wall mounts with a basic shelf before buying.
Choose a mounting method
| Mounting method | Best for | Trade-off |
|---|---|---|
| Shelf screwed into studs | Several chargers, batteries, or mixed brands | Needs careful leveling and enough shelf depth |
| Charger-specific wall brackets | A tidy row of compatible chargers | Fit varies by charger; check dimensions and access to release buttons |
| Wall rail or cleat system | A station you may rearrange later | Higher cost and more parts; rail still needs secure anchoring |
| Adhesive strips or drywall-only anchors | Very light items, not a loaded charging station | Not a dependable choice for chargers and batteries over time |
For most garages, a plywood shelf or rail fastened into studs is the sensible low-cost choice. A common shelf depth of 8–12 inches fits many chargers while keeping batteries accessible. If using individual brackets, verify the charger sits securely and can still be removed without pulling the bracket off the wall. Search for charger-specific wall brackets only after checking your charger’s shape and mounting points.
Check the electrical load
Read the input wattage or amperage on each charger’s label or manual. Add the maximum loads that could run at the same time, then compare the total with the circuit and receptacle rating. For example, three chargers drawing 1.5 amps each would total 4.5 amps. Chargers often draw less after batteries approach full charge, but don’t base the setup on that lower average.
Use a grounded, undamaged receptacle and keep cords clear of sharp edges, hot surfaces, and places where they can be snagged. Avoid daisy-chaining power strips or using a light-duty extension cord as a permanent solution. If the outlet is loose, ungrounded, or on a circuit that trips, have the electrical problem addressed before installing the station. Don’t run a new circuit or modify fixed wiring unless you’re qualified and following local code.
Mount the station securely
Gather a stud finder, level, tape measure, drill, suitable screws, and eye protection. Lay out the chargers on the shelf or floor first. Mark where cords will exit and make sure charger vents, battery release tabs, and labels remain accessible. Leave enough spacing to lift batteries straight off rather than scraping neighboring packs.
Locate at least two studs for a shelf or rail. Confirm their positions with a small pilot hole in a spot the mount will cover; a stud finder can give false readings around pipes, wiring, or layered wallboard. Use screws long enough to pass through the shelf or bracket and drywall and engage the stud by roughly 1½ inches. Don’t substitute drywall anchors for stud attachment on a loaded shelf. If the layout can’t reach studs, use a mounting system and anchors rated for the wall material and load, or add a plywood backer secured across studs.
Level the mount, drill pilot holes sized for the screws, and tighten until snug without crushing the shelf or stripping the holes. Put the empty shelf through a firm hand check before loading it. Then add chargers and batteries gradually. If the shelf shifts, creaks, or pulls away from the wall, unload it and fix the attachment rather than adding more screws at random.
Organize cords and test the setup
Place chargers with room around their vents and route each cord so it cannot hang where a tool handle or battery can catch it. Use cord clips or hook-and-loop ties, not tight bends or staples driven over the cable. Label chargers if you own multiple battery platforms: similar-looking packs are not necessarily interchangeable, and using the wrong charger can damage equipment or create a hazard.
Plug in one charger and check that it operates normally. Add the others one at a time, watching for warm plugs, flickering lights, tripped breakers, unusual smells, or charger fault indicators. Stop using the setup if any of these occur. A small steel utility shelf can be a cheaper alternative to branded storage hardware, provided it is rated for the load and anchored properly.
Keep the station safe over time
Inspect screws and shelf joints after the first week, then periodically, especially if the wall vibrates when nearby tools run. Remove dust from charger vents with a dry brush or the method specified by the manufacturer. Don’t store damaged, swollen, wet, or unusually hot batteries on the station. Set those packs aside in a safe place and contact the manufacturer for disposal or service guidance.
Keep the station’s load modest. Chargers plus batteries add up quickly: four packs at 2 pounds each and four chargers at 1 pound each already weigh about 12 pounds, before counting the shelf. A sturdy stud-mounted shelf has ample capacity in many cases, but its rating and the fasteners matter. When in doubt, choose a simpler layout with fewer chargers instead of crowding the wall or stretching a questionable mount.
Related guides
- Longest Lasting Lawn Mower Battery: AGM vs Lithium vs Flooded Lifespan and Cost per Season
- Duralast Gold Lawn Mower Battery Review: U1 Fit, CCA and When to Pay for AGM
- Greenworks Pro 80V 21-Inch Mower Review: Runtime Math, Push vs Self-Propelled and Yard Fit
- Bosch High Pressure Washer Gun Replacement: Fittings, Adapters and What Fits Your Model