What's inside
As an Amazon Associate I earn from qualifying purchases. This post may contain affiliate links at no extra cost to you.
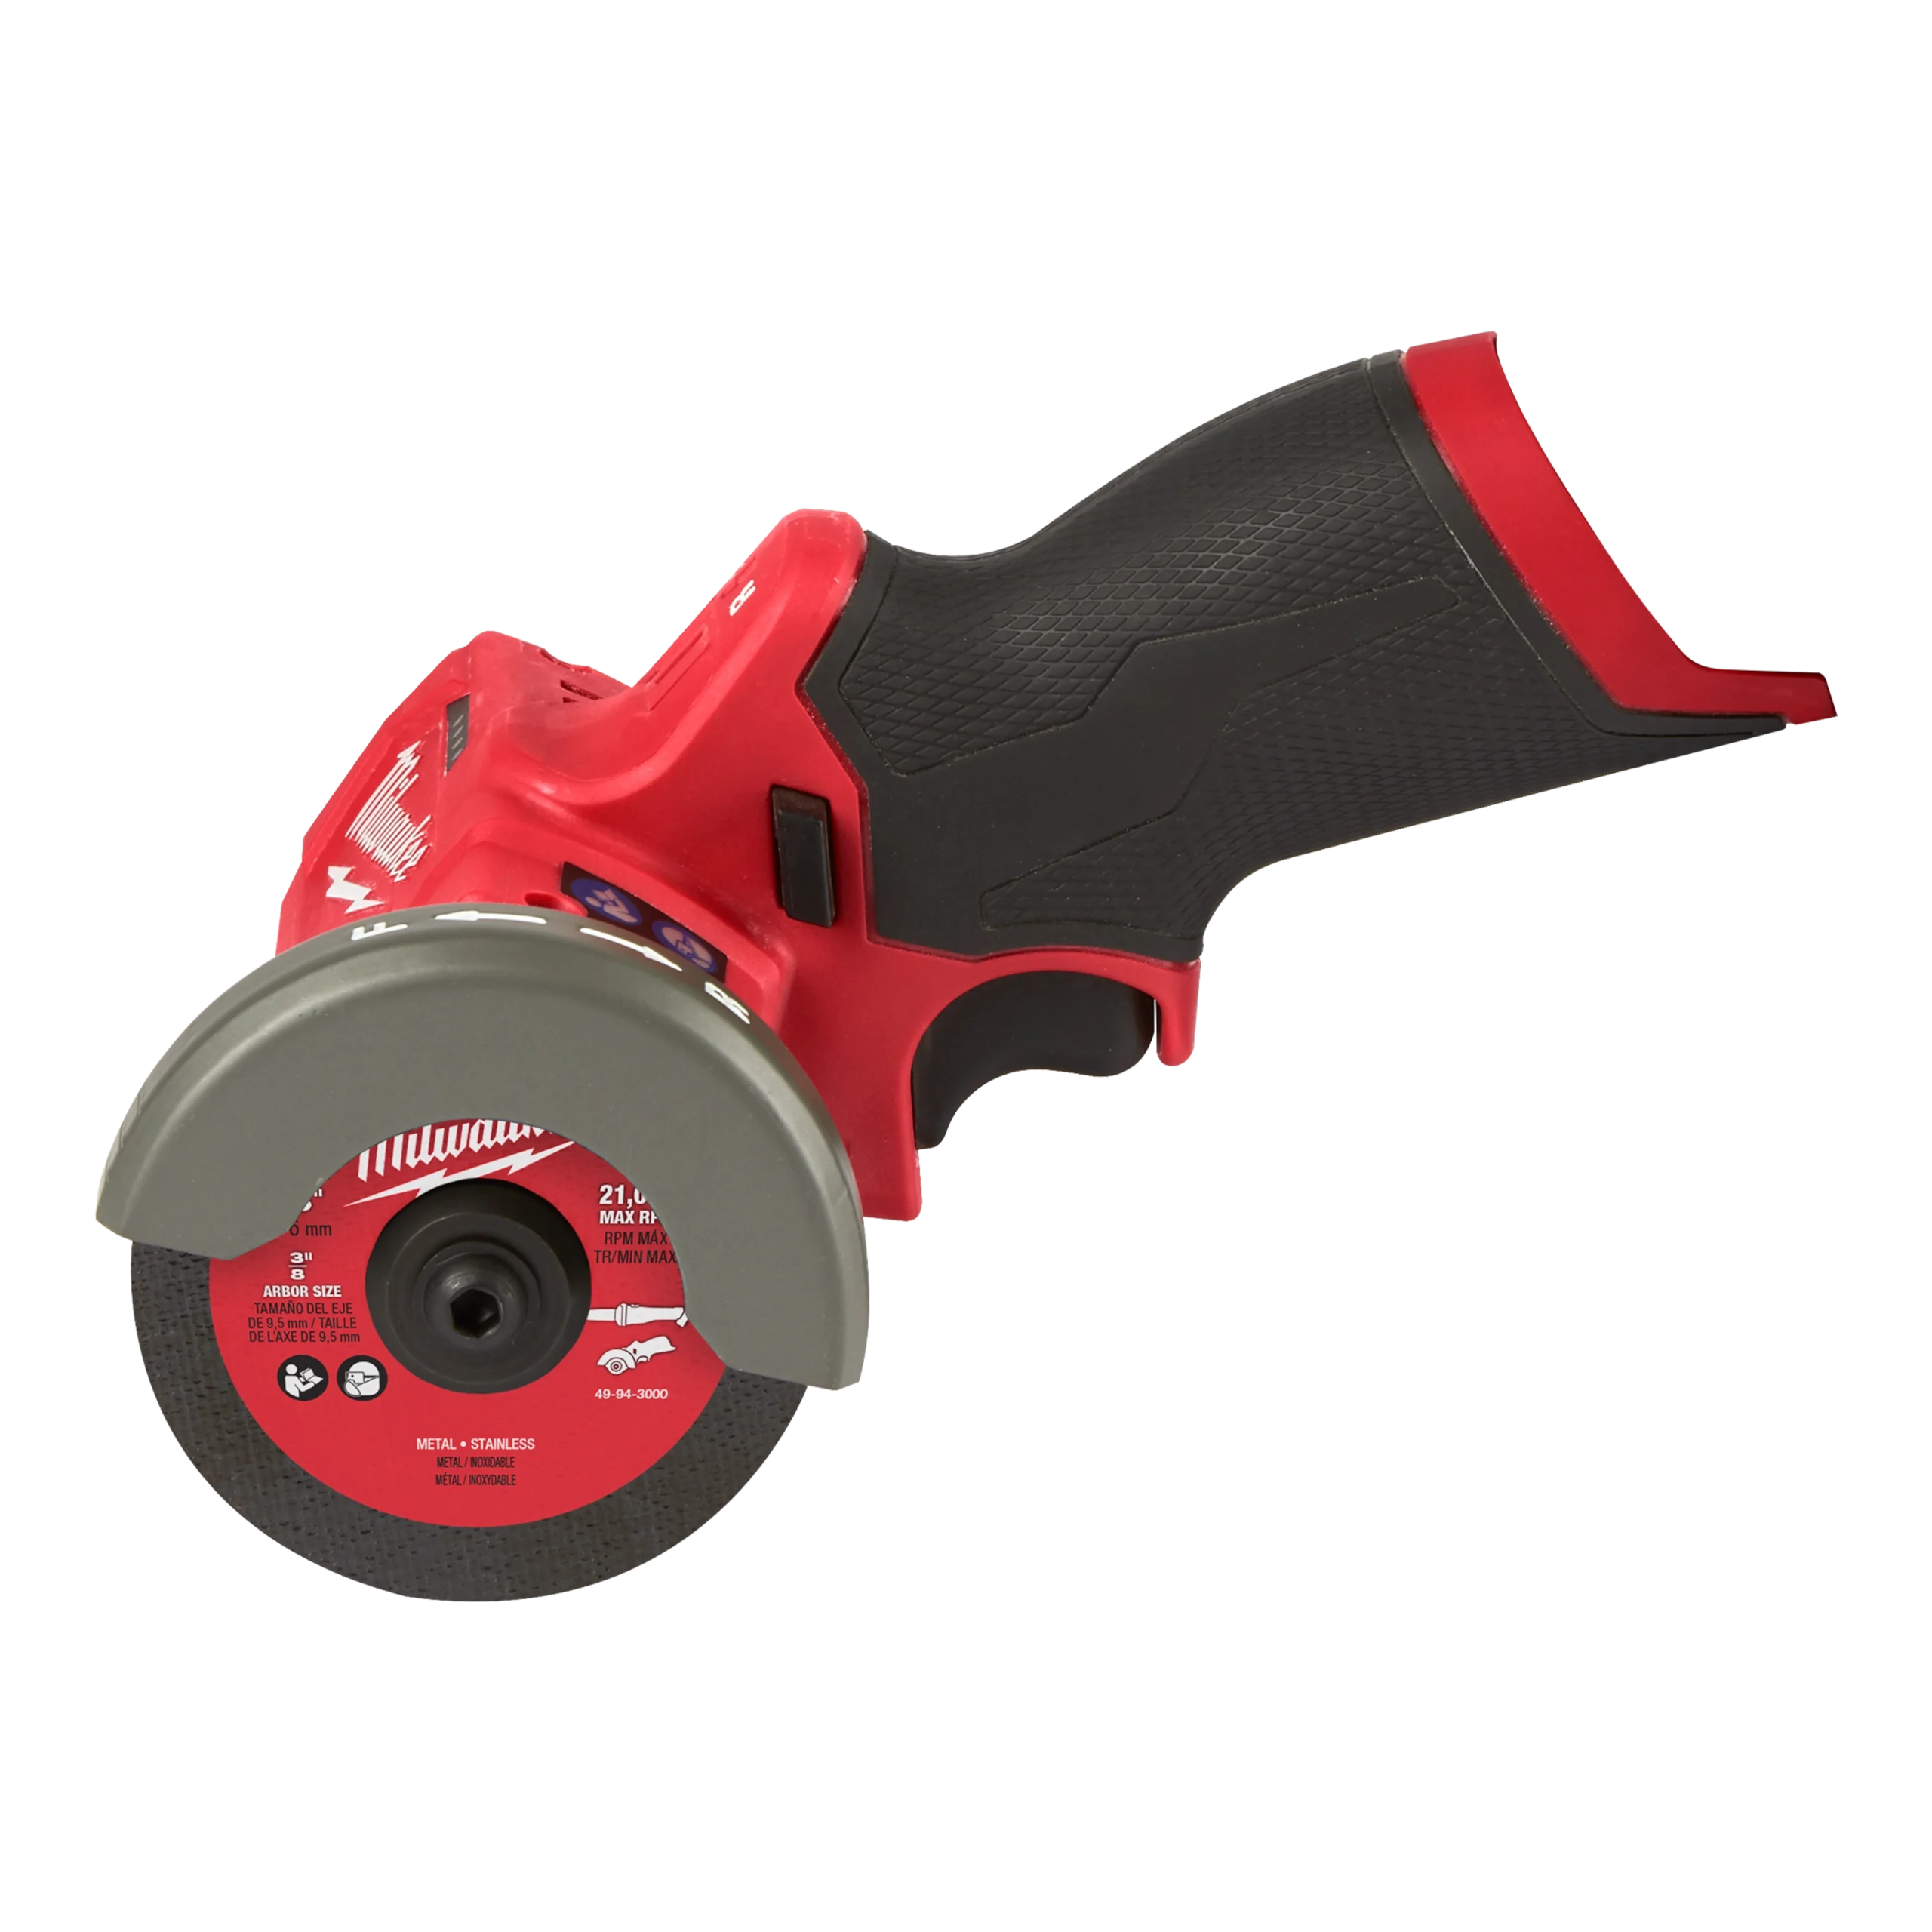
A cordless cutoff tool is only as safe as the guard fitted to it. The guard controls the direction of sparks and fragments, limits exposure to the abrasive wheel, and gives some protection if a wheel breaks. Choosing one is not simply a matter of matching the tool brand. The guard must suit the wheel diameter, spindle speed, mounting system, and the work you plan to do.
Start With the Wheel Size
Most cordless angle-style cutoff tools use 3-inch, 4-1/2-inch, or 5-inch wheels. A guard made for one diameter is not automatically suitable for another. A wheel that is too large for the guard can protrude beyond its intended coverage, while a small wheel in a large guard may sit too far inside and make cutting awkward.
Check the tool’s manual and the guard markings before buying. The guard should list a maximum wheel diameter, and that rating should match the abrasive wheel you intend to use. Do not assume that a guard for a 4-1/2-inch grinding wheel is acceptable for a 4-1/2-inch cutoff wheel. The geometry and intended use can be different.
For a common 4-1/2-inch cordless grinder, look for a guard specifically marked for 4-1/2-inch cutoff wheels or Type 1/Type 41 wheels, depending on the manufacturer’s instructions. If you are replacing a lost or damaged part, the safest choice is the original guard made for that tool. A 4-1/2-inch cordless grinder cutoff guard can be a useful search starting point, but verify the mounting system before ordering.
Understand Guard Types
A cutoff guard is generally more enclosed than a standard grinding guard. That extra coverage matters because thin cutoff wheels can shatter if they bind, twist, or are pinched in the cut. The guard should cover the portion of the wheel facing the operator and direct debris away from your body.
| Guard choice | Best use | Main trade-off |
|---|---|---|
| Dedicated cutoff guard | Thin abrasive cutoff wheels used for metal, masonry, or similar materials | Less convenient for surface grinding; maximum protection |
| Standard grinding guard | Grinding wheels and some general-purpose work | Usually not suitable for cutoff wheels unless the manual specifically permits it |
| Adjustable or tool-free guard | Frequent changes in spark direction or working position | More moving parts and more opportunity for poor locking or accidental movement |
| Clip-on universal guard | Limited replacement options or occasional light use | Fit can be inconsistent; not a good gamble for high-load cutting |
Do not modify a grinding guard by cutting away part of it to make room for a cutoff wheel. Removing material can weaken the guard and expose the wheel in the wrong direction. It can also void the tool’s safety approval. If the correct cutoff guard is unavailable, replacing the tool or using a different cutting method is better than improvising.
Check Mounting Compatibility
Guards attach in several ways: a clamp around the grinder’s gear housing, a keyed collar, a retaining ring, or a proprietary twist-lock arrangement. Two tools with the same wheel diameter may use completely different guard mounts. Battery platform compatibility does not guarantee accessory compatibility; a 20-volt tool and an 18-volt tool from another brand may use similar batteries but entirely different gear housings and guards.
Measure or identify the guard interface, not just the battery voltage. Look for the exact tool family, model number, and guard part number in the manual. If the guard uses a clamp, it should sit fully around the housing with no rocking. If it uses a locating tab or slot, that feature must engage completely before tightening.
A proper guard should not rotate under moderate hand pressure after its locking screw or lever is secured. If it shifts while the tool is off, it can move during cutting when vibration and torque are highest.
Match the Guard to Wheel Speed
Abrasive wheels have a maximum operating speed, commonly printed on the wheel in revolutions per minute or meters per second. The tool’s no-load speed must not exceed that rating. For example, a wheel rated at 13,300 rpm should not be used on a tool capable of 15,000 rpm unless the manufacturer explicitly approves that combination.
The guard itself is not a substitute for a correctly rated wheel. It is designed around the expected wheel size and operating speed, and a wheel failure can release fragments through gaps that seem small during a visual inspection. Choose wheels and guards as a matched system.
For regular metal cutting, a Type 1 metal cutoff wheel with the correct diameter and speed rating is usually the straightforward choice. Masonry wheels require a wheel and guard arrangement approved for masonry or concrete by the tool manufacturer. Do not swap in a diamond blade or specialty wheel merely because it fits the spindle.
Look for Practical Features
A good guard has a firm locking mechanism, clear wheel visibility at the cutting point, and enough coverage to contain fragments. Tool-free adjustment is useful when cutting overhead, along a wall, or in a confined position because you can redirect sparks without hunting for a wrench. However, a simple keyed or screw-clamp guard can be the better option if it locks more securely and you rarely change positions.
Check for a narrow opening that exposes only the working section of the wheel. The guard should not interfere with the flange, spindle lock, or wheel removal. It should also leave room for the side handle and allow a two-handed grip. If installing the guard forces your hand into the wheel’s line or blocks the handle, it is the wrong accessory.
For dusty masonry work, a cordless grinder cutting dust shroud may be more useful than an open guard, provided it is approved for the tool and wheel. Dust control adds bulk and can reduce visibility, so it is not automatically the best choice for outdoor work or quick metal cuts.
Inspect Before Cutting
Unplug the charger or remove the battery before installing or adjusting the guard. Inspect the guard for cracks, bent metal, missing fasteners, and worn locating features. Check that the wheel is not warped, chipped, damp, or past its expiration date. Thin abrasive wheels can degrade with moisture and age.
After installation, spin the wheel by hand to confirm it clears the guard, flange, and tool housing. Fit the battery only after the guard and wheel are secure. Start the tool with the wheel pointed away from you and let it reach full speed before entering the material.
Keep the guard between your body and the exposed side of the wheel. Use light, steady pressure; forcing the tool increases the chance of binding. If the wheel pinches, the tool kicks back, or the guard shifts, stop immediately and correct the setup. A cheaper fixed guard is fine for occasional cutting when it fits the tool precisely. It is not a bargain if it requires bending, drilling, grinding, or guessing to install.
Related guides
- Longest Lasting Lawn Mower Battery: AGM vs Lithium vs Flooded Lifespan and Cost per Season
- Duralast Gold Lawn Mower Battery Review: U1 Fit, CCA and When to Pay for AGM
- Greenworks Pro 80V 21-Inch Mower Review: Runtime Math, Push vs Self-Propelled and Yard Fit
- Bosch High Pressure Washer Gun Replacement: Fittings, Adapters and What Fits Your Model