What's inside
As an Amazon Associate I earn from qualifying purchases. This post may contain affiliate links at no extra cost to you.
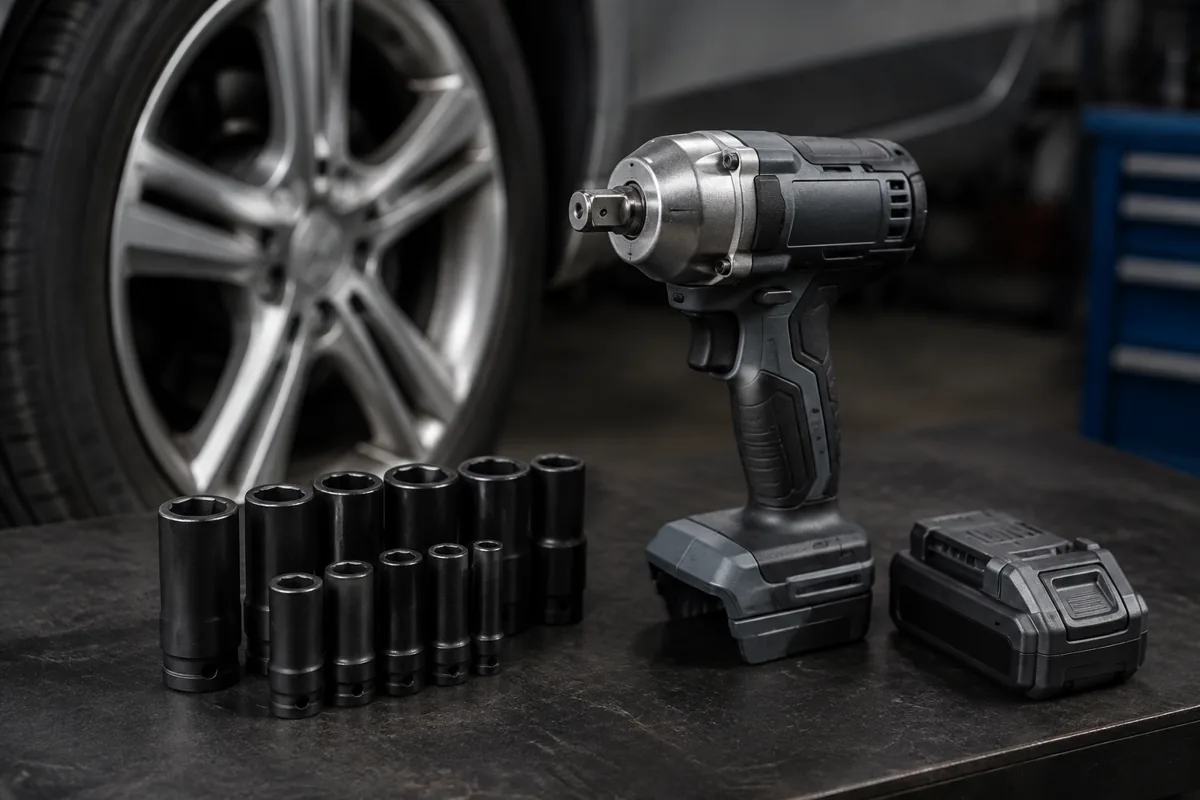
The anvil on a cordless impact wrench takes repeated hammer blows, twisting force, dirt, and poorly fitting sockets. Its retaining ring—also called a hog ring or friction ring—keeps the socket on the tool. Both parts are simple, but neglect can lead to loose sockets, difficult socket removal, damaged drive corners, or an anvil that eventually needs replacement.
What you are maintaining
Most cordless impact wrenches use either a friction-ring retaining system or a pin-detent system. A friction ring uses a spring-like ring around the anvil. The socket slides over the ring and is held by friction. A pin-detent system uses a spring-loaded ball and pin inside the anvil; the socket has a matching hole.
| Retaining system | Advantages | Common problems | Best maintenance |
|---|---|---|---|
| Friction ring | Fast socket changes; no small button to lose | Ring stretches, breaks, or loses grip | Clean the groove, inspect the ring, replace when loose |
| Pin detent | Holds sockets securely; less likely to drop a socket | Pin sticks, spring weakens, socket hole wears | Clean the hole and pin; replace worn hardware |
The anvil itself is the square drive shaft projecting from the tool. Common sizes include 1/4-inch, 3/8-inch, 1/2-inch, and 3/4-inch. The socket size must match the anvil exactly. Do not use an adapter as a permanent substitute for the correct drive size, especially during high-torque work.
Tools and safe preparation
Remove the battery before inspecting or cleaning the anvil. An impact wrench can start unexpectedly if its trigger is pressed while you are working around the drive. Wear eye protection when removing a damaged retaining ring; a broken ring can spring free.
Useful supplies include a clean rag, a small nylon brush, a plastic pick, light machine oil, and replacement retaining rings made for your exact anvil. A small flat screwdriver can help with removal, but a dedicated small retaining-ring plier set is less likely to gouge the anvil or your fingers.
Avoid compressed air directed into the tool housing. It can drive grit past seals and into the hammer mechanism. If you use compressed air around the exposed anvil, keep the pressure moderate and hold the nozzle several inches away.
Cleaning the anvil and socket interface
Wipe the anvil after each job, particularly after working under a vehicle or in dusty construction areas. Remove packed dirt from the retaining-ring groove with a nylon brush or plastic pick. Clean the inside of frequently used sockets as well. Metal chips trapped between the socket and anvil prevent full engagement and concentrate load on the drive corners.
Inspect the four corners of the anvil. They should be straight and reasonably sharp, not rounded over. Also check for a visible groove cut by a loose socket. A small amount of surface discoloration is harmless; raised burrs, cracks, or twisted corners are not.
Put one small drop of light oil on the anvil and spread it with a rag. The goal is a thin protective film, not a wet drive. Excess oil attracts abrasive dust and can make a friction-ring socket feel secure when it is actually not gripping correctly. Do not pack the retaining-ring groove with grease.
Inspecting the retaining ring
With the battery removed, rotate the friction ring by hand if possible. It should sit evenly in its groove without a broken section, sharp protrusion, or obvious flat spot. Slide a correctly sized impact socket onto the anvil. It should require firm hand pressure and should not fall off when the tool is held downward.
A ring that requires excessive force to install a socket may be bent, contaminated, or paired with a damaged socket. A ring that lets the socket wobble noticeably or drop off under its own weight is worn. Replace it rather than bending it back. Re-forming a stretched ring usually provides only temporary grip and can damage the groove.
Do not substitute a hardware-store snap ring, E-clip, washer, or piece of wire. Retaining rings for impact tools are made for repeated shock loading and have specific dimensions. Search for a replacement impact-wrench hog ring only after confirming the tool’s brand, model, anvil size, and parts diagram.
Replacing a friction ring
Use the correct replacement ring and any supplied washer. First, remove the battery and clean the groove. Cover the ring with a rag while prying it out with a plastic pick or small screwdriver. Work around the circumference instead of levering hard at one point.
Clean the groove before installing the new ring. Fit the ring evenly, with no section riding above the anvil’s shoulder. If the design uses a washer under the ring, install it in the same order as the original. Test the fit with the socket before reinstalling the battery.
If the ring will not seat, stop. The ring may be the wrong size, the anvil may be burred, or a washer may be missing. Forcing it can spread the ring and create a socket-retention problem immediately.
Failure signs that need more than cleaning
Replace or professionally service the tool when the anvil is cracked, visibly bent, badly rounded, or loose in the nose of the wrench. A loose anvil often indicates worn internal bushings or damage from side-loading. Do not continue using it simply because the motor still runs.
Stop using the wrench if sockets repeatedly walk off during operation, the anvil becomes unusually hot, or the tool produces a new grinding sound. A retaining ring cannot correct a worn square drive. Likewise, do not use chrome hand-tool sockets on an impact wrench. Their brittle construction can fracture under impact; choose properly rated impact socket sets instead.
A practical maintenance schedule
Wipe the anvil and check socket retention after every dirty or high-torque job. Do a closer inspection every 10 to 20 hours of use, or monthly for occasional users. Replace a friction ring when it no longer holds a properly matched socket securely, not on an arbitrary calendar schedule.
Store the wrench with the battery removed and without a socket hanging from the anvil. A socket left installed can collect moisture and put unnecessary side load on the drive. Keep the tool and batteries in a dry case, and use the charger and battery system recommended for that tool platform. Good battery care will not fix a damaged anvil, but avoiding overheating and abusive overloads reduces stress throughout the wrench, including the drive assembly.
Related guides
- Longest Lasting Lawn Mower Battery: AGM vs Lithium vs Flooded Lifespan and Cost per Season
- Duralast Gold Lawn Mower Battery Review: U1 Fit, CCA and When to Pay for AGM
- Greenworks Pro 80V 21-Inch Mower Review: Runtime Math, Push vs Self-Propelled and Yard Fit
- Bosch High Pressure Washer Gun Replacement: Fittings, Adapters and What Fits Your Model