What's inside
As an Amazon Associate I earn from qualifying purchases. This post may contain affiliate links at no extra cost to you.
Why impact wrenches damage fasteners
A cordless impact wrench is useful when a nut or bolt is too tight for a hand ratchet, but its hammering action can make a small mistake expensive. Each impact delivers a burst of torque. If the socket is crooked, the fastener is soft, or the tool is set too high, the wrench can round a head, stretch a bolt, snap a stud, or spin a nut past its intended tightness before you react.
Control starts with the right tool and a deliberate sequence. An impact wrench is not a torque wrench, even when it has multiple speed settings or a stated maximum torque. Those settings limit output imperfectly; they do not certify a final clamp load. For safety-critical joints, use the wrench to run the fastener down, then finish with a calibrated torque wrench to the specified value.
Choose the right wrench and socket
Buy for the fasteners you actually work on. Compact 3/8-inch-drive impact wrenches suit many smaller automotive and equipment jobs; 1/2-inch-drive tools offer more capacity for wheel nuts and larger hardware but are bulkier and easier to overpower small fasteners with. Maximum torque figures are not directly comparable across brands or test methods. A tool with more power is not automatically a better choice for routine assembly.
If most of your work is light maintenance, a compact wrench with several speed or assist modes may be a better fit than a high-torque model. A cheaper impact wrench is often fine for occasional lug nuts or stubborn, noncritical fasteners, provided it has enough capacity and you control the final tightening. Pay more for a tool when you need a smaller head, reliable low-speed control, or compatibility with batteries you already own.
Use impact-rated sockets, which have thicker walls and are made for repeated impact loading. A standard chrome socket can crack or shatter. Match the socket size exactly, push it fully onto the fastener, and use a short extension when possible. Long extensions and universal joints can flex, reduce control, or change how force reaches the fastener.
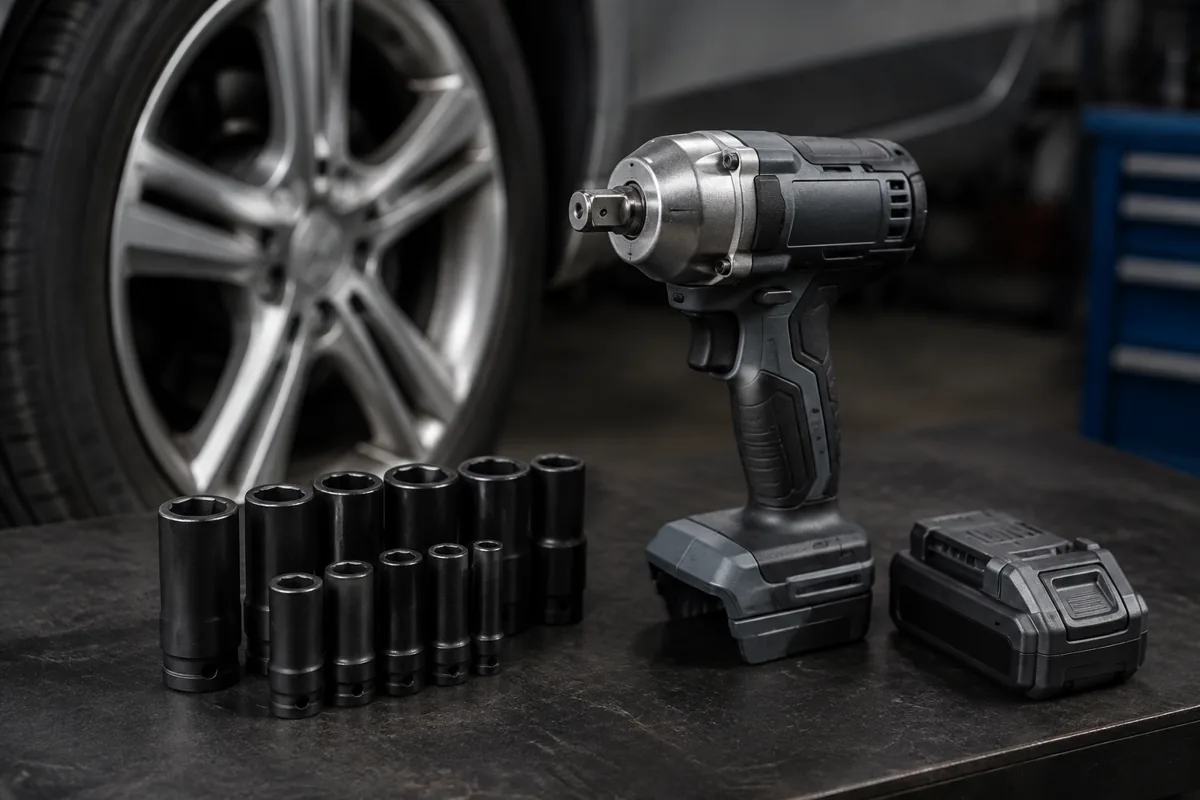
If you are choosing a tool, compare compact cordless 3/8-inch impact wrenches with impact-rated socket sets. Check whether the wrench is bare tool or includes a battery and charger; platform batteries and chargers can make the total cost very different.
Set up before you pull the trigger
Clean exposed threads and inspect the fastener. Rust, grit, damaged threads, and paint can raise resistance, so the wrench may mistake friction for a fully seated joint. Replace rounded, cracked, or stretched hardware rather than trying to save it with more power. Check the service instructions for required lubrication: adding oil or anti-seize where the specification assumes dry threads can change clamping force at the same torque.
Support the work so it cannot shift, and keep the socket square to the fastener. Start nuts and bolts by hand for several turns whenever access allows. Cross-threading often feels like unusual resistance early on; the wrench can conceal that warning and cut new, damaged threads before the problem is obvious. Keep fingers clear of pinch points, wear eye protection, and secure loose clothing. A high-torque wrench can also react sharply when a fastener breaks free.
Use a controlled tightening sequence
For tightening, begin in the lowest suitable speed or assist mode. Hold the wrench straight, press the trigger briefly, and stop to check seating. Use short trigger pulls instead of holding it down until the wrench stops hammering. On wheel nuts, lower the vehicle only enough to keep the wheel from turning if needed, snug the nuts in a star pattern, then tighten them with a torque wrench in the specified sequence.
For loosening, make sure the wrench is set to reverse and the socket is fully seated. Let the tool work in short bursts. If the fastener does not move after several seconds, stop and investigate rather than leaning on it indefinitely. It may be seized, cross-threaded, or held by a locking feature. Penetrating oil and a hand breaker bar can be more useful than more impacts, depending on the job.
| Situation | Better approach | Main trade-off |
|---|---|---|
| Small bolts or delicate brackets | Hand ratchet or low-speed impact assist, then verify by hand | Slower, but easier to avoid stripping |
| Wheel nuts | Impact wrench to remove or snug; torque wrench for final tightening | Requires a second tool and a short extra step |
| Seized, rusty fastener | Penetrant, soak time, then controlled loosening attempts | More time; the fastener may still need replacement |
| Repeated production work | Wrench with repeatable low-speed control and documented process | Higher tool cost; does not remove the need to verify critical joints |
Spot damage before it gets worse
Stop if the socket wobbles, the fastener head begins to deform, or the wrench hammers without progress. A fastener that suddenly spins freely may have stripped threads; one that stretches or snaps may have been over-tightened or weakened by corrosion. Do not reuse a damaged nut or bolt in a load-bearing joint. Check the mating threads and replace any part that is visibly distorted.
Do not use impact force to compensate for poor fit or uncertainty about torque. If the specification is given in foot-pounds or newton-metres, use a suitable torque wrench for the final check rather than guessing from trigger time or battery charge. For critical assemblies, follow the manufacturer’s procedure, including any tightening angle, sequence, or one-time-use hardware requirements.
Maintain the cordless tool
Use a charged battery rated for the wrench’s platform, and keep the battery contacts clean and dry. A weak battery can reduce performance, but swapping in a fresh pack does not make an unsafe fastener safe to tighten. Let the tool cool if it becomes unusually hot during repeated heavy work. Store batteries away from extreme heat and follow the charger’s instructions; damaged or swollen packs should not be used.
After the job, inspect the socket and anvil for cracks, excessive play, or damage. Keep sockets organized by size so a near-fit is less tempting next time. Good technique, correct sockets, and a torque wrench for final tightening prevent more fastener damage than buying the most powerful wrench on the shelf.
Related guides
- Longest Lasting Lawn Mower Battery: AGM vs Lithium vs Flooded Lifespan and Cost per Season
- Duralast Gold Lawn Mower Battery Review: U1 Fit, CCA and When to Pay for AGM
- Greenworks Pro 80V 21-Inch Mower Review: Runtime Math, Push vs Self-Propelled and Yard Fit
- Bosch High Pressure Washer Gun Replacement: Fittings, Adapters and What Fits Your Model