Our Top Picks

What's inside
- How I rank a nail gun for furniture making
- 1. 18-gauge brad nailer: buy this one first
- 2. 23-gauge pin nailer: the one bought too late
- 3. 16-gauge finish nailer: when you move to case goods
- 4. Narrow crown stapler: the quiet upgrade
- What to skip
- Setup that keeps nails from ruining the piece
- Nail gun for furniture making FAQ
- Related Guides
- How I rank a nail gun for furniture making
- 1. 18-gauge brad nailer: buy this one first
- 2. 23-gauge pin nailer: the one bought too late
- 3. 16-gauge finish nailer: when you move to case goods
- 4. Narrow crown stapler: the quiet upgrade
- What to skip
- Setup that keeps nails from ruining the piece
- Nail gun for furniture making FAQ
- Related Guides
As an Amazon Associate I earn from qualifying purchases. This post may contain affiliate links at no extra cost to you.
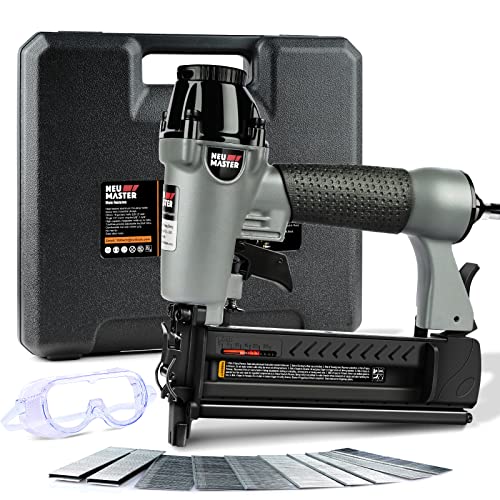
Most people shopping for a nail gun for furniture making buy the wrong one first. They bring home a 16-gauge finish nailer because it came in the combo kit, then find out it splits 3/4 in. cherry, blows out a mitered edge, and leaves a crater that needs filler on a surface they wanted to leave clear. Nothing is wrong with the tool. It is simply the third nailer you needed, not the first.
Furniture work is not trim carpentry. You are fastening thin stock, holding glue joints while they cure, tacking small moldings, and protecting show surfaces you will finish with oil or lacquer. That pushes you toward finer gauges than most buying guides suggest. What follows is ordered by what to buy first, with the job each tool unlocks, plus a blunt list of what to skip.
As an Amazon Associate we earn from qualifying purchases at no extra cost to you.




| Buy order | Type | Fastener range | Job it unlocks |
|---|---|---|---|
| 1 | 18-gauge brad nailer | 5/8 in. to 2 in. brads | Drawer boxes, face frames, jigs, holding glue-ups |
| 2 | 23-gauge pin nailer | 3/8 in. to 1-3/8 in. headless pins | Small moldings, edge banding, no-fill show surfaces |
| 3 | 16-gauge finish nailer | 1-1/4 in. to 2-1/2 in. nails | Case goods, plinths, built-ins, thick face frames |
| 4 | 18-gauge narrow crown stapler | 1/4 in. crown staples | Cabinet backs, drawer bottoms, web frames |
| Skip | 15-gauge angled finish nailer | Heavy finish nails | Door casing and baseboard, not furniture |
How I rank a nail gun for furniture making
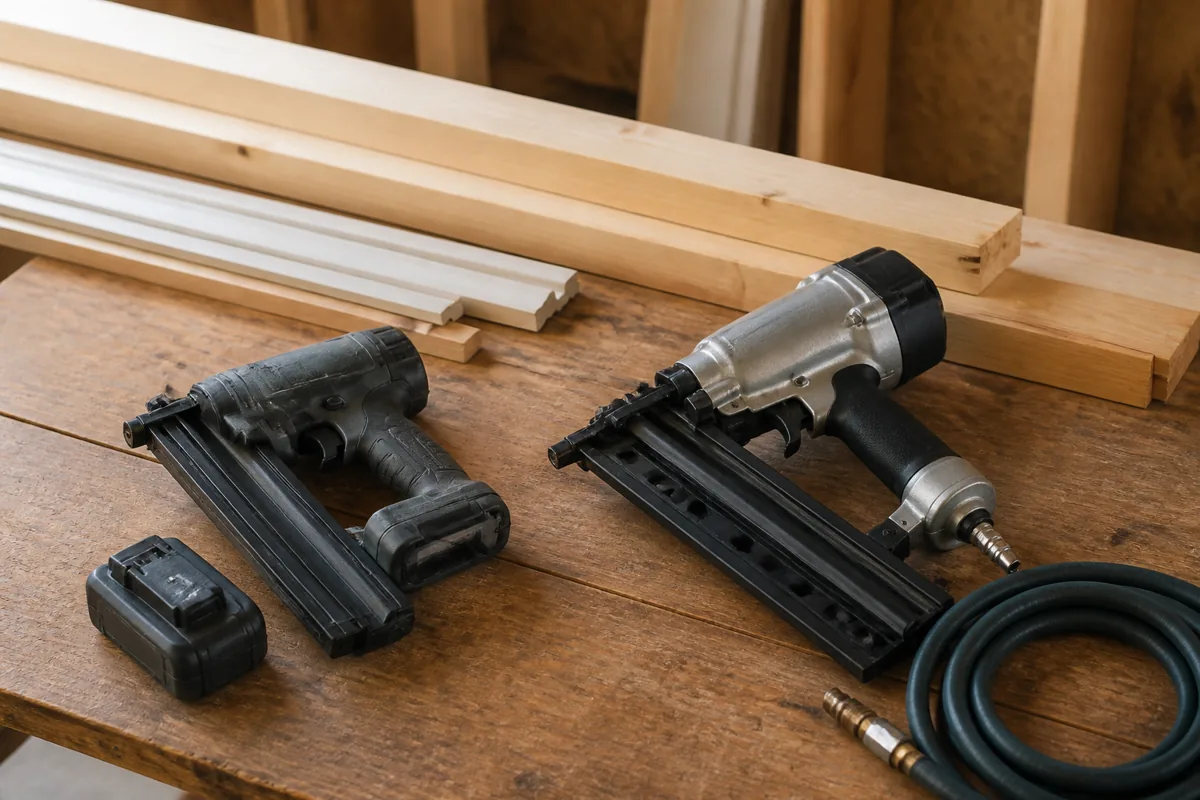
Three things set the order, and price is not one of them. Hole size comes first: the higher the gauge number, the thinner the fastener and the less filling you do on parts that show. Second is how often the tool leaves the shelf. Third is holding power, which matters less than beginners think, because glue does the work and the nail only holds parts in register until it cures.
1. 18-gauge brad nailer: buy this one first
The job it unlocks: drawer boxes, applied moldings, small case backs, and every jig and sled that makes the rest of your work accurate. It is also the cheapest clamp you will ever own. Two brads through a glued joint hold parts where you set them while you reach for real clamps, which is how you stop fighting a carcass that keeps sliding out of square.
Look for a full 2 in. capacity, a tool-free depth dial, dry-fire lockout, and a no-mar tip that stays put. Cordless is the right call here since you grab it constantly for one or two shots. Stay on the platform you already own: DeWalt XR, Milwaukee FUEL, Makita LXT or Ryobi ONE+.
Cordless 18-Gauge Brad Nailer
The major cordless brad nailers are close enough in real use that your existing batteries should decide it. Prioritize a 2 in. capacity and an easy depth dial. If you already run a compressor, the pneumatic version costs far less and weighs less in hand.
2. 23-gauge pin nailer: the one bought too late
The job it unlocks: thin moldings, mitered edge banding, beading and small trim, with no hole to fill afterward. A 23-gauge headless pin is about the diameter of a stiff hair, so it disappears under finish on most species and rarely splits fragile stock. If your work involves applied detail, this is nailer number two.
- ✔ Holes vanish under finish with no putty
- ✔ Rarely splits thin, brittle or figured stock
- ✔ Light, inexpensive in pneumatic form, easy one-hand use
- ✔ Ideal for holding small parts while glue sets
- ✘ Almost no holding power without glue
- ✘ Short fastener range, commonly 1-3/8 in. max
- ✘ Pins are hard to find and remove if misplaced
- ✘ Cordless options are limited and cost more
3. 16-gauge finish nailer: when you move to case goods
The job it unlocks: thick face frames, plinths, hanging strips, shop cabinets and built-ins that must survive a stairwell. A 16-gauge nail bites hard enough to hold a carcass together so you can keep working instead of waiting on clamps. Pick a straight magazine over an angled one for furniture: the nose reaches corners more predictably and the nails are easier to find.
16-Gauge Straight Finish Nailer
Buy this when you move from boxes to cabinets and case goods. Pneumatic models are the value pick since the tool mostly stays at the bench. Whatever you get, set the depth on an offcut of the same species before touching the real piece.
4. Narrow crown stapler: the quiet upgrade
The job it unlocks: cabinet backs, drawer bottoms, dust panels and web frames. A 1/4 in. crown staple pulls thin plywood flat against a rabbet in a way a brad cannot, so panels stop rattling and racking. It is a specialist, which is why it lands fourth, but it makes the inside of your furniture look intentional.
18-Gauge Narrow Crown Stapler
Buy it once backs and bottoms are slowing you down. Staples of the same wire diameter hold sheet goods and webbing far better than brads. Check the crown width your model takes before ordering fasteners, since 1/4 in. and 3/8 in. are not interchangeable.
What to skip
Skip the 15-gauge angled finish nailer. Fine trim tool, wrong furniture tool: thick nail, a hole that needs real filling, and split hardwood edges you care about.
Skip the trim combo kit built around a pancake compressor if all you want is to fasten furniture parts. You end up with a nailer that is too coarse, a stapler you may not need, and a hose across the shop.
Skip any nailer without depth adjustment, however cheap. You cannot tune the drive for maple versus pine, so you get proud nails or bruised surfaces.
And skip the idea that a nailer replaces joinery. Nails do not hold a chair together. They hold parts still while glue, dowels, loose tenons or screws do the real work.
Setup that keeps nails from ruining the piece
Test each session on an offcut of the same species and thickness, then set the depth so the head sits just under the surface. Run the fastener with the grain rather than across a thin edge, and stay back from the ends of narrow parts where splits start. Map your nails before you shoot, because nothing ruins an afternoon faster than a router bit finding a brad. On wide solid-wood panels, fasten one end and let the rest float so seasonal movement cannot crack it. Keep pneumatic tools oiled, keep the no-mar tip on, and sweep a magnet over the bench before you flip a workpiece.
Nail gun for furniture making FAQ
Can one nailer cover all furniture projects? An 18-gauge brad nailer with a 2 in. capacity comes closest and is the right single buy for most shops. You will still want a 23-gauge pin nailer once you start applying small moldings you do not want to fill.
Cordless or pneumatic for furniture work? Cordless for the brad nailer you pick up all day. Pneumatic for the pin and finish nailers, which are lighter and cheaper and usually live at the bench where a hose is not in the way.
Will a brad nailer split hardwood? It can, especially near ends and edges in oak, maple and other dense species. Keep the fastener parallel to the grain, stay a couple of nail lengths from the end of the board, and switch to a 23-gauge pin when the part is thin or brittle.
Buy in this order and each tool earns its place instead of duplicating the last: brad nailer for daily assembly, pin nailer for details that must stay clean, 16-gauge when you scale up to cabinets, stapler for backs and bottoms. Start with the brad nailer and match it to the batteries already on your charger.
Check prices on Amazon →