What's inside
As an Amazon Associate I earn from qualifying purchases. This post may contain affiliate links at no extra cost to you.
Start with the fastener, not the battery
A cordless stapler for upholstery and a cordless stapler for sheathing are usually different tools. Upholstery typically calls for narrow-crown or fine-wire staples; sheathing often calls for a wider-crown construction staple or, depending on the job and local requirements, a nail. A tool that accepts the wrong staple type is no bargain, even if it shares batteries with the rest of your kit.
Before shopping, check the material and fastener requirements. Note the staple crown width, wire gauge, leg length, and whether the job calls for galvanized or stainless fasteners. For sheathing, follow the plans, sheathing manufacturer’s instructions, and applicable building code. Staples are not automatically an acceptable substitute for nails, and a stapler’s magazine capacity does not establish that its fasteners meet a specified fastening schedule.
Match the tool to the work
For upholstery, a compact fine-wire stapler is easier to control around fabric, corners, and furniture frames. Typical jobs may use staples around 1/4 to 1/2 inch long, though the right length depends on the fabric and substrate. Long staples can poke through thin frames or emerge where you do not want them; short ones may pull free when fabric is tensioned.
For sheathing, look for a construction stapler explicitly rated for the required crown and staple length. A wider crown can distribute load across more material, but it still must match the approved fastening detail. Thicker panels, dense framing, and cold or wet lumber can make consistent driving harder. If the job requires rapid fastening over large areas, compare a cordless stapler with a pneumatic tool: cordless avoids a hose and compressor, while pneumatic tools are often lighter and may be more practical for all-day production work.
Compare the main options
| Tool type | Best fit | What to check | Main trade-off |
|---|---|---|---|
| Fine-wire upholstery stapler | Fabric, dust covers, light trim | Staple type and length; nose visibility; depth adjustment | Precise and relatively light, but not a sheathing tool |
| Construction stapler | Approved sheathing and other specified fastening | Crown, leg length, fastening schedule, rated materials | More capable for structural work, but bulkier and costlier |
| Pneumatic stapler | High-volume shop or jobsite work | Compressor capacity, hose, fittings, fastener compatibility | Often efficient for long sessions, but tethers you to air equipment |
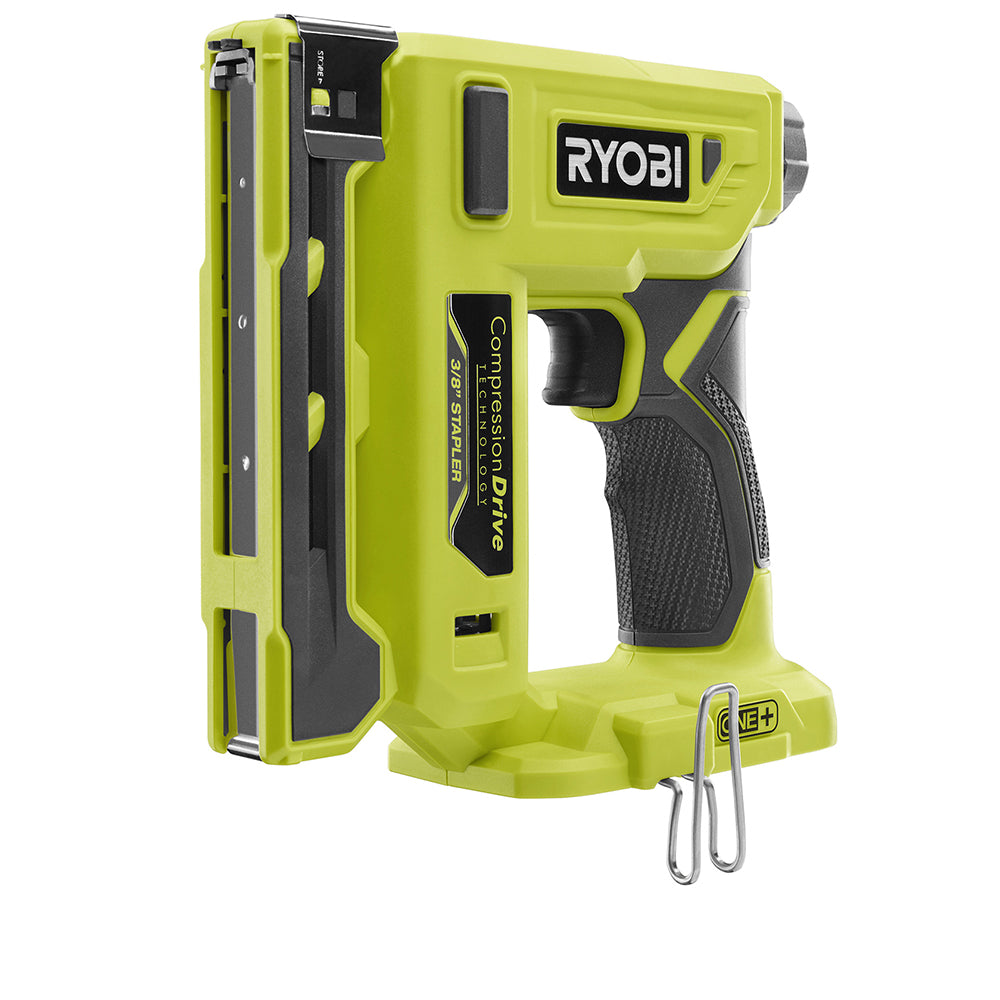
If upholstery is the only job, start with a cordless fine-wire upholstery stapler. If you need to fasten sheathing, shop specifically for a cordless construction stapler rated for sheathing, then verify its fasteners against the job requirements.
Check the magazine and adjustments
Staples are not interchangeable just because they look similar. Confirm the exact fastener family and the range of leg lengths in the tool manual. Also check local availability and price: a tool with an unusual staple strip can become inconvenient once the included supply runs out. Buy a small box first and test it before committing to a bulk pack.
Depth adjustment matters most when the tool meets varied materials. In upholstery, too much drive can tear fabric or bury the crown; too little leaves a crown that snags. On sheathing, inconsistent depth may mean poor seating or damaged material. Test several shots on scrap matching the real substrate, then inspect both the crown and the back side. If the tool offers sequential and contact actuation, sequential firing generally gives better placement control; contact actuation can speed repetitive work but raises the chance of an unintended shot.
Consider the battery platform and runtime
A shared battery platform can make a cordless stapler cheaper to own if you already have compatible batteries and a charger. Check the tool’s bare-tool and kit prices, but compare the battery size included in the kit as well. A small pack keeps the tool lighter for overhead or close upholstery work; a larger pack may reduce swaps during a long sheathing session, at the cost of added weight and bulk.
Do not assume a larger battery will solve poor driving performance. Staple length, wood density, tool condition, and temperature all matter. Cold batteries can deliver less power, and an undersized or depleted pack may contribute to slow cycling or incomplete drives. For a one-off upholstery repair, a compatible battery you already own may be enough. For sustained production, check the maker’s stated shots-per-charge figures as a rough guide, then test on your material; actual output varies with fastener length and substrate.
Try the handling before committing
Staplers are often used with the wrist angled and the nose pressed firmly against a surface. Compare the balance with the battery installed, not just the bare-tool weight. A bulky nose can make it difficult to work into a chair corner; a heavy pack may become tiring during overhead fastening. Check whether the nose has a clear line of sight, whether the tool stands securely when set down, and whether the belt hook can be removed if it catches on fabric or framing.
For upholstery, a smaller contact area and careful nose placement help keep staples aligned with the frame. For sheathing, a tool that is awkward to keep square can leave staples skewed or inconsistently seated. If possible, handle the tool at a retailer or borrow one before buying. A comfortable grip is useful, but it does not replace a test on scrap.
Avoid common failures
Frequent jams often start with the wrong staple strip, damaged fasteners, or a magazine loaded incorrectly. Clear jams only as directed in the manual and remove the battery first. Do not force a strip into the magazine or use staples with bent legs. If a staple repeatedly fails to seat, check fastener compatibility, battery charge, depth setting, and material before assuming the tool is defective.
For upholstery, inspect the underside and edges before firing a long staple: a leg can pierce through a thin rail or land near a visible face. For sheathing, confirm each fastener is in the intended location and seated properly. Missed framing, damaged panel edges, or a fastening pattern that differs from the specification can require repair or rework. A staple gun’s convenience does not excuse skipping layout checks.
Make the buying call
Choose the tool around the work you actually do. A cheaper upholstery stapler is fine for occasional fabric repairs if it accepts readily available staples and drives them cleanly into your furniture frames. There is little reason to pay for a construction tool that cannot handle your staple type—or to buy a heavy sheathing stapler for a few chair seats.
For sheathing, prioritize verified fastener compatibility and approval for the required application over battery-platform loyalty or a low sticker price. If cordless convenience is occasional rather than essential, a pneumatic stapler may be the better-value purchase when you already own an adequate compressor. Either way, test-drive a full strip on representative scrap before starting the job. That catches depth, fit, and jam problems while they are still cheap to fix.
Related guides
- Longest Lasting Lawn Mower Battery: AGM vs Lithium vs Flooded Lifespan and Cost per Season
- Duralast Gold Lawn Mower Battery Review: U1 Fit, CCA and When to Pay for AGM
- Greenworks Pro 80V 21-Inch Mower Review: Runtime Math, Push vs Self-Propelled and Yard Fit
- Bosch High Pressure Washer Gun Replacement: Fittings, Adapters and What Fits Your Model