What's inside
As an Amazon Associate I earn from qualifying purchases. This post may contain affiliate links at no extra cost to you.
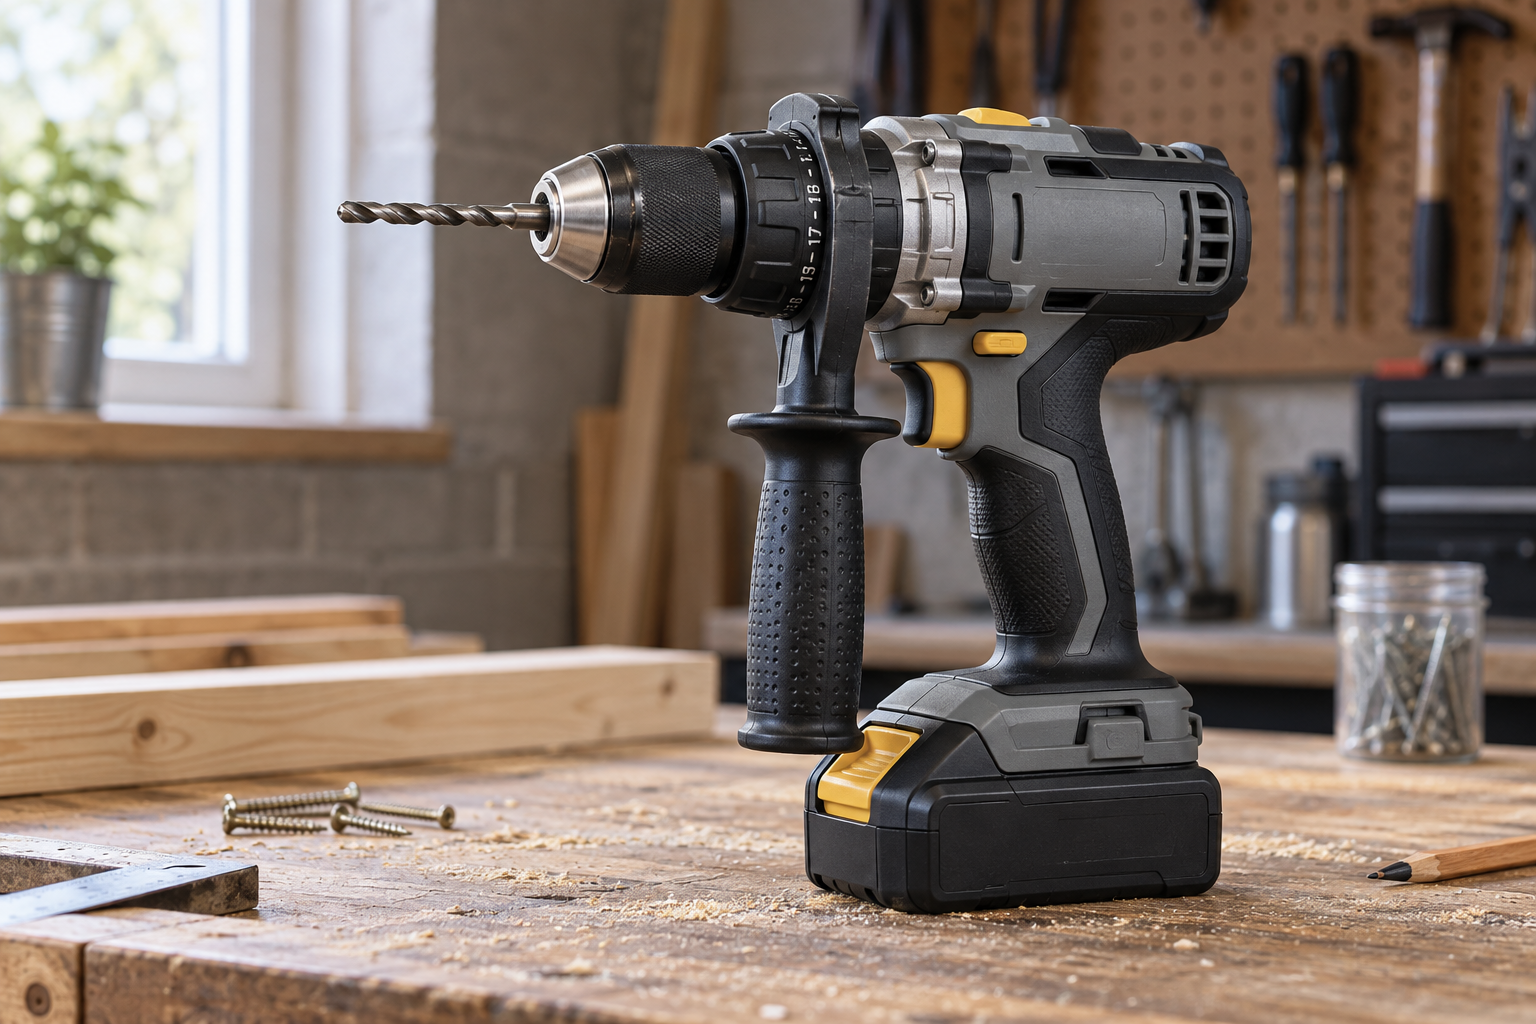
A cordless hammer drill’s side handle and depth stop are not optional comfort extras. They control the tool, keep your hands away from the bit, and help you drill repeatable holes without burying the bit too far into masonry. The right choice depends mainly on the drill’s mounting system, the work you do, and whether you need a replacement part or an accessory for several tools.
Start With Drill Compatibility
Side handles are rarely universal. Most hammer drills use a clamp-style handle that tightens around the gear housing behind the chuck, but the clamp diameter, molded locating ribs, and handle thread can differ between brands and even between tool families. A handle that appears to fit may not clamp securely if its collar is too large or its locating tab does not engage correctly.
Check the drill’s model number, not just its voltage. “18V,” “20V MAX,” and “24V” describe a battery platform, not a common handle standard. The same battery brand can sell compact drills, high-torque hammer drills, and rotary hammers with completely different handles.
The safest replacement is the original handle listed for your exact model. If that is unavailable, measure the tool housing where the clamp sits and compare the accessory’s stated range. Do not remove the clamp’s rubber or plastic liner to make an incorrect handle fit. That liner provides grip and protects the housing from damage.
For a replacement or spare, begin with an model-specific hammer drill side handle search. Include the full model number in the search terms before ordering.
Choose the Handle Style
Most cordless hammer drills use a two-piece auxiliary handle with a clamp collar and a screw or threaded tightening mechanism. Some tighten with a large wing-style knob; others use a D-shaped loop that gives more leverage. Either can work well, but the handle should tighten without excessive force and remain rigid when the drill is loaded.
| Handle feature | Best for | Trade-off |
|---|---|---|
| Standard clamp handle | General drilling, occasional masonry, assembly work | Usually the least expensive; may loosen under heavy vibration |
| Large adjustable side handle | Large holes, long bits, overhead work | Better control but adds bulk in tight spaces |
| Vibration-damping handle | Frequent masonry drilling and extended use | Costs more and may feel less direct or slightly flexible |
| Rotary-hammer auxiliary handle | SDS-plus or SDS-max rotary hammers | Often incompatible with standard chuck-style hammer drills |
For normal 3/8-inch or 1/2-inch cordless hammer drills, a standard rigid handle is usually enough. If you regularly drill holes larger than about 1/2 inch in concrete, use long masonry bits, or work overhead, a broad loop handle is easier to control. A damping handle can reduce hand fatigue, but it does not turn a compact drill into a concrete-drilling machine.
Check Position, Grip, and Clearance
A good handle should rotate through a useful range, commonly 360 degrees, so you can place it on the left, right, or underneath the drill. The best position is the one that keeps your wrist straight and gives your body a braced pulling direction. For horizontal drilling, many users prefer the handle below the drill. For overhead work, a side position may keep the tool from twisting into your forearm.
Look for a grip roughly 1 to 1 1/2 inches in diameter with enough length for a full hand. A narrow, hard plastic grip can become uncomfortable when the hammer mechanism is active. Rubber overmolding helps, but a soft grip can also collect dust and become slippery when wet.
Before drilling, tighten the handle firmly and test it by pushing the drill sideways against a solid surface with the battery removed. If the clamp shifts, the handle is wrong, damaged, or contaminated with dust. Clean the housing and clamp surfaces rather than simply tightening harder. Excessive force can crack the handle collar or distort the drill housing.
Select the Right Depth Stop
A depth stop is normally a straight metal rod held in a slot or hole on the side-handle clamp. It lets you set a fixed distance from the drill’s reference surface to the bit tip. This is useful for anchor holes, repeated dowel holes, and drilling into walls where you need to avoid going deeper than necessary.
Depth stops vary in length and adjustment method. A thumb screw is quick to reposition, while a clamp that requires loosening the entire side handle is slower but can be more secure. A stop with clear graduations makes repeated setup easier, although the markings are only a guide and may not account for bit wear or a recessed chuck.
Measure from the actual bit tip to the stop’s contact point. Do not measure from the front of the chuck unless the stop is designed to reference that location. For example, if a wall anchor requires a 2-inch hole, set the stop so the bit tip projects 2 inches beyond the stop. Test on scrap material first, especially when using a bit with a pointed carbide tip.
A drill side-handle depth stop rod is a sensible low-cost purchase when your existing handle has the correct stop hole. If the rod diameter or retaining screw does not match, buy the complete handle assembly instead of trying to adapt it.
Know the Limitations
A depth stop does not prevent the bit from drilling deeper if the stop is not firmly against the work surface. It can also slip on rough concrete, soft drywall, or angled surfaces. Keep steady forward pressure and use a piece of scrap wood as a reference when the finished surface is fragile.
Depth stops are less useful with spade bits, hole saws, and large masonry bits because chips can pack around the rod or the stop can catch on the work. For plumbing and electrical work, a visual mark made with tape may be faster. Tape is not as repeatable, but it works when the drill has no compatible stop.
Buying and Maintenance
Choose the original brand accessory when the drill is still under warranty or when the handle includes an unusual anti-rotation feature. A generic handle is reasonable for an older drill used occasionally, provided the clamp diameter, thread, and stop-rod size match. A replacement universal cordless drill auxiliary handle is not a bargain if it slips during a large-hole operation.
Keep the clamp and thread free of concrete dust. Inspect the handle after drops, especially around the collar and tightening knob. Replace it if the clamp is cracked, the threads skip, or the handle can rotate after firm tightening. Before each job, confirm the depth stop has not moved and that the battery is fully latched. Good control comes from a correctly fitted handle, not from simply gripping the drill harder.
Related guides
- Longest Lasting Lawn Mower Battery: AGM vs Lithium vs Flooded Lifespan and Cost per Season
- Duralast Gold Lawn Mower Battery Review: U1 Fit, CCA and When to Pay for AGM
- Greenworks Pro 80V 21-Inch Mower Review: Runtime Math, Push vs Self-Propelled and Yard Fit
- Bosch High Pressure Washer Gun Replacement: Fittings, Adapters and What Fits Your Model