What's inside
As an Amazon Associate I earn from qualifying purchases. This post may contain affiliate links at no extra cost to you.
Cabinet doors reward a slower sanding schedule than most shop projects. The goal is not simply to remove scratches. You need a flat, consistent surface that will accept paint or finish evenly, while preserving crisp profiles, routed edges, and the fit of the door in its opening. A cordless sander can do this well, but only if you match the grit sequence to the wood, the existing coating, and the sander’s behavior.
Choose the right cordless sander
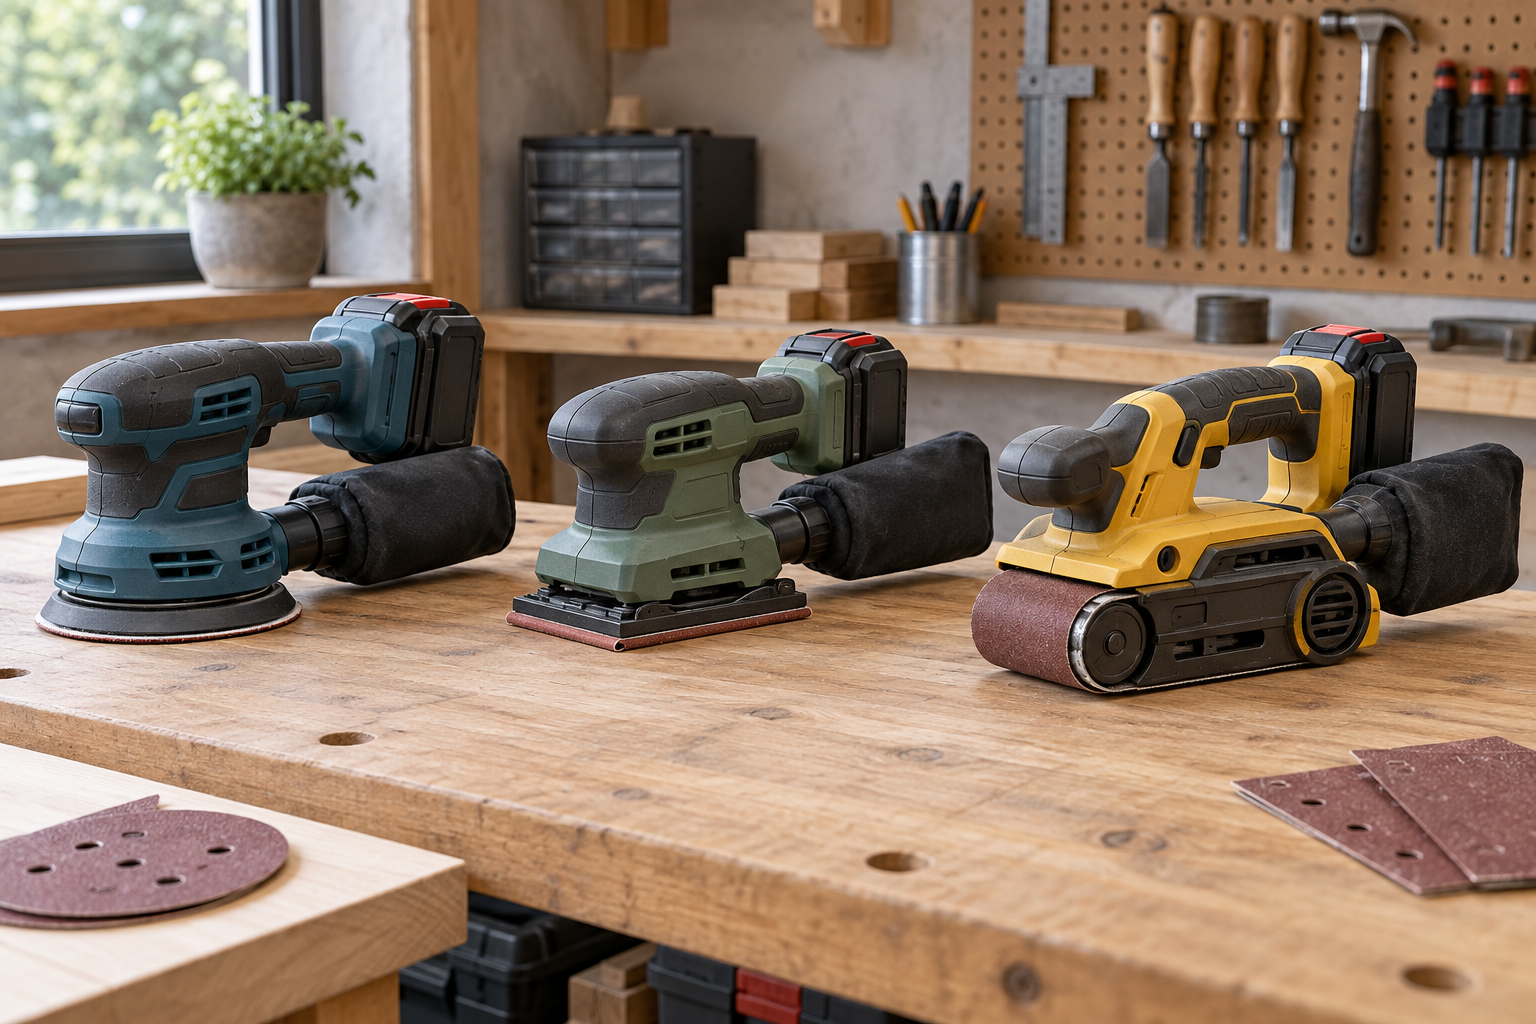
For most cabinet doors, a 5-inch cordless random-orbit sander is the best general choice. Its circular pad makes fewer directional scratches than a finishing sander, and the random orbit reduces visible swirl marks when you progress through the grits correctly. A cordless 5-inch random-orbit sander is especially convenient when you are working in a kitchen or garage without dragging a cord across freshly cleaned surfaces.
A cordless detail sander is useful for inside corners and narrow frame sections, but it should not be your main tool for broad door panels. Its triangular pad removes material slowly and can leave uneven pressure marks. A cordless sheet or finishing sander is gentler and can be a good choice for final sanding, but it is less effective for removing old finish.
Battery platform matters more than a small difference in advertised sanding speed. If you already own batteries and a charger from a platform, staying with that system is usually cheaper and more practical. For occasional work, a kit with one battery and a charger is adequate. For a full kitchen, two batteries prevent long interruptions while one pack charges. A 2.0Ah or 2.5Ah pack is lighter; a 4.0Ah or larger pack generally runs longer but adds weight to your hand.
Use the tool’s dust collection. A cordless sander with a usable dust box is convenient for a few doors, while a model that connects to a vacuum is better for a complete kitchen. Fine wood dust quickly loads abrasive discs and increases the chance of clogging. If you need to buy into a platform, compare cordless sander kits with battery and charger by the total cost, not just the bare-tool price.
Choose the grit sequence by condition
Do not automatically start with coarse paper. The first grit should be aggressive enough to remove the problem, but no coarser. Deep scratches from 60-grit paper can require several later steps to erase, particularly on soft pine, poplar, and veneer.
| Door condition | Starting grit | Typical sequence | Useful final grit |
|---|---|---|---|
| Bare hardwood with light milling marks | 100 or 120 | 100/120, 150, 180 | 180 or 220 |
| Bare softwood or paint-grade wood | 100 | 100, 120, 150, 180 | 180 or 220 |
| Old clear finish, no severe defects | 80 or 100 | 80/100, 120, 150, 180 | 180 |
| Thick paint or damaged surface | 60 or 80 | 60/80, 100, 120, 150, 180 | 180 |
| Veneer | 150 | 150, 180, 220 | 220 |
These are starting points, not rules. Test on the back of one door or an inconspicuous area. If 120-grit removes the finish in a reasonable time, there is no benefit to using 60-grit. On a sound painted door that will be repainted, 100 or 120 grit often provides enough tooth after cleaning and scraping loose paint.
Use each grit correctly
At the first grit, sand only until the surface is uniformly dull or the defect is gone. Do not keep working one low spot until it matches the rest of the door; that creates a hollow that may show under paint. On flat panels, make overlapping passes with light pressure. Let the sander’s pad and abrasive do the cutting. Pressing down slows the orbit, overheats the disc, and can create swirl marks or uneven removal.
After each grit, vacuum the door and inspect it under a strong light held at a low angle. The next grit should remove the scratches from the previous one, not merely make the surface feel smooth. A practical test is to draw a few light pencil lines across the panel. Sand until the lines disappear evenly, then move up one grit.
Keep the sander moving. Holding a random-orbit sander in one spot for even 10 or 15 seconds can produce a shallow dish, especially on softwood. Sand flat panels with the tool level, and reduce pressure near edges. The pad can round a sharp corner quickly. On a frame-and-panel door, sand the wide rails and stiles with the random-orbit tool, then hand-sand profiles and inside corners with folded abrasive or a sanding sponge.
Know when to stop using the power tool
Power-sand only broad, flat areas. Routed profiles, beads, and inside corners are easy to damage with a spinning disc. A cordless detail sander may reach some corners, but its pointed tip can dig grooves if you pause. For delicate shapes, use assorted sanding sponges and match the final grit to the flat surface.
Hand-sand the final pass in the direction of the wood grain, particularly if the door will receive stain or clear finish. Random-orbit scratches that are invisible on bare wood can become obvious after stain. For painted doors, 180 grit is usually sufficient; 220 grit is useful for a smoother feel but may reduce mechanical adhesion if you polish a sealed surface. Always follow the coating manufacturer’s preparation instructions.
Budget for abrasives and battery time
Buy quality hook-and-loop discs in several grits rather than a large pack of one grade. A clogged disc can cut worse than a fresh, cheaper disc. For a typical 20-door kitchen, expect to use multiple discs of 80 or 100 grit and several each of 120, 150, and 180. Veneer may need only a few discs, but it demands more attention than it demands power.
If the sander slows noticeably, the battery is hot, or the disc stops producing dust, stop and correct the problem. Empty the dust box, check that its ports are clear, and replace the abrasive. A second battery is often a better purchase than a larger sander because it keeps the tool operating while the first pack charges. If you already have the platform’s charger, a bare-tool cordless random-orbit sander is the cheaper option.
Remove hardware, label every door, and wear eye, hearing, and respiratory protection. Sanding old paint can expose hazardous coatings; if the paint may predate 1978, test it before creating dust. The best grit sequence is the one that removes only what must go, leaves the profiles intact, and finishes with a surface your chosen coating can reliably grip.
Related guides
- Longest Lasting Lawn Mower Battery: AGM vs Lithium vs Flooded Lifespan and Cost per Season
- Duralast Gold Lawn Mower Battery Review: U1 Fit, CCA and When to Pay for AGM
- Greenworks Pro 80V 21-Inch Mower Review: Runtime Math, Push vs Self-Propelled and Yard Fit
- Bosch High Pressure Washer Gun Replacement: Fittings, Adapters and What Fits Your Model