What's inside
As an Amazon Associate I earn from qualifying purchases. This post may contain affiliate links at no extra cost to you.
Surface correction usually comes down to one question: are you removing a lot of material, or merely making an already-correct surface smoother? A cordless planer and a cordless sander can both improve wood, but they work at very different speeds and leave very different surfaces behind.
Choose a planer when a board is proud, twisted, uneven, or too thick. Choose a sander when the surface is flat enough but has scratches, finish, glue residue, or minor roughness. Using the wrong tool wastes battery power and can create a defect that takes even longer to repair.
As an Amazon Associate we earn from qualifying purchases at no extra cost to you.

What Each Tool Actually Corrects
A cordless planer uses rotating knives to shave a controlled layer from the wood. It is a stock-removal tool. A typical portable planer takes cuts from roughly 0 to 1/16 inch, although the cleanest results usually come from lighter passes of 1/32 inch or less. It can flatten a high spot, reduce the thickness of a door edge, or level boards that do not meet cleanly.
A cordless sander removes material with abrasive paper or discs. A random-orbit sander is intended for smoothing and blending, not for flattening a badly uneven board. Removing 1/16 inch across a wide surface with a sander is slow, consumes abrasive, and often produces an unintended dip around the high spot.
| Job | Better choice | Why |
|---|---|---|
| Flatten a proud board edge | Cordless planer | Removes material quickly and evenly when guided correctly |
| Remove old finish or paint | Cordless sander | Offers control and avoids cutting deeply into the wood |
| Blend planer marks | Cordless random-orbit sander | Erases knife lines and leaves a finish-ready surface |
| Correct a twisted or cupped board | Neither alone | Requires proper stock flattening, often with a jointer, sled, or hand tools |
| Trim a door that rubs | Planer for substantial removal; sander for final fitting | The amount of material determines the practical tool |
When a Cordless Planer Makes Sense
Buy a cordless wood planer if your correction work involves doors, rough lumber, framing adjustments, or board edges that are visibly out of line. A planer can remove several millimeters in a few passes, while a sander may need many minutes for the same correction.
The main advantage of cordless power is access. You can trim a door in place, correct a deck board without dragging an extension cord, or work on a job site before power is available. The disadvantage is weight and battery consumption. Planing dense hardwood or taking deep cuts loads the motor heavily. A compact battery may deliver only a small amount of continuous planing before the tool slows or the pack needs charging. A higher-capacity pack adds runtime but also makes the tool heavier.
Planers have a sharper failure mode than sanders: they can remove too much wood immediately. Start with the shallowest depth setting, mark the high area with pencil, and make a test pass on scrap. Keep the planer moving at a steady pace. Stopping over the work can create a hollow, while lifting the tool too early can leave a deep exit gouge. On narrow stock, support the work so it does not tip under the planer base.
Knives also matter. Dull or chipped blades leave tracks, increase battery drain, and make the tool harder to control. Expect to rotate or replace knives after demanding work, especially when planing painted, dirty, or reclaimed timber. Never plane wood that may contain nails, screws, or embedded grit.
When a Cordless Sander Is the Better Buy
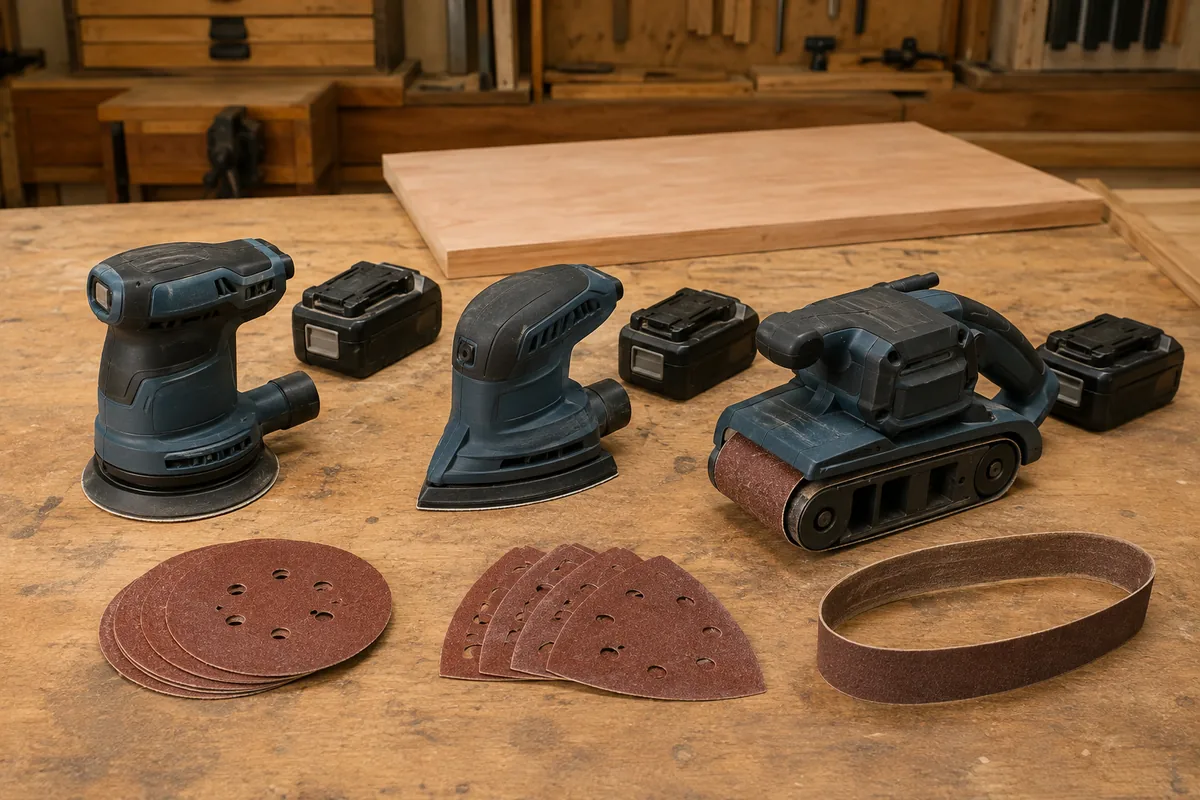
For most furniture repairs, repainting, cabinet work, and general DIY finishing, a cordless random-orbit sander is the more useful first purchase. It is slower at bulk removal but much less likely to ruin the workpiece. With 80-grit abrasive, it can remove scratches, glue squeeze-out, and old coatings. Move to 120 grit, then 180 grit, when preparing bare wood for finish. Some projects stop at 120 grit; going finer is not automatically better because excessive smoothing can reduce stain absorption.
A cordless random-orbit sander is also easier to control on plywood and veneered panels. Use light pressure and let the abrasive do the work. Pressing down can slow the pad, reduce the random action, and leave circular swirls. Keep the tool moving, and use dust collection when possible. Fine wood dust quickly clogs discs and can shorten the useful life of a battery-powered sander.
The cheap option is fine when the correction is limited to a few small areas. A basic cordless sander with a compatible 18V or 20V battery can handle occasional shelves, trim, and touch-up work. Spending more makes sense for frequent use, where better vibration control, a more effective dust port, a brushless motor, and a brake noticeably reduce fatigue and cleanup.
Battery Platform and Runtime Trade-Offs
Choose the tool within the battery system you already own unless there is a strong reason to switch. Bare tools are substantially cheaper than a new kit, and sharing batteries with a drill or impact driver improves the value of the platform. A 2.0Ah pack is lighter for overhead sanding, while a 4.0Ah or 5.0Ah pack generally provides more practical runtime for a planer.
Do not compare battery capacity as if it were a direct measure of cutting power. Motor efficiency, load, blade sharpness, abrasive condition, and material hardness all affect runtime. A planer taking deep cuts in maple can drain a pack far faster than the same battery running a sander on pine. If your platform has a fast charger, it may be more useful than buying several small batteries for occasional work.
If you are starting from zero, compare the full ecosystem rather than one tool price. Look at the cost of a charger, two useful battery sizes, replacement sanding discs or planer knives, and other cordless tools you may buy later. A discounted bare tool is not a bargain if its battery platform has no other tools you want.
A Practical Correction Sequence
For uneven wood, remove the bulk of the high area with a cordless handheld planer with dust bag, taking shallow passes until the pencil marks disappear. Check with a straightedge rather than judging by appearance. Then sand with 80 or 100 grit to remove planer ridges, followed by 120 and 180 grit as the finish requires.
If the surface is already flat, skip the planer. Start with the least aggressive abrasive that will remove the defect. Sanding through a finish can expose a lighter or darker patch, and sanding veneer too aggressively can cut through its thin face layer in seconds. For a small correction, hand sanding may be cheaper, quieter, and more precise than setting up either cordless tool.
For a buyer who needs one tool, the cordless sander is normally the safer general-purpose choice. Choose the planer when rapid stock removal is a recurring job, and plan to finish its work with sanding rather than expecting planer knives to leave a ready-to-finish surface.
Related guides
- Longest Lasting Lawn Mower Battery: AGM vs Lithium vs Flooded Lifespan and Cost per Season
- Duralast Gold Lawn Mower Battery Review: U1 Fit, CCA and When to Pay for AGM
- Greenworks Pro 80V 21-Inch Mower Review: Runtime Math, Push vs Self-Propelled and Yard Fit
- Bosch High Pressure Washer Gun Replacement: Fittings, Adapters and What Fits Your Model