Our Top Picks
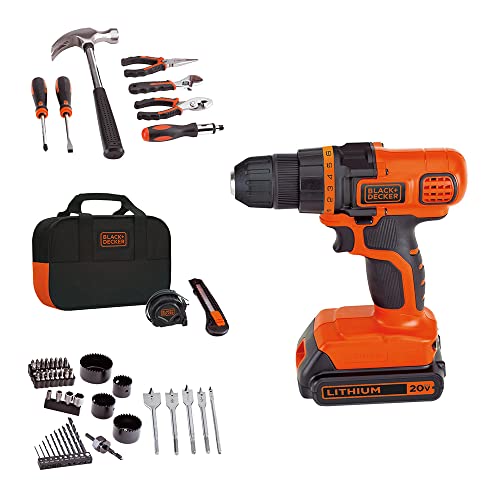 BLACK+DECKER 20V MAX 68-Piece Cordless Drill and Home20 V19.5 x 3.6 x 13.6 inches4 poundsCheck on Amazon
 SKIL 5” Random Orbital Sander with Cyclonic Dust5 inches7.87 x 4.8 x 5.51 inches3.44 PoundsCheck on Amazon


What's inside
As an Amazon Associate I earn from qualifying purchases. This post may contain affiliate links at no extra cost to you.
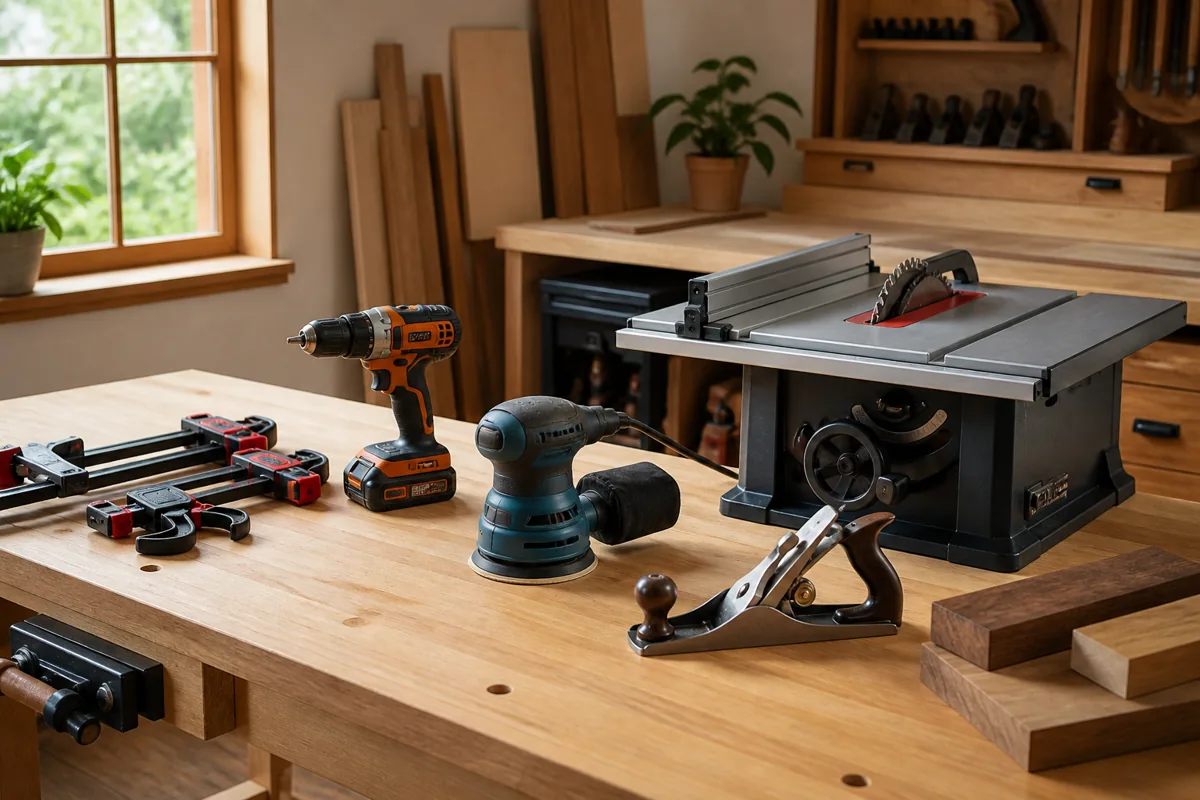
Beginners are usually sold a kit. What they need is a sequence — four tools bought in an order that matches what they will actually try to build.
The best power tools for beginners are not the ones with the most pieces in the box. They are the four that each unlock a whole class of project, bought in the order those projects actually turn up: assembly and repairs, then cutting sheet goods to size, then making the result look finished, then building anything that lives outdoors. Follow that order and every tool gets used the week it arrives. Buy out of order and you own a machine you cannot yet use well, which is how a beginner budget disappears into the corner of a garage.
As an Amazon Associate we earn from qualifying purchases at no extra cost to you.

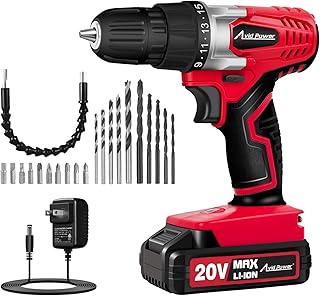


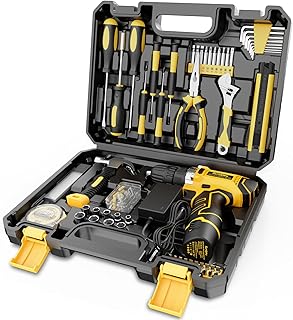


Each entry below says what it unlocks, what to look for and who can safely wait. The fifth tool — router, table saw, miter saw — is a decision for later, and an easier one once these four have shown you what work you enjoy.
How To Judge A Beginner Tool Before You Buy
Most beginners compare the specs that matter least and skip the one decision that follows them for years. Weigh these in this order:
- Battery platform. The biggest decision you will make, and you make it with your first purchase. Bare tools are far cheaper than kits, but only inside one system. Pick a brand with a deep catalogue and stay in it.
- Brushless or brushed. Brushless runs cooler, lasts longer and does more work per charge. Worth the step up on the drill and impact driver, less critical on a first sander.
- Size and weight. A compact drill you can hold overhead inside a cabinet gets used. A heavy one stays on the bench. Between two tools of the same tier, buy the shorter, lighter one.
- Dust and sightlines. A sander without a real dust port and a saw you cannot see the cut line from both produce worse work and worse habits.
- What is in the box. Two batteries and a charger is the baseline. One battery means half of every session is spent waiting.
- Consumables. Blades, bits and discs change your results more than one tier of tool upgrade does. Budget for them from day one.
A mid-range brushless tool on the right platform with two batteries beats a top-tier tool on a platform you will abandon, and both beat a bargain kit with one battery and nothing sharp to cut with.
The Four Tools, In Buying Order
1. Cordless drill/driver
Everything starts here. Assembly, pilot holes, driving screws, mixing paint, sanding attachments. Buy compact and brushless if the budget stretches, on a platform with a wide range so you can grow into it.
What separates a good first drill from a bad one is rarely peak torque. It is the clutch, the chuck and the balance. A clutch with usable low settings lets you drive into softwood without sinking the head or stripping the screw, which is most of what beginners get wrong. A well-made chuck holds a round-shank bit without letting it walk under load. Two speed ranges matter too: low for driving and large holes, high for small drilling.
Suits everyone, no exceptions. If your budget covers one tool this year, buy this and put the rest into bits, clamps and safety gear.
Beginner drill kits
Two batteries and a case. Do not overspend — a mid-range brushless compact will outlast your beginner phase.
2. Circular saw with a guide
Cuts sheet goods, boards and anything straight. Add a clamp-on straight edge and it does most of a table saw’s early work for a fifth of the price and none of the floor space.
Look at the shoe, the sightline and the blade before anything else. A thin, flexible base plate makes accurate cuts hard no matter how careful you are, so a stiff shoe that sits flat is worth more than extra power. Check that you can see the blade meeting your line from a normal standing position, and that the depth and bevel levers lock without a fight. Then treat the included blade as a rough-work blade and buy a high-tooth-count thin-kerf blade for plywood plus a general-purpose blade for lumber. That choice is the difference between splintered plywood and an edge you can finish.
Suits anyone building shelves, cabinets, plywood boxes or garden beds. If every project you have planned is small parts from narrow boards, you can wait — but the day a full sheet arrives, a saw and a guide is the cheapest accurate way to cut it, and the only one that does not eat floor space.
Circular saw and guide
Get the saw and the guide together. Freehand cuts in plywood teach bad habits.
3. Random orbital sander
The single biggest improvement in how your projects look. Surface preparation is most of a good finish, and hand sanding will make you hate the hobby.
Buy 5-inch with hook-and-loop pads, variable speed if it is offered, and a dust port that will take a shop vacuum hose. Good and bad separate on vibration, the pad brake and dust extraction. A sander that numbs your hand in ten minutes gets used for five, and a pad that keeps spinning fast when you lift it leaves swirls the finish will advertise. Connected to a vacuum, the discs cut instead of clogging and the dust stays out of your lungs.
Buy discs in bulk across a grit progression — coarse to flatten, medium, then fine before finish — and change them sooner than feels reasonable. Fresh abrasive cuts; worn abrasive burnishes the surface so the finish cannot grab. Suits anyone who intends to finish anything, which is nearly everyone.
Random orbital sanders
5-inch with a dust port. Buy a large pack of discs at the same time — fresh abrasive matters more than the tool.
4. Impact driver
The moment you build anything outdoors or drive long screws, this earns its place. Buy it on the same battery platform, ideally as a combo with the drill because that is cheaper.
An impact driver is not a stronger drill. It hammers rotationally, so it drives long fasteners into dense material without twisting your wrist or needing you to lean on it — and it is clumsy for delicate work, happy to snap a small screw or bury a trim head. Leave pilot holes, small screws and hardware to the drill, and give the impact driver deck screws, lags and structural work. Buy impact-rated bits, because standard bits shatter under hammering.
Suits anyone with a deck, a fence or a shed in their future. If you build furniture indoors, the drill covers you for a long while — but when the two-tool combo costs barely more than the drill alone, take the combo and grow into it.
The Order Matters
Each of these unlocks a class of project. Drill: assembly and repairs. Saw: anything from sheet goods. Sander: finished-looking results. Impact driver: outdoor structures. Buying a router or a table saw before these four means owning a tool you cannot yet use well.
There is a second reason to follow the sequence. Each tool teaches what you need for the next: the drill teaches fastener feel, the saw teaches layout and support, the sander teaches you to read a surface, the impact driver teaches when force is the right answer. Skip ahead and you learn those lessons on a machine that punishes mistakes harder.
What You Get At Each Price Band
Prices move too much to quote, so judge a tier by what it includes.
- Entry. Brushed motors, one battery, stamped shoes, dust bags instead of ports. Buy here only if the alternative is not buying at all, and expect the saw to be the first thing you replace.
- Mid. Where brushless starts: two batteries, a better chuck and shoe, a proper dust port. This is where a beginner’s money works hardest, and where all four of these should come from if you can manage it.
- Upper. Sealed switches, better brakes, less vibration, longer warranties. Real improvements, aimed at people who use tools daily; you will not out-work a mid-tier tool for years.
At every band the same upgrade pays best: put the difference into consumables and clamps rather than the next tier of tool.
Common Beginner Mistakes
Every one of these comes from buying tools as objects instead of as access to work you want to do.
- ✘ Buying a table saw as a first big tool in a small space
- ✘ Buying a 200-piece “everything” kit full of filler
- ✘ Mixing two battery platforms because both had deals
- ✘ Spending on tools and nothing on blades, bits and abrasives
- ✘ Buying used batteries
The fix is one rule: choose the platform first, buy fewer tools than you think you need, and spend what is left on the things that touch the wood.
What To Spend On Instead
- ✔ Clamps — you will never have enough
- ✔ Quality blades and bits
- ✔ A decent square and tape measure
- ✔ Safety glasses, hearing protection and a respirator
- ✔ Wood for practice pieces
Clamps are the honest answer, because every glue-up and every cut against a guide needs one more. Then blades, bits and abrasives, a square and tape you can trust, and protection for eyes, ears and lungs. Practice wood belongs on the list too — the cheapest way to learn a tool is on material you do not mind ruining.
FAQ
Total realistic budget? $400–600 for all four tools plus consumables, less if you catch a combo kit on sale.
Corded or cordless? Cordless for all four at this stage. Being able to work anywhere is worth more to a beginner than the extra grunt of a cord, and current batteries handle everything on this list.
Which brand? Ryobi for value, DeWalt or Makita if you expect to keep going seriously. Any of them will outlast your beginner phase; the real mistake is owning two platforms, not picking the wrong one.
Combo kit or one tool at a time? Take the combo when it bundles tools from this list, drill and impact driver especially. Skip the big bundles padded out with a flashlight, a radio and a saw you will replace.
Buy the drill, learn it, then let the next project tell you which of the other three you need first. Four tools, one battery platform and a drawer of decent consumables will take you further than any kit on the shelf.
See beginner kits →