Our Top Picks
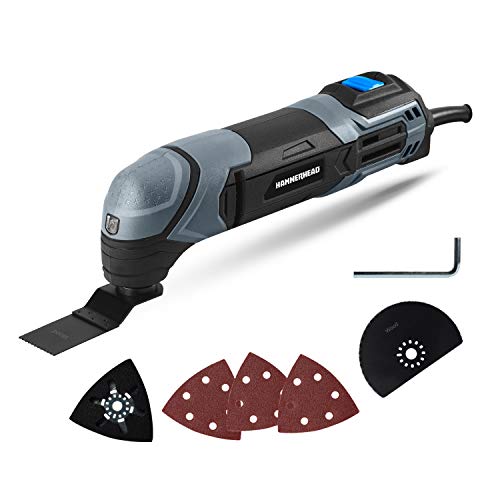 Hammerhead 2.2-Amp Oscillating Multi-Tool with 1pc Flush Cut(Pack of 1)12.56 x 4.41 x 3.79 inchesCheck on Amazon
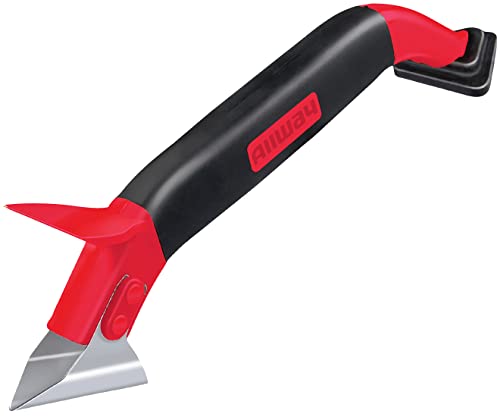 ALLWAY CT31 3-in-1 Caulk Tool for Removal and1 Pack9.5 x 3.88 x 1.62 Inches0.21 PoundsCheck on Amazon




What's inside
- 1. A brushless drill and impact driver kit is the whole foundation
- 2. The oscillating multi-tool: ugly, slow, and unavoidable
- 3. Straight cuts in sheet goods and countertops
- 4. Trim, filler strips, and the miter saw problem
- 5. Anchors, backer board, and the SDS decision
- 6. Fasteners, finish, and a brad nailer
- What to skip when buying tools for kitchen remodeling
- Frequently asked questions
- 1. A brushless drill and impact driver kit is the whole foundation
- 2. The oscillating multi-tool: ugly, slow, and unavoidable
- 3. Straight cuts in sheet goods and countertops
- 4. Trim, filler strips, and the miter saw problem
- 5. Anchors, backer board, and the SDS decision
- 6. Fasteners, finish, and a brad nailer
- What to skip when buying tools for kitchen remodeling
- Frequently asked questions
As an Amazon Associate I earn from qualifying purchases. This post may contain affiliate links at no extra cost to you.
Most kitchen remodels stall in the same place: the cabinets are on the floor, the boxes are level within a hair, and there is no way to cut a clean 22-degree scribe on a filler strip. Then comes a trip to the store, a rented tool, a lost weekend. The best tools for kitchen remodeling are not the flashiest ones. They are the handful that unlock a specific stage of the job, in the order that stage actually happens.
This list is ordered by purchase priority, not by price. Buy number one before number four even if number four looks more fun. Each entry states the job it unlocks, because a tool that does not unlock a stage is a tool you are storing, not using.
As an Amazon Associate we earn from qualifying purchases at no extra cost to you.





| Priority | Tool | Job it unlocks | Rough budget tier |
|---|---|---|---|
| 1 | 18V/20V brushless drill and impact driver kit | Cabinet install, ledger boards, hardware | Mid |
| 2 | Oscillating multi-tool | Flush cuts, tile removal, plumbing notches | Entry to mid |
| 3 | Track saw or circular saw with guide | Countertop and panel cuts | Mid to high |
| 4 | Compact miter saw | Trim, filler strips, toe kicks | Mid |
| 5 | Rotary hammer or SDS drill | Tile backer, masonry anchors | Mid |
| 6 | Brad nailer plus small compressor or cordless | Scribe molding, light rail, shoe | Mid |
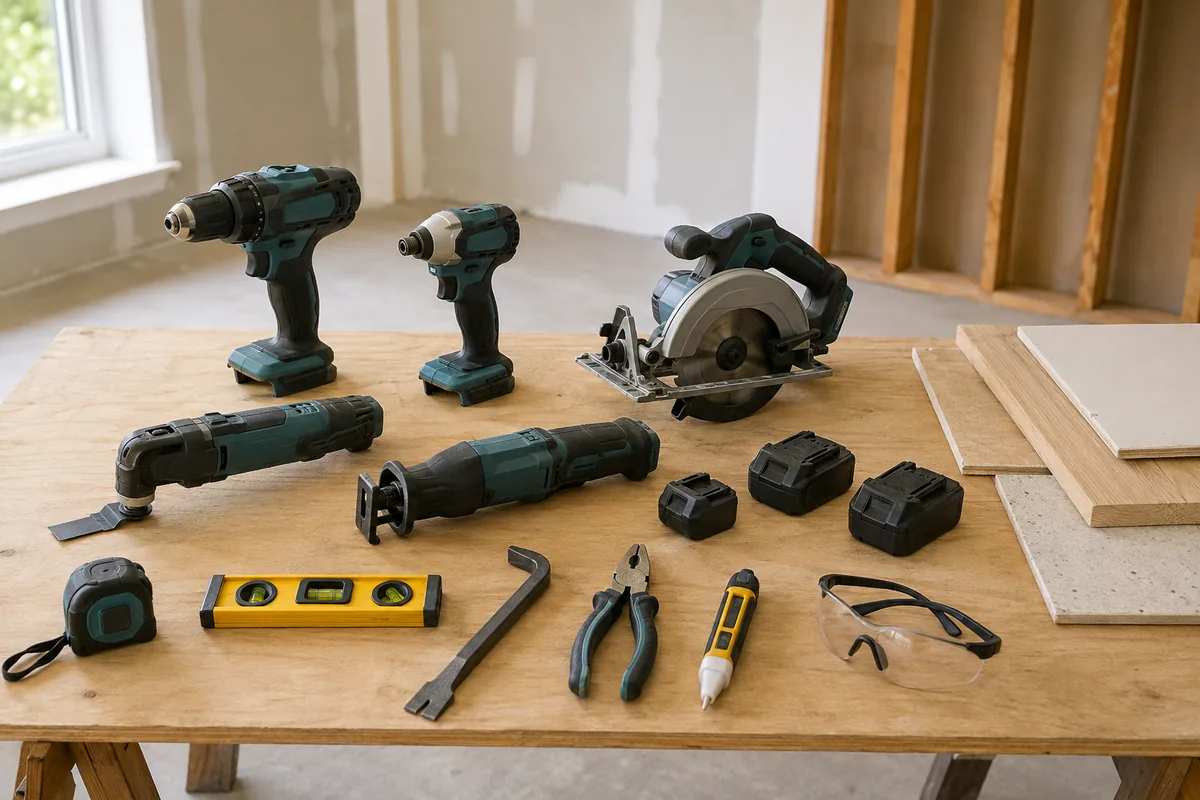
1. A brushless drill and impact driver kit is the whole foundation
If you buy one thing, buy the two-tool combo kit. Not a drill alone. Cabinet installation is hundreds of cabinet screws through 3/4 inch plywood back rails into studs, and a drill clutch slipping on every third screw will cost you an afternoon. The impact driver drives; the drill bores pilot holes, hole saws for plumbing, and self-feed bits through blocking. Swapping one bit back and forth is the amateur move that makes a two-day install take four days.
Pick a platform, not a tool. DeWalt XR, Milwaukee FUEL, Makita LXT, Ryobi ONE+ HP for tighter budgets. Every later tool on this list exists on those platforms, so the batteries you buy in step one carry into steps two, four, and six. Switching platforms mid remodel means buying chargers and batteries twice.
What matters in the spec sheet: brushless motor, two batteries in the kit, and a belt hook. What does not matter: peak torque numbers past a certain point. Nothing in a kitchen needs a drill that can break your wrist.
Brushless Drill and Impact Driver Combo Kit
Skip the five-tool bundles with the flashlight and the vacuum. A clean two-tool kit with two real batteries and a charger is the better buy, and the money you save covers the multi-tool in step two. Check that both batteries are the same amp hour rating; some bundles ship one tiny compact pack that dies halfway through a cabinet run.
2. The oscillating multi-tool: ugly, slow, and unavoidable
Nobody puts an oscillating multi-tool on a wish list. Then demo starts and it becomes the tool you reach for eight times a day. It cuts flooring flush to a cabinet base. It notches a toe kick around a floor register. It slices nails behind a stubborn cabinet cleat without opening the wall. It trims door casing off the floor so new flooring slides under instead of butting up against it.
The job it unlocks is demolition without collateral damage. That distinction matters when the wall behind your cabinets holds a gas line and the old backsplash tile is bonded to drywall paper.
Buy corded or cordless based on how much continuous cutting you expect. Cordless wins for quick cuts around plumbing. Corded holds up better on long tile removal sessions. Either way, budget more for blades than you expect, because bimetal blades dull fast on nails and a dull blade burns instead of cutting.
3. Straight cuts in sheet goods and countertops
Every kitchen has a moment that demands one perfect long cut. A cabinet end panel scribed to a wavy wall. Butcher block trimmed to length. A laminate top cut to fit a 34 inch gap that is actually 33 and 7/8 at the back.
A track saw does this best. Set the track on the line, plunge, done, with a factory-clean edge and almost no tearout. It also cuts your dust cleanup roughly in half when connected to a shop vac, which is not a small thing in a room you are still cooking in.
If a track saw is out of budget, a good circular saw with a clamped straightedge gets 90 percent there. Use a 40-tooth or higher blade, score the cut line with a utility knife first on laminate and veneer, and cut with the good face down on a standard circular saw so tearout lands on the hidden side.
- ✔ Factory-quality edges on butcher block and cabinet panels
- ✔ Dust extraction that keeps a live kitchen usable
- ✔ Doubles as your breakdown saw for plywood shelving and drawer bottoms
- ✘ Track saws cost real money and the track is a separate line item
- ✘ Overkill if your countertop is being templated and installed by a fabricator
- ✘ Bulky to store in an apartment or small garage
Track Saw with Guide Rail
Worth it if you are installing butcher block, cutting your own end panels, or building any part of the cabinetry. If your quartz or granite is fabricated off site and your cabinets arrive assembled, spend this money on the miter saw instead and use a straightedge with your circular saw for the few cuts that remain.
4. Trim, filler strips, and the miter saw problem
Kitchens are mostly small precise cuts, not big ones. Filler strips between a cabinet and a wall. Toe kick returns. Light rail under upper cabinets. Crown or scribe molding at the ceiling, where the ceiling is never flat.
A compact 7 1/4 or 10 inch miter saw handles all of that and fits on a scrap of plywood across two sawhorses. Chasing a 12 inch dual-bevel slider is a mistake for most kitchens; it costs more, weighs more, and needs clearance behind it that a job site kitchen does not have. The exception is wide crown cut flat, which is a real reason to size up if your design calls for it.
Set aside time to check the fence square and the bevel stops out of the box. A saw that is a half degree off produces gaps in every miter, and you will blame your technique for two days before you check the tool.
5. Anchors, backer board, and the SDS decision
Two situations force this purchase: masonry or concrete walls, and cement backer board plus tile. A rotary hammer in SDS-Plus drills anchor holes in block and concrete without cooking a drill motor, and it chisels old thinset and tile off a slab in a way a hammer drill never will.
If your kitchen is wood-framed with drywall and the floor is plywood over joists, you can skip this entirely. Rent it for the one afternoon you need it. That is a legitimate answer and it is cheaper than owning.
6. Fasteners, finish, and a brad nailer
Last on the priority list because you can survive without it. A cordless 18 gauge brad nailer makes scribe molding, shoe base, light rail, and cabinet trim disappear into the work instead of showing filled screw holes. It is also the tool that turns a competent install into one that looks professional, which is why it earns a spot rather than getting cut.
Cordless models cost more than pneumatic. Pneumatic needs a compressor and a hose dragging across your new floor. In a kitchen, where you are working in tight corners on ladders, cordless is worth the premium.
What to skip when buying tools for kitchen remodeling
The following show up in every kitchen remodel tool list and earn their place in almost none of them.
Wet tile saw, if you are tiling only a backsplash. A manual snap cutter plus a grinder with a diamond blade handles subway tile and outlet cutouts for a fraction of the price and storage. Buy or rent the wet saw for floor tile and porcelain, not for a 30 square foot backsplash.
Reciprocating saw as a demo primary. It is a great tool and a terrible first choice in a kitchen. The blade wanders behind walls where the supply lines and gas run. Use the multi-tool for controlled cuts, and let the recip handle old cast iron drain stubs and rough framing only.
Table saw, for most remodels. Unless you are building cabinets or drawer boxes, a track saw and a miter saw cover the kitchen. A table saw eats floor space in a room that has none.
Combo kits with six tools and two undersized batteries. The radio, the flashlight, and the tiny circular saw are how the price stays low. The batteries are the tell.
Laser levels with a huge feature list. A basic cross-line laser plus a good 4 foot spirit level and a stud finder covers cabinet layout. The self-leveling rotary units are for framing crews.
Cordless 18 Gauge Brad Nailer
The tool that separates a decent install from a clean one. Buy it on the same battery platform you chose in step one. If your remodel has no crown, no light rail, and no shoe molding, move it to the bottom of your list and revisit when the trim goes on.
Frequently asked questions
What is the minimum tool set to install kitchen cabinets myself? A drill and impact driver combo, a 4 foot level, a stud finder, clamps for holding face frames together, a chalk line or laser for your layout line, and an oscillating multi-tool for the surprises. Everything else on this list makes the job faster or the finish better, but that short set gets boxes on the wall safely.
Should I rent or buy the big tools? Rent anything you will use for one day and never again. That usually means the rotary hammer, the wet tile saw, and a floor scraper. Buy anything you touch on multiple days, which is the drill and impact, the multi-tool, and the miter saw. The math almost always favors buying when a rental would run three days or more.
Do I need to stick to one battery platform? For a remodel, yes. Batteries and chargers are a large share of cordless cost, and a second platform means duplicating both. Pick a system with the tools you need at prices you accept, then stay there for the whole project. Mixing brands is a decision to make after the kitchen is done, not during.
Buy in order, use each tool for the stage it unlocks, and rent the one-day specialists. That is the whole strategy, and it keeps a kitchen remodel from turning into a tool collection with a half-finished kitchen attached.
Check prices on Amazon →