What's inside
As an Amazon Associate I earn from qualifying purchases. This post may contain affiliate links at no extra cost to you.
A cordless die grinder is useful for removing burrs from cut steel, aluminum, castings, and welds without dragging an air hose across the workbench. It is also easy to make a clean edge worse: one aggressive pass can gouge a flat face, round a precision shoulder, or overheat a thin part.
Controlled deburring comes from matching the accessory and speed to the material, then taking several light passes. The battery platform matters too. A grinder that runs well on the batteries you already own is usually a better buy than a slightly faster tool that requires a new charger and pack.
Choose the Right Cordless Die Grinder
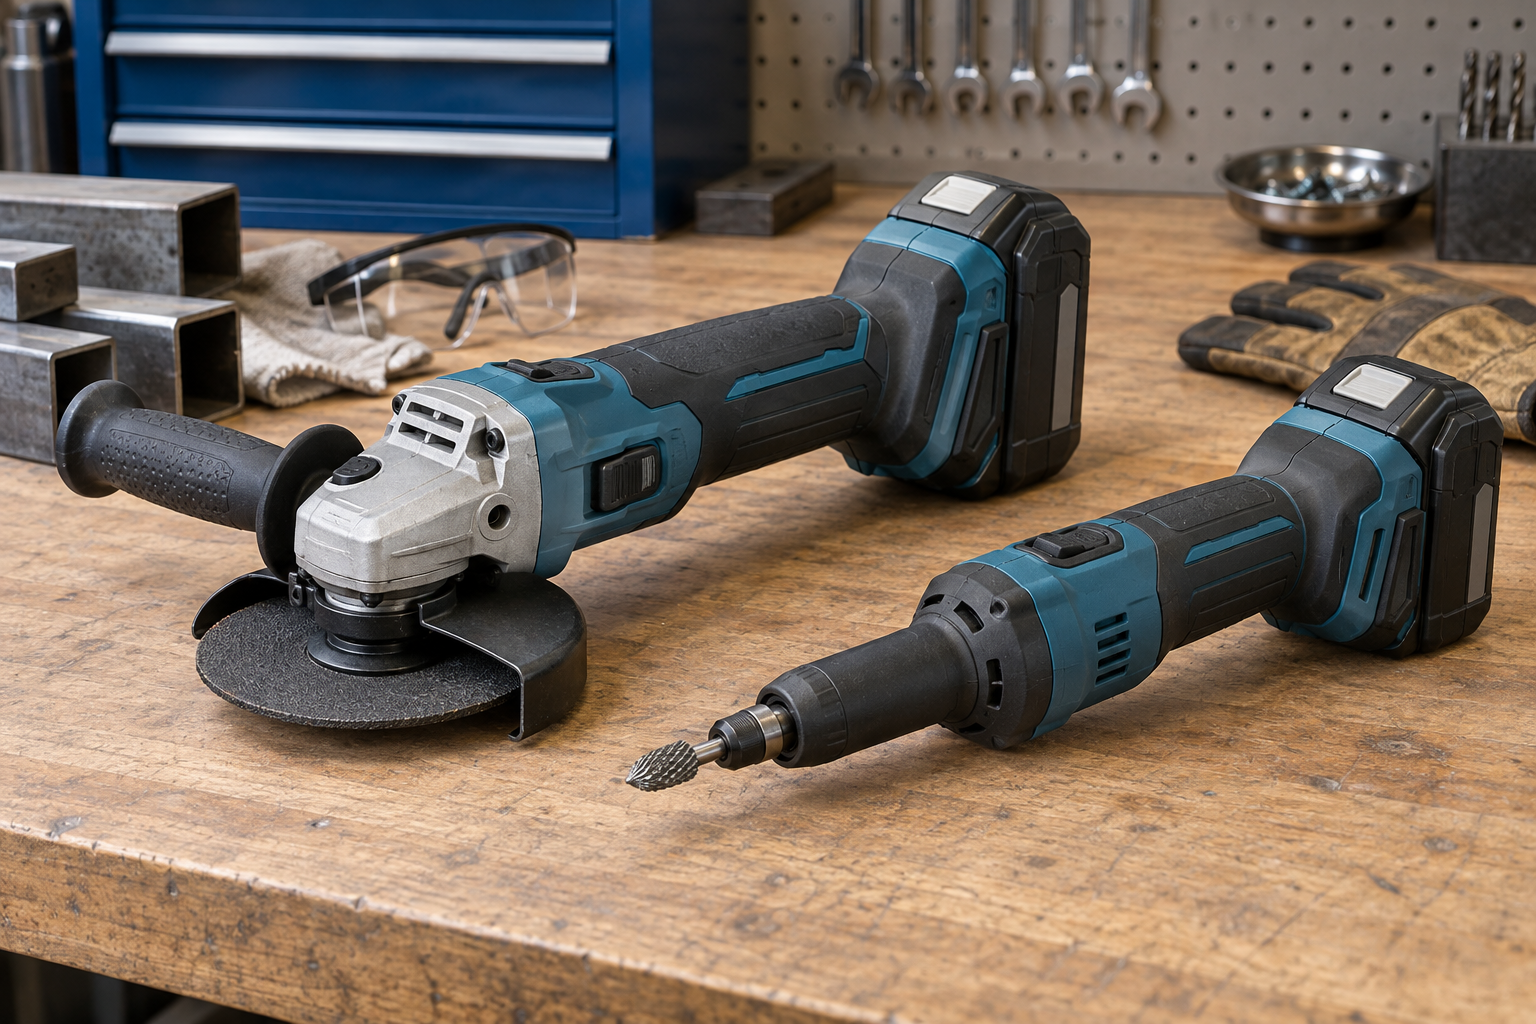
Most cordless die grinders use a 1/4-inch collet and accept carbide burrs, mounted stones, small flap wheels, and abrasive discs. Straight grinders are easier to guide along an edge. Right-angle versions offer better access inside frames, corners, and tubing, but their heads can obstruct your view on open surfaces.
Look for variable speed, a lock-off switch, electronic overload protection, and a brushless motor if the tool will see frequent use. A variable-speed trigger is preferable for deburring because it lets you start around 5,000 to 8,000 rpm instead of immediately reaching maximum speed. A tool with only a high and low setting can still work, but it requires more care with aluminum and thin sheet.
If you already own batteries from a major platform, start with a cordless die grinder tool-only in that system. Tool-only pricing is often reasonable when you have compatible packs. Buying into a second platform just for occasional deburring is harder to justify once the battery and charger are included.
| Accessory | Best use | Main failure mode |
|---|---|---|
| Carbide burr | Fast removal on steel, cast iron, and welds | Gouging the work or grabbing an edge |
| Mounted stone | Small steel edges and controlled smoothing | Loading, cracking, or breaking from side pressure |
| Flap wheel | Blending and light finishing on broad areas | Rounding corners and removing too much material |
| Small abrasive disc | Cutoff and localized material removal | Snagging, shattering, or cutting beyond the target |
Prepare the Work and Yourself
Wear safety glasses plus a face shield when using carbide burrs or cutoff wheels. Add hearing protection, snug gloves that cannot catch in the rotating tool, and a dust mask or respirator appropriate for the material. Do not wear loose sleeves, jewelry, or a dangling cord—there should not be one on a cordless grinder, but a charger lead or extension can still enter the work area.
Clamp the part firmly. Holding a small workpiece in your hand invites the grinder to pull it into your fingers or throw it across the bench. Position the clamp so the tool can travel away from your body. Inspect the collet, accessory, and guard before installing anything. Do not use a burr with bent shanks, a stone with chips or cracks, or an abrasive wheel whose rated speed is below the grinder’s maximum.
Mark the area to be removed with a paint marker. For a precision fit, measure the adjacent surface and decide how much material may come off. A visible line gives you a stopping target; without one, it is easy to keep working because the burr still feels rough.
Set Speed and Install the Accessory
Insert the burr or shank into the collet nearly to its full usable depth, then pull it back slightly—about 1/16 inch—to prevent bottoming out. Tighten the collet securely with the supplied wrench. Excessive exposed shank increases vibration and makes the accessory more likely to bend or break.
Use lower speeds for aluminum, plastic, thin sheet, and large-diameter accessories. Aluminum can weld itself to a burr when run too slowly with heavy pressure, but high speed and aggressive contact can also smear it across the flutes. A light application of manufacturer-approved cutting fluid may help on aluminum; keep liquid away from the battery and motor vents.
As a starting point, use 6,000 to 10,000 rpm for a small carbide burr on steel, 8,000 to 15,000 rpm for a small mounted stone if its rating allows it, and the lowest practical setting for a flap wheel on a thin edge. Always follow the accessory’s printed maximum speed. Bigger accessories must run slower because their rim speed rises with diameter.
Deburr in Controlled Passes
Start the grinder clear of the work, let it reach speed, and touch the burr to the edge with almost no pressure. Hold the tool with two hands when possible: one around the body and one supporting the rear or battery area. Keep the accessory moving rather than dwelling in one spot.
For an outside edge, use a shallow angle—roughly 15 to 30 degrees—and make one pass in the direction that tends to push the tool away from the edge. Remove only the raised lip on the first pass. Stop, wipe the area, and feel it carefully with a gloved finger or inspect it visually. A second light pass is safer than trying to remove the entire burr in one sweep.
For a hole, approach from the face and circle the opening evenly. Do not plunge a large burr deep into the hole. A countersink or small flap wheel may produce a more uniform chamfer, while a carbide burr is better for a localized casting flash or damaged section. On a weld, knock down the high spots first, then switch to a flap wheel if you need a blended appearance.
Avoid Common Cordless Grinder Failures
Excessive pressure is the most common mistake. It stalls the motor, drains the battery quickly, overheats the accessory, and can trigger electronic overload protection. If the tool repeatedly cuts out, reduce pressure and let it cool. Do not defeat the protection by repeatedly pulling the trigger immediately after a shutdown.
Watch for vibration, a changing pitch, sparks from an unexpected location, or a burr that begins to wobble. Stop at once and inspect the shank and collet. A damaged accessory can fail at speed. Keep ventilation slots clear; metal dust packed into the tool can shorten motor and electronics life.
Battery size affects handling as much as runtime. A compact 2.0Ah or 3.0Ah pack keeps the grinder light for detail work. A 5.0Ah or larger pack gives longer runtime and can maintain performance under load, but it makes the tool heavier and may prevent access in tight spaces. For frequent shop use, consider a 5.0Ah cordless tool battery and charger only if your existing packs are too small or worn.
Finish and Maintain the Tool
After deburring, remove abrasive dust with a brush or vacuum rather than blowing it into the grinder. Check the edge with a bright light and run a clean cloth over it; a snag usually reveals a remaining burr. For a sealing or sliding surface, verify that you have not created a chamfer where a sharp shoulder was required.
Remove the battery before changing accessories or cleaning the tool. Store burrs and stones so they cannot strike each other, and rotate through multiple batteries instead of repeatedly running one pack completely flat. If you need more control than a full-size grinder provides, a variable-speed cordless rotary tool is the cheaper, lighter choice for small burrs and thin materials, though it removes metal more slowly and usually has less runtime under load.
Related guides
- Longest Lasting Lawn Mower Battery: AGM vs Lithium vs Flooded Lifespan and Cost per Season
- Duralast Gold Lawn Mower Battery Review: U1 Fit, CCA and When to Pay for AGM
- Greenworks Pro 80V 21-Inch Mower Review: Runtime Math, Push vs Self-Propelled and Yard Fit
- Bosch High Pressure Washer Gun Replacement: Fittings, Adapters and What Fits Your Model