What's inside
As an Amazon Associate I earn from qualifying purchases. This post may contain affiliate links at no extra cost to you.
Cabinet installation is a precision job, not a contest to see how many volts are printed on a tool. You need controlled drilling, repeatable screw driving, good visibility, and batteries that last through a full run of cabinets without turning the work into a charging exercise. A practical cordless kit usually starts with one battery platform and adds tools only when they solve a specific installation problem.
Choose a battery platform first
Pick a brand ecosystem before buying individual tools. Batteries and chargers are rarely cross-compatible between brands, and the batteries often cost as much as the bare tool. A platform with 18V or 20V Max compact batteries is usually the best fit for cabinet work. The voltage labels are marketing differences in many cases; the tool’s size, clutch, trigger control, and battery capacity matter more.
For most installations, two battery sizes are useful: a compact 2.0Ah or 2.5Ah pack for drilling and driving overhead, and a 4.0Ah or 5.0Ah pack for longer work or tools that draw more power. Compact packs reduce wrist fatigue and make it easier to hold a drill square to a cabinet stile. Larger packs provide more runtime but can make a driver surprisingly tiring after several hours.
Look for a platform with a broad range of compact cordless tools, reasonably priced replacement batteries, and a charger that supports the battery sizes you intend to use. A platform with only a few specialty tools may be cheaper initially but frustrating later if you need an impact driver, trim router, or oscillating tool.
The core tools you actually need
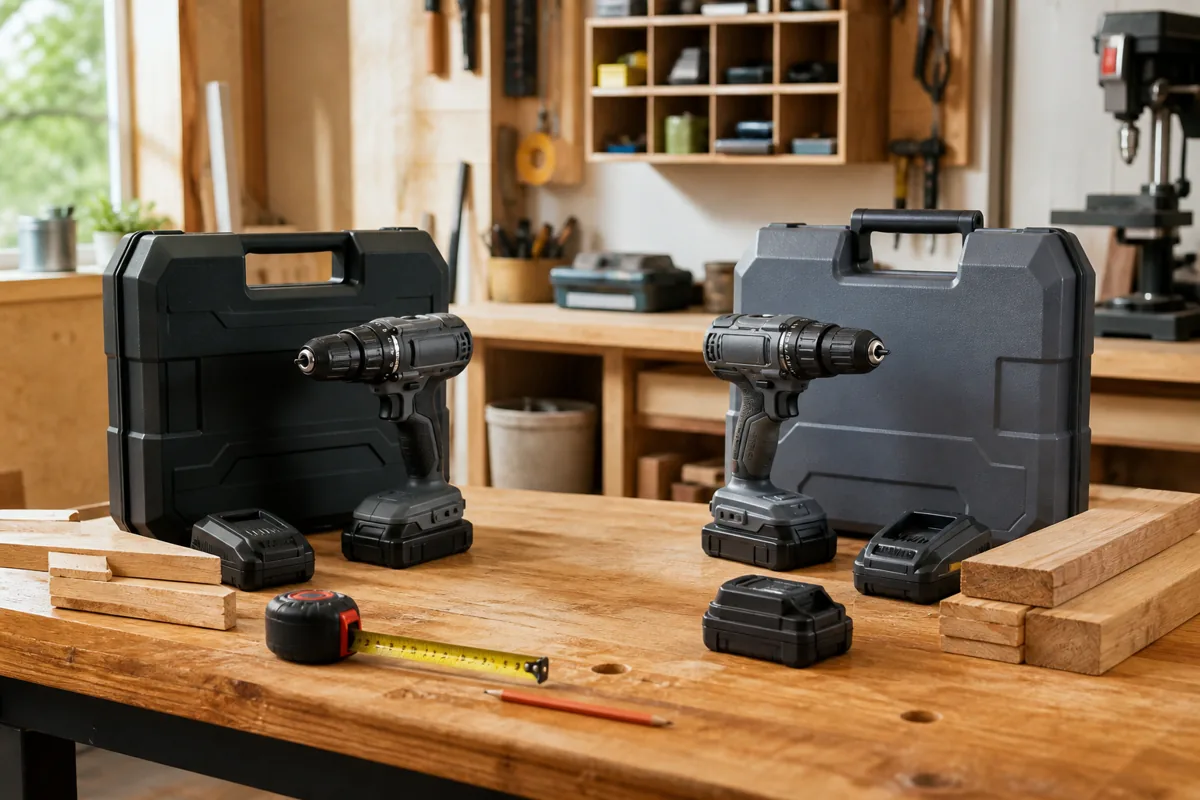
Start with a cordless drill-driver kit that includes at least one battery and a charger. A 1/2-inch chuck is convenient but not essential; a 3/8-inch chuck handles normal cabinet bits and costs less. Prioritize a two-speed gearbox, a mechanical clutch with several settings, and a low-speed trigger that does not jump when you start a screw.
A drill-driver is preferable to an impact driver for most cabinet assembly. Its clutch can stop driving when the screw seats, reducing stripped heads, crushed melamine, and over-tightened hinge screws. An impact driver is still useful for hanging cabinets into studs, driving long structural screws, and drilling through dense material, but it requires a lighter touch. If you buy one, use the lowest practical speed and avoid driving cabinet screws until the head disappears into the material.
Add a compact cordless impact driver if you regularly install wall cabinets or work in older homes with hard framing. It saves time on long screws, but it is not a replacement for the drill-driver. Impact mechanisms can snap small screws and make it harder to feel when a hinge or drawer slide screw is fully seated.
A compact oscillating multi-tool is the next most useful addition. It can notch filler strips, trim shims, undercut flooring, remove a damaged screw, and cut an opening for plumbing access. It is slower and less tidy than a dedicated saw, but its controlled plunge cuts are valuable when cabinets are already against a wall.
What to buy by priority
| Tool or accessory | Priority | Best use | Main trade-off |
|---|---|---|---|
| Drill-driver | Essential | Pilot holes, cabinet screws, hardware | Slower than an impact driver on long screws |
| Impact driver | High for wall cabinets | Long structural screws and studs | Easy to overdrive small screws |
| Oscillating multi-tool | Useful | Notches, shims, flush cuts, repairs | Blades wear quickly in nails or hard materials |
| Compact trim router | Optional | Flush-trimming and small edge work | Creates dust and needs careful bit control |
| Work light | Useful | Dark corners and cabinet interiors | Uses a battery that could power a drill |
Spend money on bits and accessories
Poor bits cause more installation problems than an underpowered drill. Buy quality Phillips, square-drive, and Torx bits in the sizes used by your cabinet hardware. Keep several fresh 2-inch bits available; a worn bit cams out of a screw head and can damage finished surfaces. A magnetic bit holder with a long reach helps with corner screws and drawer-slide installation.
Use a brad-point or sharp twist bit for clean pilot holes. For common cabinet screws, a 7/64-inch or 1/8-inch pilot bit is often appropriate, but match the hole to the screw’s core diameter and the material. Test on scrap first. Drilling too large a pilot hole weakens the grip; drilling too small a hole can split a stile or overheat the screw.
A countersink bit is useful when screws must sit flush, but do not countersink into thin cabinet sides unless the manufacturer allows it. A stepped drill bit is handy for plumbing and electrical penetrations, while a small hole saw makes cleaner openings for larger pipes. Keep a vacuum nearby: chips trapped behind a cabinet can prevent it from sitting flat against the wall.
Plan batteries and charging
For a small kitchen, two batteries can be enough if one is charging while the other is in use. A more comfortable setup is two compact packs plus one 4.0Ah or 5.0Ah pack. Expect roughly hundreds of small screws from a healthy 2.0Ah battery, but far less runtime when drilling large holes, cutting shims, or driving structural screws. Cold batteries and old packs can lose a noticeable amount of capacity.
A rapid charger reduces downtime, but it may produce more heat and cost substantially more. The cheaper standard charger is fine for occasional installation work if you charge batteries during layout, leveling, and cleanup. Do not leave packs in a hot vehicle or charge visibly damaged batteries. If a pack becomes swollen, unusually hot, or cuts out under light load, retire it rather than trusting it overhead.
Use the tools without damaging cabinets
Pre-drill near cabinet edges, especially in hardwood face frames and narrow stiles. Clamp cabinets before driving screws, and use a level or straightedge rather than relying on the cabinet box. Set the drill clutch low for assembly, then increase it only enough to seat the screw. A screw that spins after seating has already lost holding power.
For wall cabinets, locate studs accurately and use fasteners rated for the cabinet weight and wall condition. Do not rely on drywall anchors for a loaded cabinet. Drive structural screws with an impact driver only until the cabinet rail is snug against the wall; continued impact can crush the rail or pull the screw head through it.
The cheaper kit is fine when you are installing one bathroom vanity or a few stock cabinets. For a full kitchen, paying more for a comfortable drill, a second battery, and a reliable charger usually saves more time than buying a high-powered saw you will rarely use.
Related guides
- Longest Lasting Lawn Mower Battery: AGM vs Lithium vs Flooded Lifespan and Cost per Season
- Duralast Gold Lawn Mower Battery Review: U1 Fit, CCA and When to Pay for AGM
- Greenworks Pro 80V 21-Inch Mower Review: Runtime Math, Push vs Self-Propelled and Yard Fit
- Bosch High Pressure Washer Gun Replacement: Fittings, Adapters and What Fits Your Model