What's inside
As an Amazon Associate I earn from qualifying purchases. This post may contain affiliate links at no extra cost to you.
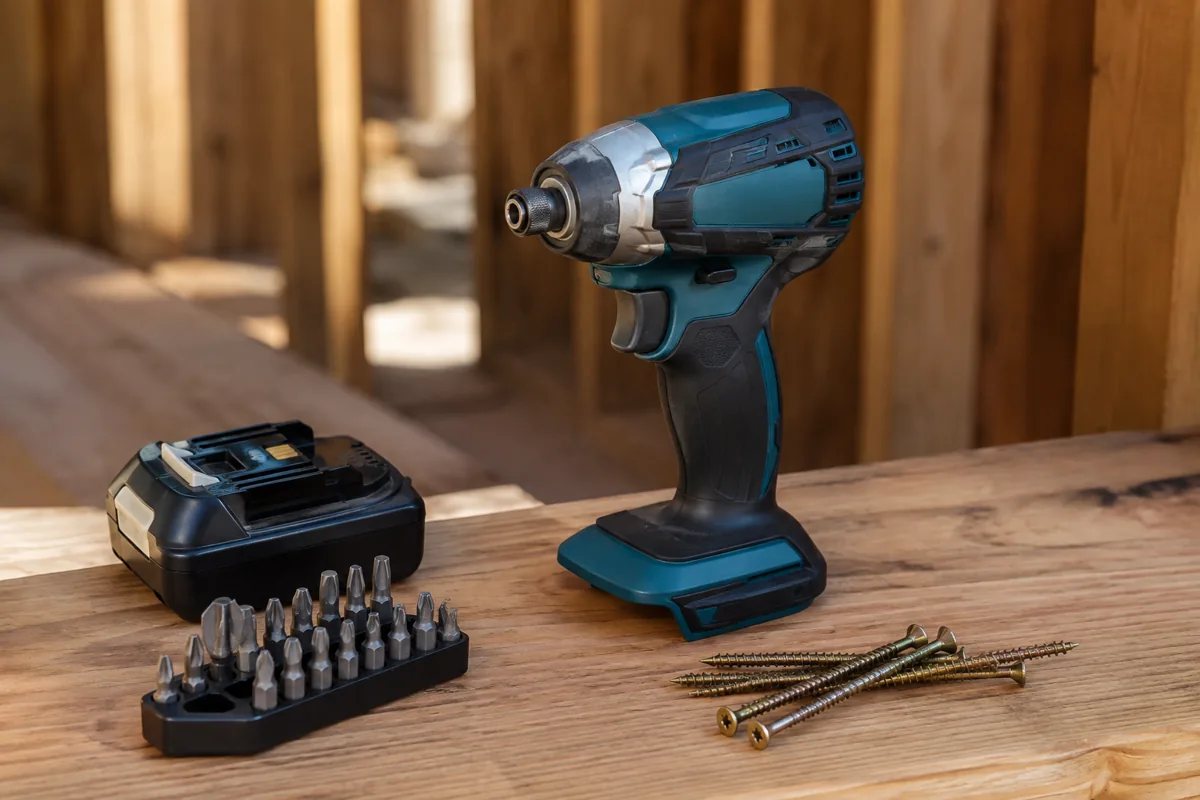
Cabinet screws are small, and cabinet parts are expensive to replace. A cordless impact driver can drive them quickly, but its high torque and pulsing action make it easier to strip a head, break a screw, or pull a screw through plywood. The right setup is less about maximum power and more about controlling speed, using the correct bit, and stopping as soon as the head reaches the surface.
Choose the right tool and battery
A drill/driver with an adjustable clutch is the easiest cordless tool for cabinet screws. Its clutch slips when the screw reaches the selected resistance, which gives you a repeatable stopping point. An impact driver is still useful, particularly for long cabinet-installation screws, hardwood, and repeated assembly, but most impact drivers do not have a conventional mechanical clutch.
If you are buying specifically for cabinet work, compare a cordless drill/driver with an adjustable clutch before choosing an impact driver. The cheaper option is fine if you install only a few cabinets or already own a drill. An impact driver makes more sense if you also drive structural screws, deck screws, or other long fasteners.
Use the smallest battery that gives you a comfortable balance. A compact 1.5- to 2.0-Ah battery usually makes overhead cabinet work easier than a heavy 4.0- or 5.0-Ah pack. The larger battery does not automatically provide better control; it mainly adds runtime and weight. Stay within one battery platform if possible so your charger and packs also work with your other cordless hand tools.
Set the impact driver before driving
Start with the lowest speed or power setting. Many current impact drivers have two or three electronic modes, while some have a controlled-start or self-tapping mode. Select the lowest setting that will drive the screw at a reasonable pace. If the tool has a numbered speed range, begin around the first quarter of its trigger travel rather than squeezing the trigger fully.
Do not assume a low mode makes the driver harmless. Even a low-power impact setting can deliver far more torque than a small cabinet screw needs. The trigger is your primary control. Pull it slowly, let the bit seat in the recess, and release it immediately when the head is flush or when the screw reaches the planned depth.
| Cabinet screw job | Starting setting | What to watch for |
|---|---|---|
| Joining two face frames | Low speed, light trigger pressure | Stripping or pulling the screw through the frame |
| Attaching hinges or slides | Lowest mode or drill/driver clutch | Overdriving the small screw head |
| Driving through a cabinet rail into a stud | Low or medium mode | Stopping before the cabinet bows or the screw bottoms out |
| Long screw into hardwood | Low speed with a pilot hole | Heat, cam-out, and excessive impact noise |
If your driver has a selectable impact mode, use it only after the screw has started cleanly. A compact variable-speed cordless impact driver is preferable to a high-torque model with only an on/off trigger. The extra control is more valuable here than a higher torque rating.
Use the correct bit and screw
Use a fresh bit that exactly matches the screw recess. A worn Phillips bit will cam out under impact, while a mismatched Pozidriv and Phillips combination may feel secure until it suddenly slips. For common cabinet screws, a quality No. 2 Phillips or the specified square-drive bit is normally appropriate. Keep a spare bit nearby; replacing a worn bit costs less than repairing a damaged cabinet face.
Choose a screw designed for the material and joint. Cabinet screws with a washer-style head spread pressure across particleboard, plywood, or a face frame. Confirm the screw length before driving. A 1 1/4-inch screw is common for joining 3/4-inch panels, but the correct length depends on the materials, overlays, and whether the screw must avoid a finished surface or a drawer cavity.
For visible or finished parts, use a depth stop, magnetic bit holder with a stop collar, or a sacrificial test piece. A stop collar is more reliable than trying to judge depth while working overhead. You can find a depth-stop bit set for impact drivers when consistent countersink depth matters.
Prepare the cabinet joint
Clamp or firmly hold the parts in their final position before driving. Cabinet panels can shift when the screw threads grab, leaving an uneven face frame or a misaligned box. For face frames, clamp across the joint and check that the front edges are flush. A clamp is not optional when one hand would otherwise be holding the work and the other would be operating the tool.
Drill a pilot hole when working near an edge, in hardwood, or with a screw longer than about 1 1/2 inches. Match the pilot hole to the screw’s core diameter, not its outside thread diameter. For a typical small cabinet screw, a pilot hole around 1/8 inch may be suitable, but check the actual screw and material. In plywood and particleboard, a clearance hole through the first piece prevents the threads from pushing the joint apart.
Mark the depth with painter’s tape if you do not have a stop. For screws that must finish below the surface, countersink only as deep as necessary. Driving a head 1/8 inch below a melamine or veneer surface can break through the thin finish and create a permanent chip.
Drive the screw in a controlled sequence
Fit the bit squarely into the screw, start the driver at low speed, and keep steady pressure along the screw’s axis. Let the threads cut rather than forcing the tool sideways. Drive until the head is flush, or until the washer head is firmly seated. Stop during the first impact sound that follows seating; continuing for another second can bury the head, crush the substrate, or strip the recess.
For a joint with two or more screws, start all screws loosely before tightening any of them. This keeps the parts aligned. Tighten the center or most important screw first, then alternate to the remaining screws. After the joint is secure, check the cabinet for a bowed panel, opened seam, or screw head that has pulled through the material.
Fix common problems
If the bit slips, stop immediately. A slipping bit rounds the recess and can also scar the finish. Replace the bit, press harder in line with the screw, and lower the speed. If the screw still will not start, back it out and drill a pilot hole rather than increasing power.
If the screw spins without tightening, the threads may have stripped the particleboard or entered an existing hole. Move the screw to a sound location if the joint allows it, or use a larger-diameter cabinet screw approved for that material. Do not keep pulsing the driver; more torque usually makes the damaged hole worse.
If the head breaks off, the screw was over-torqued, defective, or driven into unusually hard material. Remove the remaining shank with locking pliers if accessible, then inspect the joint before selecting a replacement. For delicate hinges, drawer slides, and finished trim, a small cordless screwdriver with adjustable torque is often safer than an impact driver.
Related guides
- Longest Lasting Lawn Mower Battery: AGM vs Lithium vs Flooded Lifespan and Cost per Season
- Duralast Gold Lawn Mower Battery Review: U1 Fit, CCA and When to Pay for AGM
- Greenworks Pro 80V 21-Inch Mower Review: Runtime Math, Push vs Self-Propelled and Yard Fit
- Bosch High Pressure Washer Gun Replacement: Fittings, Adapters and What Fits Your Model