What's inside
As an Amazon Associate I earn from qualifying purchases. This post may contain affiliate links at no extra cost to you.
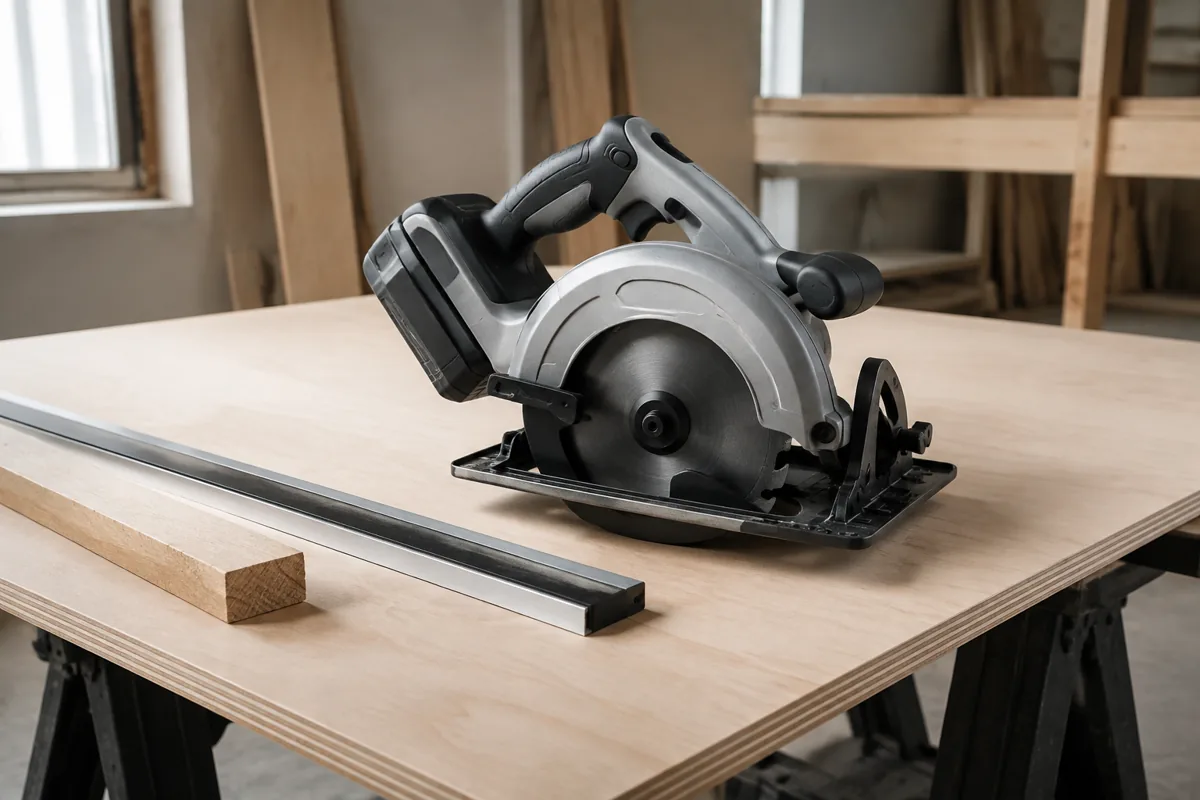
A cordless circular saw can make clean, repeatable crosscuts, but accuracy depends more on setup than on the saw’s advertised speed. A sharp blade, a supported workpiece, and a reliable guide usually matter more than buying the most powerful model. Before cutting, set up the battery, blade, depth, cutting line, and support so the saw has no reason to wander or pinch.
Choose the right saw and battery
For most DIY crosscuts in 2x4s, plywood, shelving, and trim boards, a 6-1/2-inch cordless saw is compact and easy to control. A 7-1/4-inch model usually has more depth capacity and is the better choice for frequent framing work, thick lumber, or users who already own that battery platform.
| Use case | Practical choice | Main trade-off |
|---|---|---|
| Occasional repairs and small projects | 6-1/2-inch saw with a 2.0Ah or 4.0Ah battery | Lighter, but less runtime and sometimes less power |
| Framing and repeated cuts | 6-1/2-inch or 7-1/4-inch brushless saw with a 4.0Ah or larger battery | More runtime and power, but heavier |
| Thick stock and deep bevel cuts | 7-1/4-inch saw | More expensive and less maneuverable |
The cheaper option is fine if you are cutting a few boards at a time. A larger battery does not automatically make a saw more accurate; it mainly adds runtime and can improve sustained power. It also adds weight, which can make a long, awkward cut harder to control. Use the battery recommended by the manufacturer, charge it fully, and avoid starting a precision job with a nearly empty pack.
If you are joining a new cordless platform, compare the available cordless circular saw kits with battery and charger, not just bare tools. A kit costs more initially but can be cheaper than buying a battery and charger separately.
Install and check the blade
Remove the battery before installing or inspecting a blade. Confirm that the blade diameter, arbor size, and maximum rated speed match the saw. For general lumber, a 24-tooth framing blade cuts quickly. For plywood, melamine, and cleaner crosscuts, use a 40-to-60-tooth finish blade. More teeth generally improve the edge but cut more slowly and can load the saw if you force it.
Install the blade with the teeth pointing in the direction shown by the arrow on the saw’s guard. Tighten the arbor bolt securely, but do not use an impact driver or excessive force. Spin the blade by hand with the battery removed. It should run true without scraping the guard. A bent blade, missing tooth, or visible wobble is a setup problem, not something to work around.
Inspect the lower guard. It should retract smoothly when you pull the saw into the work and snap closed when released. Resin, dust, or a damaged spring can leave the blade partly exposed. Clean the guard rather than lubricating it with an oily product that attracts more sawdust.
Mark and support the workpiece
Measure from a consistent reference edge and mark the cut with a sharp pencil or knife. For a square crosscut, draw the line across the board with a combination square. Extend the mark far enough for the front edge of the saw’s shoe to stay aligned as you cut.
Support the board on sawhorses, foam insulation, or sacrificial strips so the offcut cannot fall and pinch the blade. Keep the cut line at least a few inches away from each support. A board supported only at its ends can sag; that sag often closes the kerf behind the blade and causes the saw to slow, kick back, or drift.
For sheet goods, use several supports or a full sheet of rigid foam. Make sure the section carrying the saw remains stable throughout the cut. Clamp small pieces rather than holding them with your free hand. Never cut a workpiece that can rotate or slide as the blade exits.
Set the depth and bevel
Set the bevel to 0 degrees for a normal crosscut. Unlock the bevel lever, place the saw on a flat surface, and align the indicator with zero. Do not trust the scale blindly if the saw has been dropped; verify the shoe is actually square to the blade with a combination square.
Set the blade depth so the lowest tooth extends about 1/8 to 1/4 inch below the material. For a 1-1/2-inch-thick 2×4, that usually means roughly 1-3/4 inches of blade exposure. Too much exposure increases the amount of blade in the cut and can increase tear-out and kickback. Too little may leave an incomplete cut if the board is cupped or the saw shoe lifts.
Use the correct sight notch on the shoe. Many saws have separate marks for 0-degree and 45-degree cuts, but these indicators are approximate. A test cut in scrap reveals whether the blade actually follows the marked line.
Use a guide for repeatable cuts
The saw’s shoe notch is adequate for rough framing, but it is not a precision guide. For repeated cabinet, shelving, or furniture cuts, clamp a straightedge to the workpiece and guide the shoe against it. Account for the distance between the blade’s teeth and the edge of the shoe; measure this offset on your saw instead of guessing.
A purpose-built circular saw guide rail or straightedge is worthwhile when you need several identical cuts. A homemade guide from straight plywood works well and is often the cheaper option. Check it for straightness before trusting it on a long panel.
Make the cut safely
Put on eye and hearing protection, remove loose clothing, and keep both hands on the saw when possible. Place the front of the shoe flat on the workpiece with the blade clear of the edge. Start the saw, let it reach full speed, then advance steadily along the line. Do not plunge into the material unless the saw and procedure are designed for plunge cutting.
Keep the cord-free saw moving at a moderate pace. If the motor slows sharply, the blade may be dull, the battery may be depleted, or the cut may be pinching. Stop, remove the battery, and correct the support or blade problem. Forcing the saw can produce a crooked cut and increases kickback risk.
At the end of the cut, maintain control until the blade fully exits the material. Release the trigger and wait for the blade to stop before lifting the saw. Do not back the spinning blade out of a partially completed cut.
Verify accuracy and maintain the setup
Make one test cut before cutting expensive material. Check the end with a square and measure both ends if repeatability matters. If the cut is square at the top but not the bottom, check the bevel setting, blade seating, and shoe alignment. If the cut wanders, inspect the blade for dull or missing teeth and confirm the guide is clamped securely.
Brush dust from the shoe, guard, and battery contacts after the job. Store batteries cool and dry, and charge them with the manufacturer’s charger. A clean saw with a sharp blade and a properly supported board will usually outperform a more expensive saw used with poor depth settings or unstable support.
Related guides
- Longest Lasting Lawn Mower Battery: AGM vs Lithium vs Flooded Lifespan and Cost per Season
- Duralast Gold Lawn Mower Battery Review: U1 Fit, CCA and When to Pay for AGM
- Greenworks Pro 80V 21-Inch Mower Review: Runtime Math, Push vs Self-Propelled and Yard Fit
- Bosch High Pressure Washer Gun Replacement: Fittings, Adapters and What Fits Your Model