What's inside
As an Amazon Associate I earn from qualifying purchases. This post may contain affiliate links at no extra cost to you.
A cordless circular saw can make accurate bevel cuts, but the angle scale on the saw is only a starting point. Small amounts of play in the shoe, a rounded workpiece edge, or a blade that is not square to the shoe can turn a marked 45-degree cut into a poor-fitting joint. The most reliable method is to set the saw, verify it with a reference, and make a test cut before cutting the finished material.
What you need for an accurate setup
Gather a combination square or reliable bevel gauge, a pencil, a straightedge, a clamp, and a scrap piece of the same material you will cut. A digital angle finder is useful, but it is not essential. A basic digital angle finder can confirm the saw’s setting, especially when working at unusual angles such as 22.5 or 37 degrees.
Use a sharp blade suited to the material. For general timber, a 24-tooth framing blade cuts quickly but can leave a rough edge. A 40-tooth or finer blade is slower and uses more battery power, but it gives cleaner results in plywood and trim. Make sure the blade diameter matches the saw and that the battery is charged. A weak battery usually does not change the bevel angle directly, but it can reduce cutting speed and encourage the operator to force the saw sideways.
Understand the bevel scale
Most cordless circular saws have a pivoting shoe with a bevel scale marked from 0 to 45 degrees. On some saws, the scale is stamped into thin metal and is difficult to read accurately. The marked value describes the blade’s tilt away from a square, 90-degree cut. A 0-degree setting produces a square cut across the board; a 45-degree setting produces a typical mitre-like bevel.
The scale may not be perfectly calibrated from the factory. It can also move if the bevel-lock knob is not tight, if sawdust is trapped between the shoe and the pivot bracket, or if the saw has been dropped. Treat the scale as a repeatable reference rather than absolute proof.
| Cutting goal | Useful setting | What to verify |
|---|---|---|
| Square crosscut | 0 degrees | Blade is 90 degrees to the shoe |
| Common roof or trim bevel | 22.5 to 45 degrees | Test cut and angle on the cut face |
| Compound or unusual angle | Any marked value | Digital gauge, bevel gauge, and test piece |
Set the bevel angle step by step
First remove the battery. Inspect the blade, shoe, and bevel mechanism. Clear chips from the area where the shoe pivots, and check that the blade is firmly installed. A loose blade can create wobble that looks like an incorrect bevel.
Place the saw on a flat surface with the blade clear of the bench. Loosen the front and rear bevel-lock knobs or levers just enough for the shoe to move. Do not leave them completely loose; excessive play makes the scale harder to align.
Move the shoe until the pointer lines up with the required mark. For a 45-degree setting, sight directly over the pointer rather than viewing the scale from the side. Parallax can create an error of one or two degrees. Tighten both locks firmly while holding the shoe against the selected position. If the saw has a positive stop at 0 degrees, verify that it is fully seated before tightening.
For repeated work, mark the selected position with a fine pencil line on the shoe or record the setting. This is useful when swapping between a cordless saw and another saw in the same battery platform, since their scales and stops may not agree exactly.
Verify the saw instead of trusting the scale
With the battery removed, place a square against the blade. Do not press the square against the teeth; use the flat blade body, and rotate the blade by hand to find a section that is not damaged. At 0 degrees, the blade should sit at 90 degrees to the shoe. If it does not, check for debris first. Some saws have an adjustable stop or set screw, while others require accepting the scale’s limitation and compensating manually.
At a bevel setting, a digital angle finder can be placed against the blade body and compared with the shoe. The reading may need to be interpreted relative to the shoe, not the workbench. A bevel gauge is often easier for a specific angle: set the gauge from a known reference, then hold it against the blade. Do not rely on a magnetic gauge near a metal shoe unless it is designed for that use; magnets can pull the tool out of alignment.
Make a test cut before the workpiece
Clamp a scrap board so it cannot move, and support the offcut. Set the blade depth so the teeth extend about 3 to 6 mm below the material. Too much exposed blade increases tear-out, kickback risk, and the chance of cutting into the support beneath the board.
Keep the saw shoe flat on the workpiece and start the blade before entering the cut. Feed steadily without twisting the saw. At a bevel, less of the shoe may contact the material, so the tool is easier to tip. Let the blade do the cutting; forcing it can deflect the blade and produce an angle that changes along the cut.
Check the test piece with the mating part or a bevel gauge. If two 45-degree cuts form a corner, cut both scraps and assemble them. A single cut can appear accurate while two small errors combine into a visible gap. If the joint is open on one side, determine whether the angle is wrong, the cut was not straight, or the material shifted.
Common accuracy problems and fixes
If the angle changes halfway through the cut, inspect the bevel locks and the shoe for flex. Tighten the locks, reduce feed pressure, and support the board closer to the cut. If the cut is square at the top but angled at the bottom, the shoe may have tipped, the blade may be bent, or the blade may be deflecting.
If the bevel is consistently wrong by the same amount, calibrate your working setting rather than repeatedly trusting the printed scale. For example, if the 45-degree mark produces 43 degrees, set the pointer slightly beyond the mark and record the position. A saw with a coarse or loose scale may be adequate for framing but frustrating for furniture, cabinetry, or visible trim.
For frequent precision bevel work, consider a brushless cordless circular saw with a rigid bevel shoe. The extra cost is worthwhile when the saw has positive stops, a readable scale, and little shoe movement. For occasional deck framing or rough construction, the cheaper saw is usually fine if you verify the setting and use a test cut.
Battery-platform considerations
Battery choice affects handling as well as runtime. A high-capacity pack can make a saw run longer, but it adds weight behind the handle and may make overhead or bevel work tiring. A compact battery is easier to control for short cuts, provided it can deliver enough power without frequent cutout.
Stay within one battery ecosystem when possible. Shared batteries and chargers reduce cost and keep a spare pack available, but the saw itself matters more than the platform for angle accuracy. If your current system lacks a suitable saw, compare the price of a bare tool with a kit. A kit can be better value if you also need a charger and battery; otherwise, a bare saw may avoid buying duplicate charging equipment.
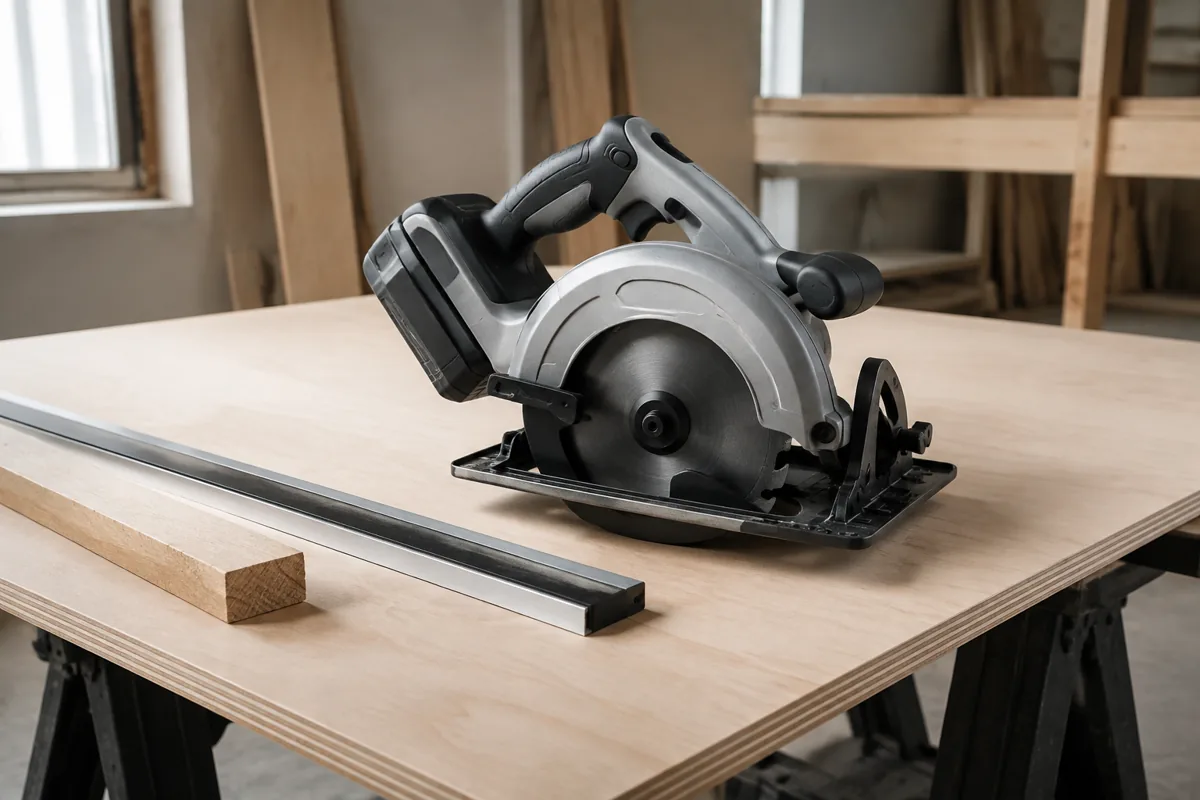
For clean, repeatable bevels, a circular saw guide rail or clamped straightedge can prevent the saw from wandering. It will not correct a wrong bevel setting, but it addresses the other major source of inaccurate angled cuts: a blade that does not follow the layout line.
Related guides
- Longest Lasting Lawn Mower Battery: AGM vs Lithium vs Flooded Lifespan and Cost per Season
- Duralast Gold Lawn Mower Battery Review: U1 Fit, CCA and When to Pay for AGM
- Greenworks Pro 80V 21-Inch Mower Review: Runtime Math, Push vs Self-Propelled and Yard Fit
- Bosch High Pressure Washer Gun Replacement: Fittings, Adapters and What Fits Your Model