Our Top Picks

What's inside
As an Amazon Associate I earn from qualifying purchases. This post may contain affiliate links at no extra cost to you.
Most air compressors do not die of old age. They die of water sitting in the bottom of the tank, a clogged intake filter starving the pump, or oil that turned to sludge two years ago. If you own a pancake compressor for a brad nailer or a 60-gallon vertical for an impact wrench and a plasma cutter, the failure modes are the same and so is the fix. This air compressor maintenance guide ranks the jobs in the order that actually protects the machine, not in the order the owner’s manual lists them.
The ranking below is deliberate. Number one is the task that prevents catastrophic tank failure. Number two is the one that kills pumps. Everything after that is about keeping air dry, clean, and cheap to make. At the bottom there is a what-to-skip section, because the accessory aisle is full of things that solve problems a small shop compressor does not have.
As an Amazon Associate we earn from qualifying purchases at no extra cost to you.




| Maintenance Task | How Often | Why It Ranks Here |
|---|---|---|
| Drain the tank | After every use | Prevents internal rust and tank rupture |
| Change pump oil | Per manual, often 200-500 hours | Oil-lubed pumps seize without it |
| Clean or replace intake filter | Monthly in a dusty shop | Restricted air burns up the pump |
| Check belt and pulley | Quarterly | Slipping belts kill duty cycle and motors |
| Test safety relief valve | Every few months | The only backstop against overpressure |
| Inspect hoses and fittings | Before each session | Leaks make the pump run constantly |
1. Drain the Tank, Every Single Time
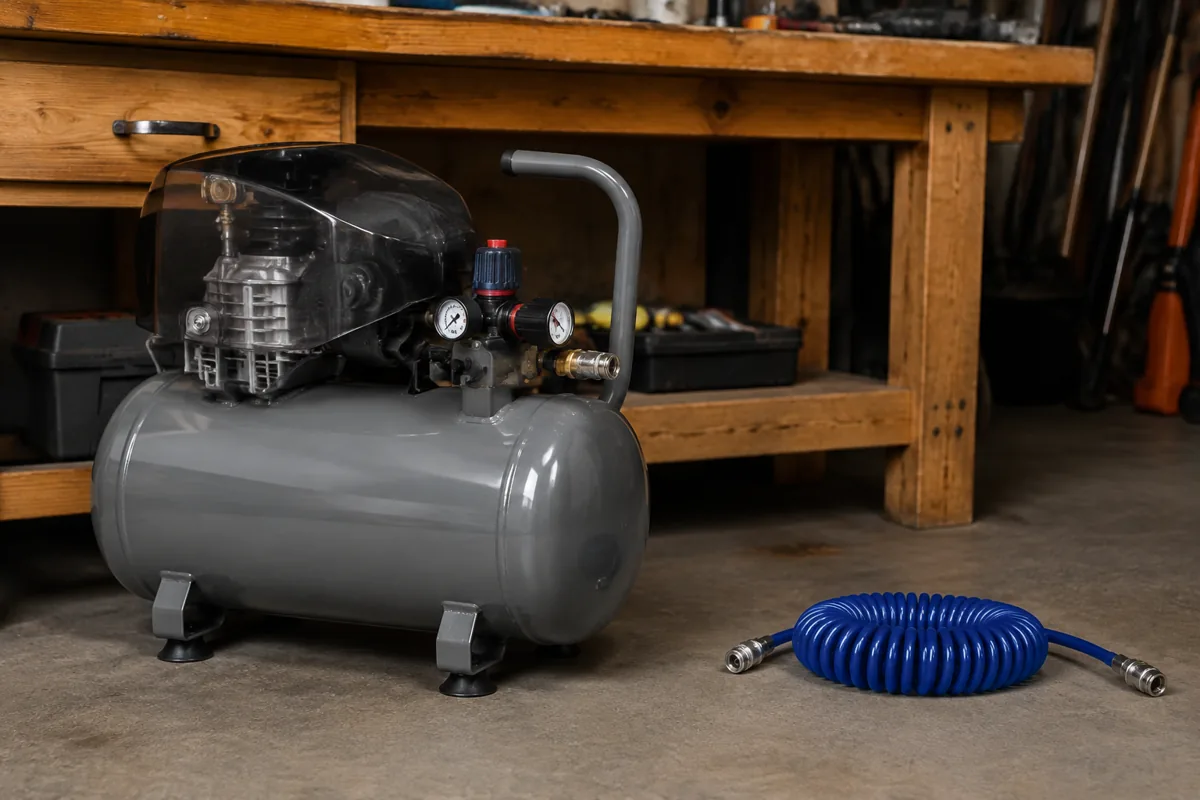
This is first because it is the only maintenance item where neglect can hurt you rather than just cost you money. Compressing air condenses the humidity in it, and that water pools at the lowest point in the tank. Steel tanks rust from the inside out where you cannot see it. A tank that has held standing water for years can thin at the bottom seam, and a rupture at 125 PSI is not a small event.
The routine is simple. With the compressor off and the tank still holding some pressure, open the petcock valve at the bottom and let the air push the water out. Tip the unit if it is a portable so the drain sits at the low corner. Let it hiss until only dry air comes out, then close it. On a big vertical tank you will want a drain extension so you are not lying on the floor with a flashlight every time.
If you are honest about the fact that you will skip this, buy the fix. An automatic tank drain on a timer or a simple ball valve with a hose to a bucket removes the excuse. The ball valve upgrade costs a few dollars at any hardware store and is the single best return on money in this entire guide.
Automatic Compressor Tank Drain Valve
An electronic or timer drain screws into the tank port and dumps condensate on a schedule you set. Worth it if your compressor lives in a corner you never crawl behind. Check thread size before ordering, and confirm the unit’s pressure rating covers your tank’s max PSI.
2. Oil Changes on Oil-Lubricated Pumps
If your compressor has a sight glass or a dipstick, this task is second and it is not optional. Oil-lubed pumps are quieter and last far longer than oil-free ones, but only because the oil is doing real work carrying heat away from the cylinder walls. Break-in oil should come out early, usually after the first several hours of run time, because it will be carrying metal from the rings and bearings seating in.
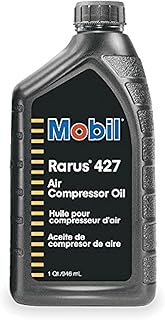
After that, follow the interval in your manual. Ranges of 200 to 500 hours are common for small reciprocating pumps, and time-based intervals of six to twelve months apply if the machine runs rarely. Use the oil the manufacturer specifies, which is usually a non-detergent compressor oil or a synthetic blend rated for the job. Automotive motor oil has detergents and additives that foam and leave deposits in a compressor pump, so skip it even though it is sitting right there on the shelf.
Check the level before every serious session. Sight glass halfway or at the marked dot, not to the top. Overfilling causes oil carryover into the air line, which is how you end up with fisheyes in a fresh coat of paint.
Oil-free pumps skip this entirely, and that is their whole appeal for a trim carpenter hauling a pancake in and out of a truck. The tradeoff is noise and a shorter service life, since the cylinder relies on a coated bore and PTFE rings that wear out and cannot be serviced. That is a fair deal for a nailer compressor. It is a bad deal for a shop unit that runs a sandblaster.
3. Intake Filters and Air Quality Downstream
Third place goes to filtration because it protects the pump and everything you connect to it. The intake filter is a small foam or paper element on the pump head. In a woodshop full of sanding dust it clogs fast, and a starved pump works harder, runs hotter, and pulls more current. Pull the element monthly, tap it out or wash the foam type, and replace it when it stops looking like a filter.
Downstream, the priority depends on what the air feeds. Nailers and blow guns tolerate a lot. Air tools with vanes and bearings want a filter and a drop of tool oil. Spray guns and plasma cutters want genuinely dry air, which means a water separator at minimum and a desiccant dryer if you are spraying finish. Mount the separator several feet down the line from the tank rather than right at the outlet, since warm air needs distance to cool and drop its moisture before the filter can catch it.
Air Filter Regulator and Water Separator Combo
A filter-regulator-lubricator or a simple filter-regulator pair mounted at the wall gives you clean air at a set pressure. This is the part that turns a compressor into something you can spray finish with. Look for a metal bowl with a manual or auto drain and a gauge you can actually read.
4. Belts, Fittings, and the Safety Relief Valve
Belt-driven compressors need belt tension checked a few times a year. A belt that slips glazes over, loses grip, and slowly drops your recovery time until the pump feels weak. Deflection of roughly half an inch at the midpoint is a common target, but check the manual. While you are in there, confirm the pulleys are aligned and the flywheel spins freely.
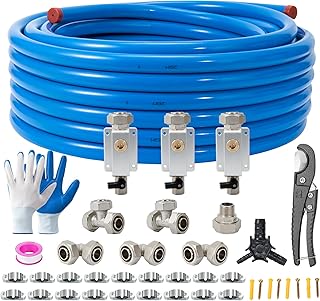
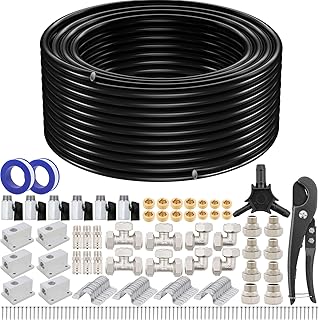
Leaks are the quiet money drain. A compressor that cycles when nothing is connected has a leak, a failing check valve, or a stuck unloader. Soapy water in a spray bottle finds fittings and hose ends fast. Retape threads with PTFE tape, replace cracked quick-connects, and stop reusing that one hose with the split near the coupler.
The safety relief valve gets tested by pulling its ring while the tank is pressurized. It should vent hard and reseat. If it does nothing or weeps constantly afterward, replace it. This is a cheap part standing between a runaway pressure switch and a tank failure.
- ✔ Draining after every use costs 30 seconds and prevents the only failure mode that is genuinely dangerous
- ✔ Correct oil and clean intake filters extend pump life by years, not months
- ✔ A wall-mounted filter-regulator turns a basic compressor into a finish-spraying setup
- ✔ Leak hunting cuts run time, noise, and electricity immediately
- ✘ Oil-lubed pumps require real upkeep and cannot be ignored for a season
- ✘ Desiccant dryers need media replacement, which is an ongoing cost
- ✘ Automatic drains can clog with rust flakes in older tanks and still need checking
What to Skip
Refrigerated air dryers are excellent and completely unnecessary for a garage compressor that runs a nailer and an impact wrench. Unless you are spraying automotive clear coat or running a plasma table for hours, a separator plus a desiccant filter does the job for a fraction of the cost and no power draw.
Skip the additive bottles marketed for compressor pumps. Use the specified oil and change it on schedule. Skip aftermarket electronic monitoring gadgets for a single-stage unit; a pressure gauge and your ears tell you what you need. Skip pouring anything into the tank to stop rust, since sealers can flake and clog the drain and downstream filters.
And skip the temptation to raise the pressure switch cut-out to squeeze more air out of a small tank. You gain very little usable air and you push the pump and tank past their designed operating window.
Air Compressor Maintenance Guide FAQ
How often should I really drain the tank? After every session where the pump ran. In humid summer weather a single afternoon of framing can put a surprising amount of water in the tank. If the compressor sits unused, drain it before storage and leave the valve cracked open so nothing accumulates.
Can I use motor oil in my compressor pump? Not as a habit. Non-detergent compressor oil or the manufacturer’s specified synthetic is what the pump is designed around. Detergent motor oils tend to foam and leave deposits, and using them is an easy way to void a warranty.
Why does my compressor keep cycling when I am not using it? Almost always a leak, a failing check valve, or a leaking drain valve. Pressurize the tank, shut it off, and watch the gauge for 20 minutes. If pressure falls, spray fittings with soapy water and work backward from the tank outlet.
Do the first two items on this list consistently and a decent compressor will outlast several of the tools you plug into it. The parts you need are cheap, and every one of them is easier to buy than a new pump.
Check prices on Amazon →