What's inside
As an Amazon Associate I earn from qualifying purchases. This post may contain affiliate links at no extra cost to you.
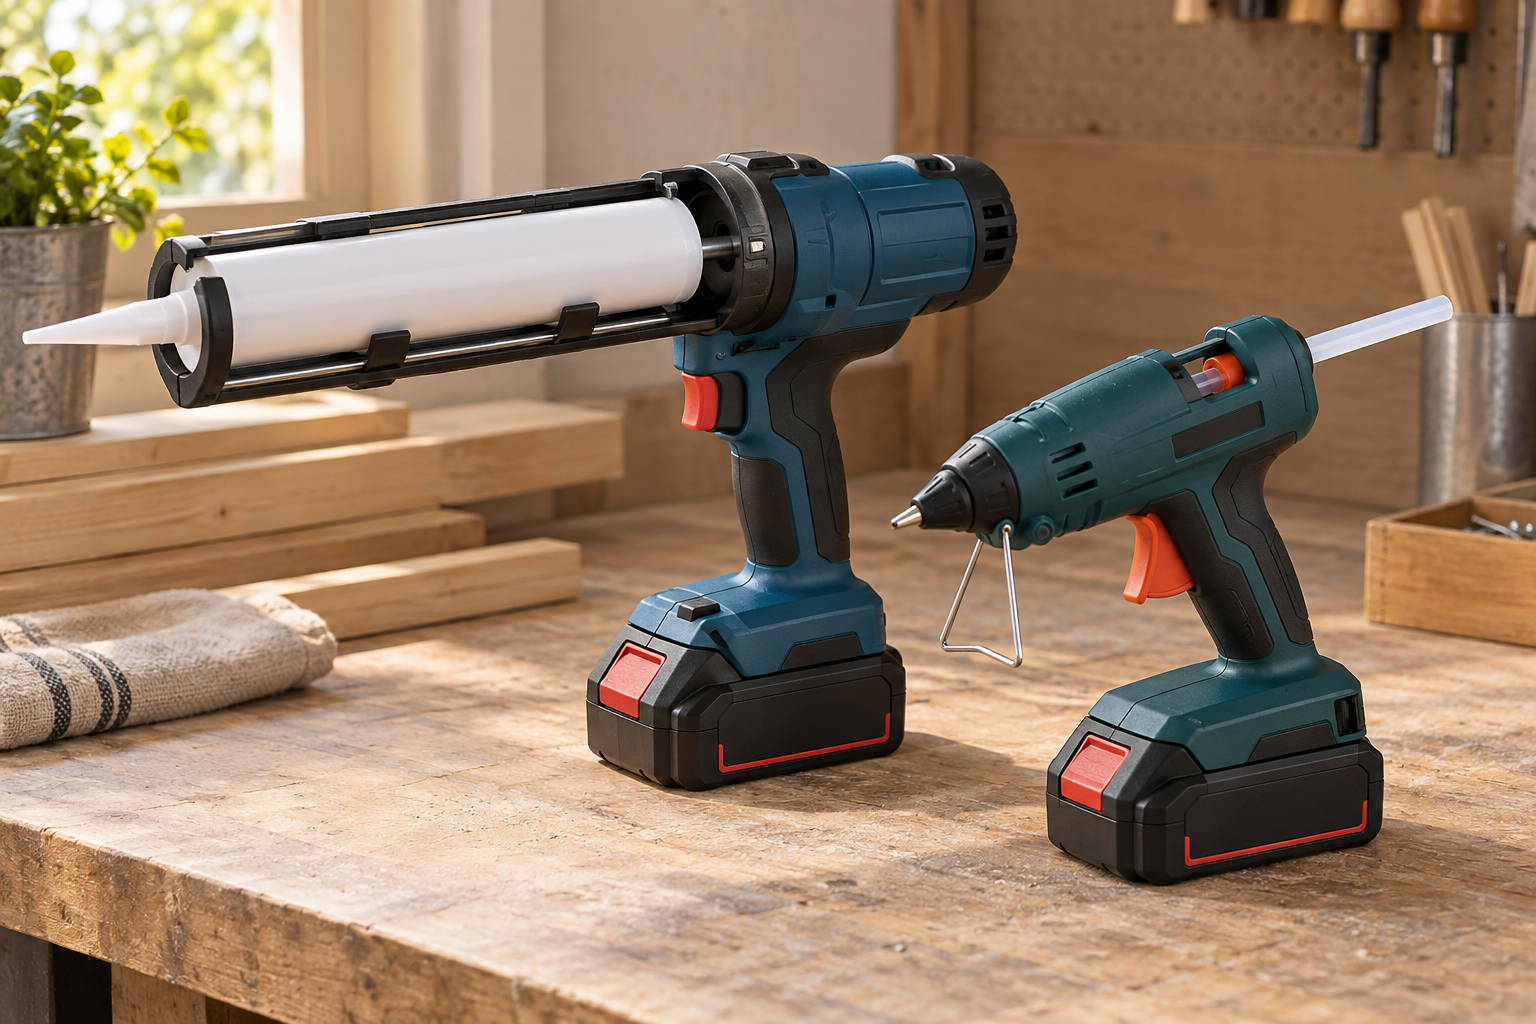
A cordless caulking gun gives you much better control than a manual gun, but it can also dispense sealant faster than you expect. The right flow speed depends on the material, nozzle opening, joint size, temperature, and how quickly you can move the tool. Start slow, test on scrap, and increase the setting only when the bead is too thin or difficult to maintain.
How flow speed works
Most cordless caulking guns control output with a variable-speed trigger, a speed dial, or both. The trigger controls how far the plunger advances while you are holding it. The speed dial limits the maximum rate, so it acts as a useful safeguard against accidentally flooding a joint.
Some tools also list a maximum flow rate in millimeters per minute, such as 0 to 600 mm/min. That number describes plunger travel, not the exact amount of sealant leaving the nozzle. A narrow nozzle and stiff adhesive will produce a smaller bead than a wide nozzle and soft acrylic caulk at the same setting.
Before loading a cartridge, check whether the gun has a separate forward/reverse switch. Releasing the trigger may stop the motor, but the plunger can continue pushing sealant briefly. An automatic anti-drip function retracts the plunger when you release the trigger. On tools without it, reverse the plunger manually as soon as you stop.
Choose a starting setting
Set the speed dial near its lowest or middle position before pulling the trigger. For ordinary acrylic-latex caulk, a low-to-medium setting is usually adequate. Silicone and polyurethane sealants are thicker, especially in a cold garage, so they may need more power and a higher flow setting.
| Material or job | Starting approach | Main adjustment |
|---|---|---|
| Interior acrylic-latex caulk | Low to medium speed | Increase speed if the bead breaks or looks too thin |
| Silicone sealant | Medium speed with steady trigger pressure | Use a larger nozzle opening rather than maximum speed |
| Polyurethane or construction adhesive | Medium to high speed | Allow extra time in cold conditions; avoid forcing a blocked nozzle |
| Small trim joints | Low speed and a small nozzle cut | Prioritize control over coverage rate |
| Large exterior joints | Medium speed and an appropriate nozzle cut | Keep the gun moving so the bead does not pile up |
The cheapest tool with a variable-speed trigger is often fine for occasional interior caulking. Spend more on a variable-speed cordless caulking gun when you regularly use thick sealants, work on long joints, or need consistent beads across multiple rooms.
Prepare the cartridge and nozzle
Cut the cartridge nozzle at a 30- to 45-degree angle. The opening should be slightly narrower than the finished bead you need. For a small trim gap, start with an opening around 3 to 4 mm. For a typical window or baseboard joint, 5 to 6 mm is a more useful starting point. A large opening reduces back pressure but makes over-application more likely.
Puncture the inner foil seal completely with the cartridge tool or a long nail. A partly opened seal makes the gun strain, creates an uneven bead, and can make you raise the speed unnecessarily. Confirm that the cartridge fits the gun’s holder and that the plunger disk is centered on the cartridge base.
With a sausage pack, install the correct follower plate and cutting nozzle. Do not assume a standard cartridge plunger will work with a foil pack. Mismatched parts can rupture the pack or push material around the rear seal.
Set the speed and apply the bead
Test the gun on cardboard before approaching the workpiece. Hold the nozzle at roughly 45 degrees, place the cut edge against the joint, and squeeze the trigger gently. The bead should begin promptly without surging. Move at a consistent pace—usually about 300 to 600 mm per second for a small interior joint, depending on the material and nozzle size.
If the bead is too thin, first slow your hand movement. Then increase the trigger pressure slightly or raise the speed dial one step. If the bead is too thick, do the opposite. Changing the nozzle opening is better than using an extreme speed setting when the bead size is consistently wrong.
Keep the nozzle in contact with the joint when possible. Pulling it too far away makes the bead stretch and can trap air. At a corner, release the trigger before lifting the nozzle. If the tool has anti-drip, wait for the plunger to retract. Otherwise, use reverse briefly to relieve pressure, then wipe the nozzle.
Diagnose common flow problems
Sealant comes out in bursts: The speed is too high, the trigger pressure is inconsistent, or the nozzle is partly blocked. Stop, clear the opening, and retest. Do not keep squeezing harder against a blockage; that can overload the motor or split the cartridge.
The tool struggles or stalls: The material may be too cold, the seal was not fully punctured, or the cartridge is incompatible with the gun. Warm compatible sealant to the manufacturer’s recommended temperature, but never use an open flame or heat gun directly on the cartridge. A higher-thrust high-thrust cordless caulking gun is worthwhile for polyurethane, roofing sealants, and construction adhesive.
Sealant continues after release: The cartridge is still pressurized, or the gun lacks effective anti-drip. Reverse the plunger and keep the nozzle pointed away from finished surfaces. Wipe excess material immediately while it is still workable.
The battery loses power quickly: Thick sealant, a restricted nozzle, and high thrust all increase current draw. Use a fully charged battery, clear the nozzle, and avoid running the tool at maximum speed unnecessarily. If you already own other tools in a battery platform, a bare-tool cordless caulking gun can be cheaper than buying another charger and battery.
Clean up and store the gun
Remove the cartridge when the job is finished, following the tool’s reverse procedure. Wipe the plunger disk, holder, and nozzle area before cured sealant hardens. Do not wash the motor housing or spray cleaner into the gearbox. Store the tool with the battery removed and the plunger fully retracted.
For occasional household work, a basic variable-speed gun and the battery platform you already own provide enough control. A more powerful model earns its cost when you use stiff materials, run long beads, or need repeatable output. In either case, the best setting is the lowest speed that produces a continuous bead while you maintain a steady walking pace.
Related guides
- Longest Lasting Lawn Mower Battery: AGM vs Lithium vs Flooded Lifespan and Cost per Season
- Duralast Gold Lawn Mower Battery Review: U1 Fit, CCA and When to Pay for AGM
- Greenworks Pro 80V 21-Inch Mower Review: Runtime Math, Push vs Self-Propelled and Yard Fit
- Bosch High Pressure Washer Gun Replacement: Fittings, Adapters and What Fits Your Model