What's inside
As an Amazon Associate I earn from qualifying purchases. This post may contain affiliate links at no extra cost to you.
A charging station should make it easy to find the right battery, keep chargers away from dust and damage, and avoid overloading a circuit. It does not need to be elaborate. A shelf, a power strip rated for the load, and a simple battery-organizing plan can work well; a dedicated cabinet or wall rack makes more sense when several people share a workshop or you own batteries from multiple brands.
Start with your battery inventory and a suitable location
Count your batteries, chargers, and tool platforms before buying storage. A station for two batteries is different from one that needs to handle eight packs across three brands. Record each battery’s platform and voltage, then group chargers by compatible platform. Do not assume that batteries with similar voltage or appearance fit another brand’s tools: use only a charger specified for that battery system.
Choose a dry, accessible place with some space around each charger. Chargers can generate heat, especially while fast-charging; do not pack them tightly into a closed box or cover their vents. Keep the station clear of sawdust, grinding debris, liquids, direct heat, and places where a cord can be snagged. If you store batteries in an unheated garage, follow the battery maker’s temperature limits. Charging a very cold lithium-ion pack may be prohibited or delayed by its protection system.
Plan the electrical setup before mounting chargers
Check the charger labels for input current and add the ratings of chargers that might operate at the same time. For example, four chargers rated at 1.5 amps each would draw about 6 amps at their stated input rating. That is below the 15-amp rating of a typical household circuit, but other tools, heaters, lights, and equipment on the same circuit also count. Follow local electrical rules and the charger manufacturer’s instructions. Do not daisy-chain power strips, use a damaged extension cord, or run cords where they can be pinched or tripped over.
A basic listed power strip with an adequate cord and spaced outlets can be convenient for a small station. It is not a substitute for a properly grounded outlet or a circuit that can handle the load. A surge protector is optional for many ordinary workshop setups; it does not make an overloaded circuit safe. If breakers trip, plugs feel hot, or lights dim noticeably when chargers run, stop and have the circuit assessed rather than adding a larger power strip.
Choose a layout that fits your workshop
These options cover most home shops. The best choice depends less on appearance than on battery count, available wall space, dust, and how often you need to move the chargers.
| Setup | Best for | Trade-off |
|---|---|---|
| Open shelf | One or two platforms and a few batteries | Cheap and easy to change, but batteries are more exposed to dust and spills |
| Wall-mounted charger rack | Several chargers and a clear workbench | Saves bench space; needs secure mounting and careful cable routing |
| Cabinet with ventilation | Busy or dusty shops where chargers need protection | Costs more and needs enough airflow; a sealed cabinet can trap heat |
| Portable charging tote | Work that moves between locations | Easy to carry, but batteries and chargers still need protection from heat and impact |
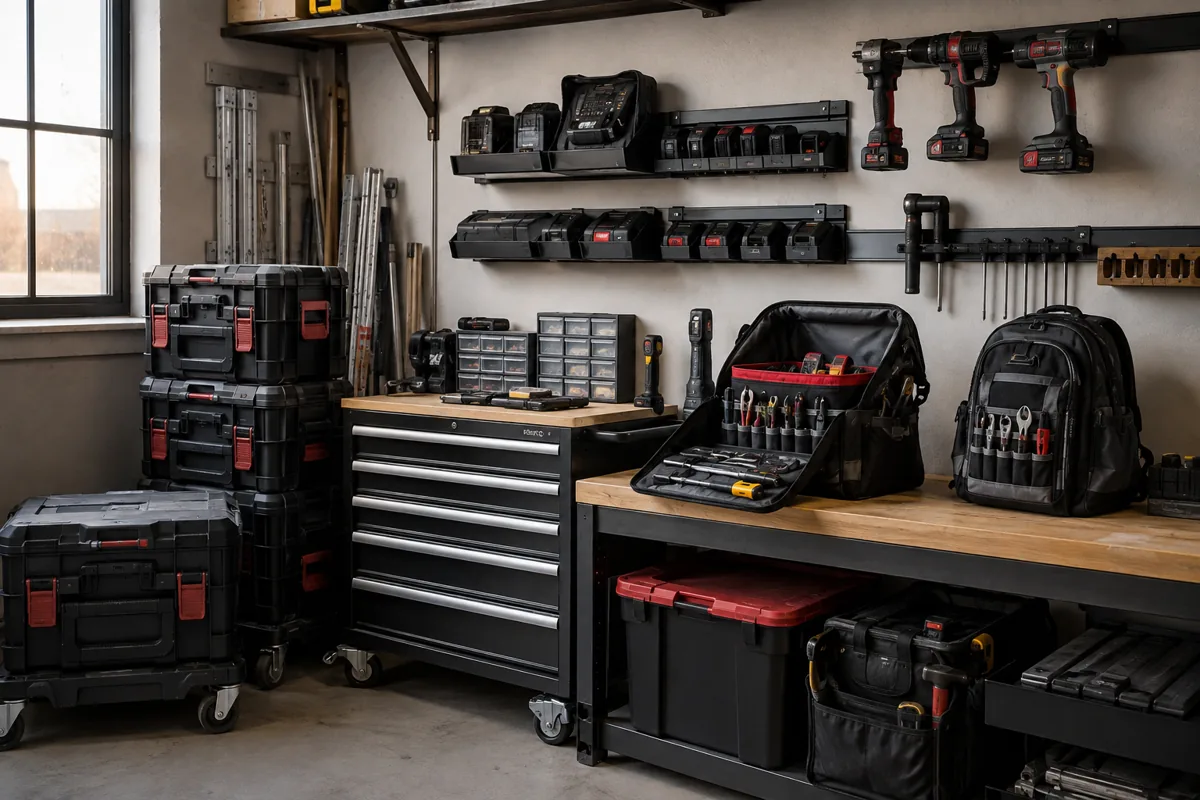
For a multi-platform wall setup, a charger and battery wall-mount rack can keep packs off the bench. Check that its slots actually fit your battery shapes and that its load rating suits the combined weight. A simple plywood backboard is often a cheaper option: screw it into studs, then attach chargers using their intended mounting points. Avoid drilling into a charger housing or blocking its cooling openings.
Mount chargers and label batteries
Position chargers so you can read their indicator lights and remove batteries without pulling on cords. Leave the clearance specified in the manuals; if none is stated, do not crowd chargers against one another or a wall. Use screws suited to the wall material, and anchor a loaded rack into studs or use appropriate masonry anchors. Drywall anchors alone may not be suitable for a heavy rack that gets bumped regularly.
Label shelves or battery slots by platform, not just voltage. Add a small mark for packs that need checking or have been set aside, and keep damaged batteries out of the charging area. If several workers share the shop, a simple “charged,” “in use,” and “needs charge” system prevents unnecessary charging and makes it easier to spot a pack that is missing.
Set practical charging and storage habits
Charge batteries with their compatible manufacturer-approved charger and inspect the pack and contacts first. Do not charge a battery that is cracked, swollen, leaking, unusually hot, or has damaged contacts. If a pack gets hot, smells odd, or behaves unusually, unplug the charger if it is safe to do so, move away, and follow the manufacturer’s guidance. Do not try to repair a damaged lithium-ion pack yourself.
Most users do not need to charge every battery immediately after each job. Keep a few ready, then charge packs when needed, following the maker’s advice for storage. For longer periods without use, manufacturers commonly recommend storing packs cool and dry, away from metal objects that could bridge the terminals, and not leaving them in a hot vehicle. Exact storage charge guidance varies by platform, so check the manual rather than applying one brand’s rule to every battery.
A battery storage organizer can help separate charged packs from loose hardware, but it should not seal warm batteries in an unventilated space. Keep terminals protected during transport, especially if batteries share a toolbox with screws or other metal pieces.
Keep the station clean and know when to upgrade
Every few weeks, unplug chargers and remove dust from their vents with a dry cloth or the method permitted by the manual. Do not spray cleaner into a charger. Check plugs, cords, mounting screws, and the power strip for wear. Replace damaged equipment instead of taping over a cracked plug or running a cord with exposed conductors.
If you routinely wait on batteries, first check whether your workflow can use a spare pack or staggered charging. Adding another charger may help, but only if the circuit, outlet, and available ventilation can support it. If the station is crowded, packs are regularly mixed between platforms, or dust is accumulating on chargers, improve the layout before buying more charging equipment. A well-labeled shelf with two compatible chargers is a perfectly good station for many home workshops.
Related guides
- Longest Lasting Lawn Mower Battery: AGM vs Lithium vs Flooded Lifespan and Cost per Season
- Duralast Gold Lawn Mower Battery Review: U1 Fit, CCA and When to Pay for AGM
- Greenworks Pro 80V 21-Inch Mower Review: Runtime Math, Push vs Self-Propelled and Yard Fit
- Bosch High Pressure Washer Gun Replacement: Fittings, Adapters and What Fits Your Model