
Our Top Picks


What's inside
As an Amazon Associate I earn from qualifying purchases. This post may contain affiliate links at no extra cost to you.
To use a miter saw safely, clamp or firmly hold the workpiece against the fence, let the blade reach full speed, lower it slowly through the cut, and release the trigger only after the blade stops. Wear eye and ear protection, keep your hands well clear of the blade path and never cut freehand. Good setup gives you accurate angles every time.
Saws and Gear Worth Considering
| Pick | Best for | Key feature |
|---|---|---|
| DeWalt DWS779 12-Inch Sliding Compound Miter Saw | Wide boards and crown work | Sliding rails and large capacity |
| Makita LS1019L 10-Inch Sliding Miter Saw | Compact, accurate cuts | Laser guide, smooth sliding |
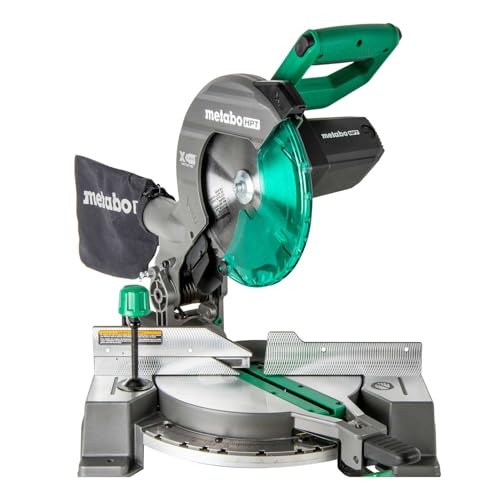
| Metabo HPT C10FCGS 10-Inch Miter Saw | Budget-friendly non-sliding saw | Simple, accurate design |
| 3M SecureFit Safety Glasses | Eye protection | Comfortable fit and wraparound lens |
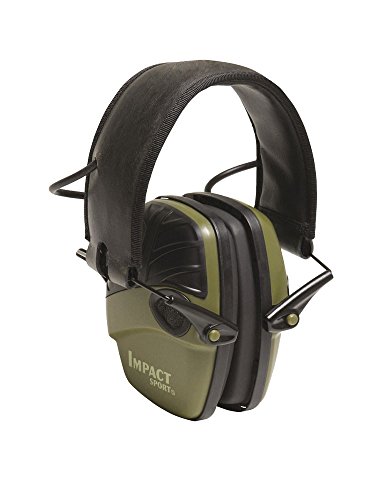
| Howard Leight Impact Sport Earmuffs | Hearing protection | Reduced noise and comfortable band |
Know Your Saw
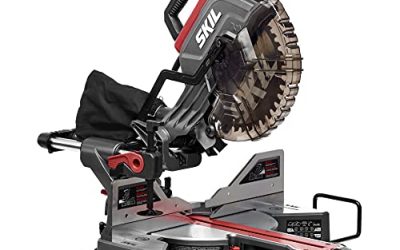
A miter saw cuts boards crosswise at precise angles. A basic miter saw pivots left and right, which sets the miter angle. A compound saw also tilts to set a bevel angle. A sliding saw has rails that let the blade travel forward and back, so it can cut wider boards. Before the first cut, locate the power trigger, the blade guard, the lock for the miter detents, the bevel lock, the fence and the dust port. Read the manual, and learn how the lower guard operates. If you are choosing a saw, the DeWalt DWS779 12-inch sliding compound miter saw handles wide boards, while the Makita LS1019L 10-inch sliding miter saw is more compact, and the Metabo HPT C10FCGS 10-inch miter saw is a simpler non-sliding option.
Step 1: Protect Yourself
Put on 3M SecureFit safety glasses and hearing protection such as Howard Leight Impact Sport earmuffs. Add a dust mask for long sessions, because sawdust is a respiratory irritant. Avoid loose sleeves, dangling jewelry and gloves that can catch in moving parts. Tie back long hair. Make sure your footing is stable and the work area is clear of clutter.
Step 2: Set Up the Saw
Place the saw on a stable bench or stand so it will not rock. Check that the blade is sharp, clean and properly tightened, and that the correct blade is fitted for your material. Unplug the saw when changing blades or making adjustments. Verify that the fence is square to the blade and that the miter scale reads zero when the saw is set to a straight cut. A small test cut on scrap and a combination square will confirm accuracy. Connect a dust bag or a vacuum to the port to keep sawdust under control.
Step 3: Support and Secure the Workpiece
Hold the board flat on the table and firmly against the fence. Long boards need extra support at the same height as the saw table, using roller stands or side extensions, so the piece does not tip. Use the saw’s clamp if it has one, and keep your hands at least six inches from the blade path. Never use your hand to hold a small piece near the blade. For short pieces, cut them from a longer board, then trim to length rather than trying to hold a tiny offcut.
Step 4: Make the Cut
Mark your cut line and align the blade to the waste side of the line. Start the saw, and wait until the blade reaches full speed. Lower it steadily through the board, without forcing. On a sliding saw, pull the blade toward you, lower it into the wood and push it back through the cut. Keep the head down until the blade stops spinning, then raise it. Do not release the workpiece or reach over the blade while it is moving. Let the cut piece rest, and use a stick to clear off scraps if needed.
Step 5: Angled and Compound Cuts
For miters, loosen the lock, set the angle and tighten. For picture frames, two 45-degree cuts form a right-angle corner. For bevels, tilt the head and lock it. Crown molding is the tricky one, because it is installed at an angle between wall and ceiling. Many people cut it flat on the saw table with the molding upside down and tilted, or standing against the fence in its installed position. Practice on scrap pieces and keep a cheat sheet of the angles you use. Always check that the lock is tight before cutting.
Common Mistakes
- Crossing arms or hands near the blade. Keep both hands to the sides.
- Cutting with a dull or wrong blade. It burns wood and increases kickback risk.
- Forgetting to lock settings. A shifting bevel gives bad cuts.
- Raising the saw before the blade stops. The spinning blade can grab the piece.
- Cutting small pieces by hand. Use a longer piece or a stop block.
- Ignoring the cord. Keep it clear of the blade path.
Using Stops and Repeat Cuts
When you need several pieces of the same length, such as shelf parts or deck boards, a stop block saves time and improves accuracy. Clamp a block to the fence or the saw’s table extension at the desired distance from the blade, then push each board against it before cutting. Never use the offcut as a stop between the fence and the blade, because it can get trapped and thrown. Clamp the stop on the side away from the blade, and keep it far enough that the cut piece falls free. For very long boards, set up supports on both sides so the board is level, and mark the stop positions with tape for repeatable measurements. It also helps to keep a small brush near the saw to clear dust from the table and fence, because a build-up of sawdust can tilt the piece and spoil the angle. A tidy setup leads to fewer mistakes and smoother cuts.
Choosing a Blade
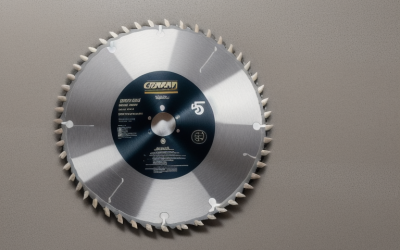
A blade with more teeth leaves a smoother edge, which is why trim work uses 60 to 80 teeth, while framing uses fewer, around 32 to 40. Carbide-tipped blades stay sharp longer. Check that the blade diameter matches your saw. Replace a blade when it chips, burns or needs more force, and keep it clean of pitch.
Maintenance Between Projects
After each project, unplug the saw and brush out sawdust from the fence, table and motor vents. Check the lower guard moves freely and returns on its own, since a sticky guard is a hazard. Inspect the power cord for damage, and tighten loose bolts on the fence and base. Wipe pitch from the blade with a cleaner designed for the purpose, and store the saw covered to keep dust out of the mechanism. A few minutes of care keeps cuts accurate and the saw safer to use.
FAQ
What is the difference between a miter and a bevel?
A miter angles across the face of a board, set by turning the saw table. A bevel tilts the blade relative to the board’s face.
Do I need a sliding miter saw?
If you cut wide boards, such as shelving or decking, yes. For trim and framing, a non-sliding saw may be enough.
Should I wear gloves?
Generally no, because gloves can catch on moving parts. Keep your hands clear instead.
How do I avoid tear-out?
Use a sharp, fine-toothed blade, support the board close to the cut and apply masking tape along the line.
Conclusion
A miter saw is one of the most satisfying tools in the shop when used correctly. Take your time with setup, protect your eyes and ears, support the work and keep your hands away from the blade. Accurate cuts will follow.
As an Amazon Associate we earn from qualifying purchases.
Related guides
More from Amazon
Programs that pair well with the guide above. Offers and eligibility are set by Amazon and may change.
A free business account with business pricing and bulk-buying tools for work, shop or home office.
Create a business accountFree shipping on eligible items, Prime Video and more. Eligible new members can start with a free trial.
Start a Prime free trialAudiobooks and podcasts to listen to on the go. Eligible new members can start with a free trial.
Try Audible freeAd-free music streaming. Eligible new subscribers can start with a free trial.
Try Music Unlimited freeAs an Amazon Associate we earn from qualifying purchases.




Write Your Review
No reviews yet. Be the first to share your experience!