What's inside
As an Amazon Associate I earn from qualifying purchases. This post may contain affiliate links at no extra cost to you.
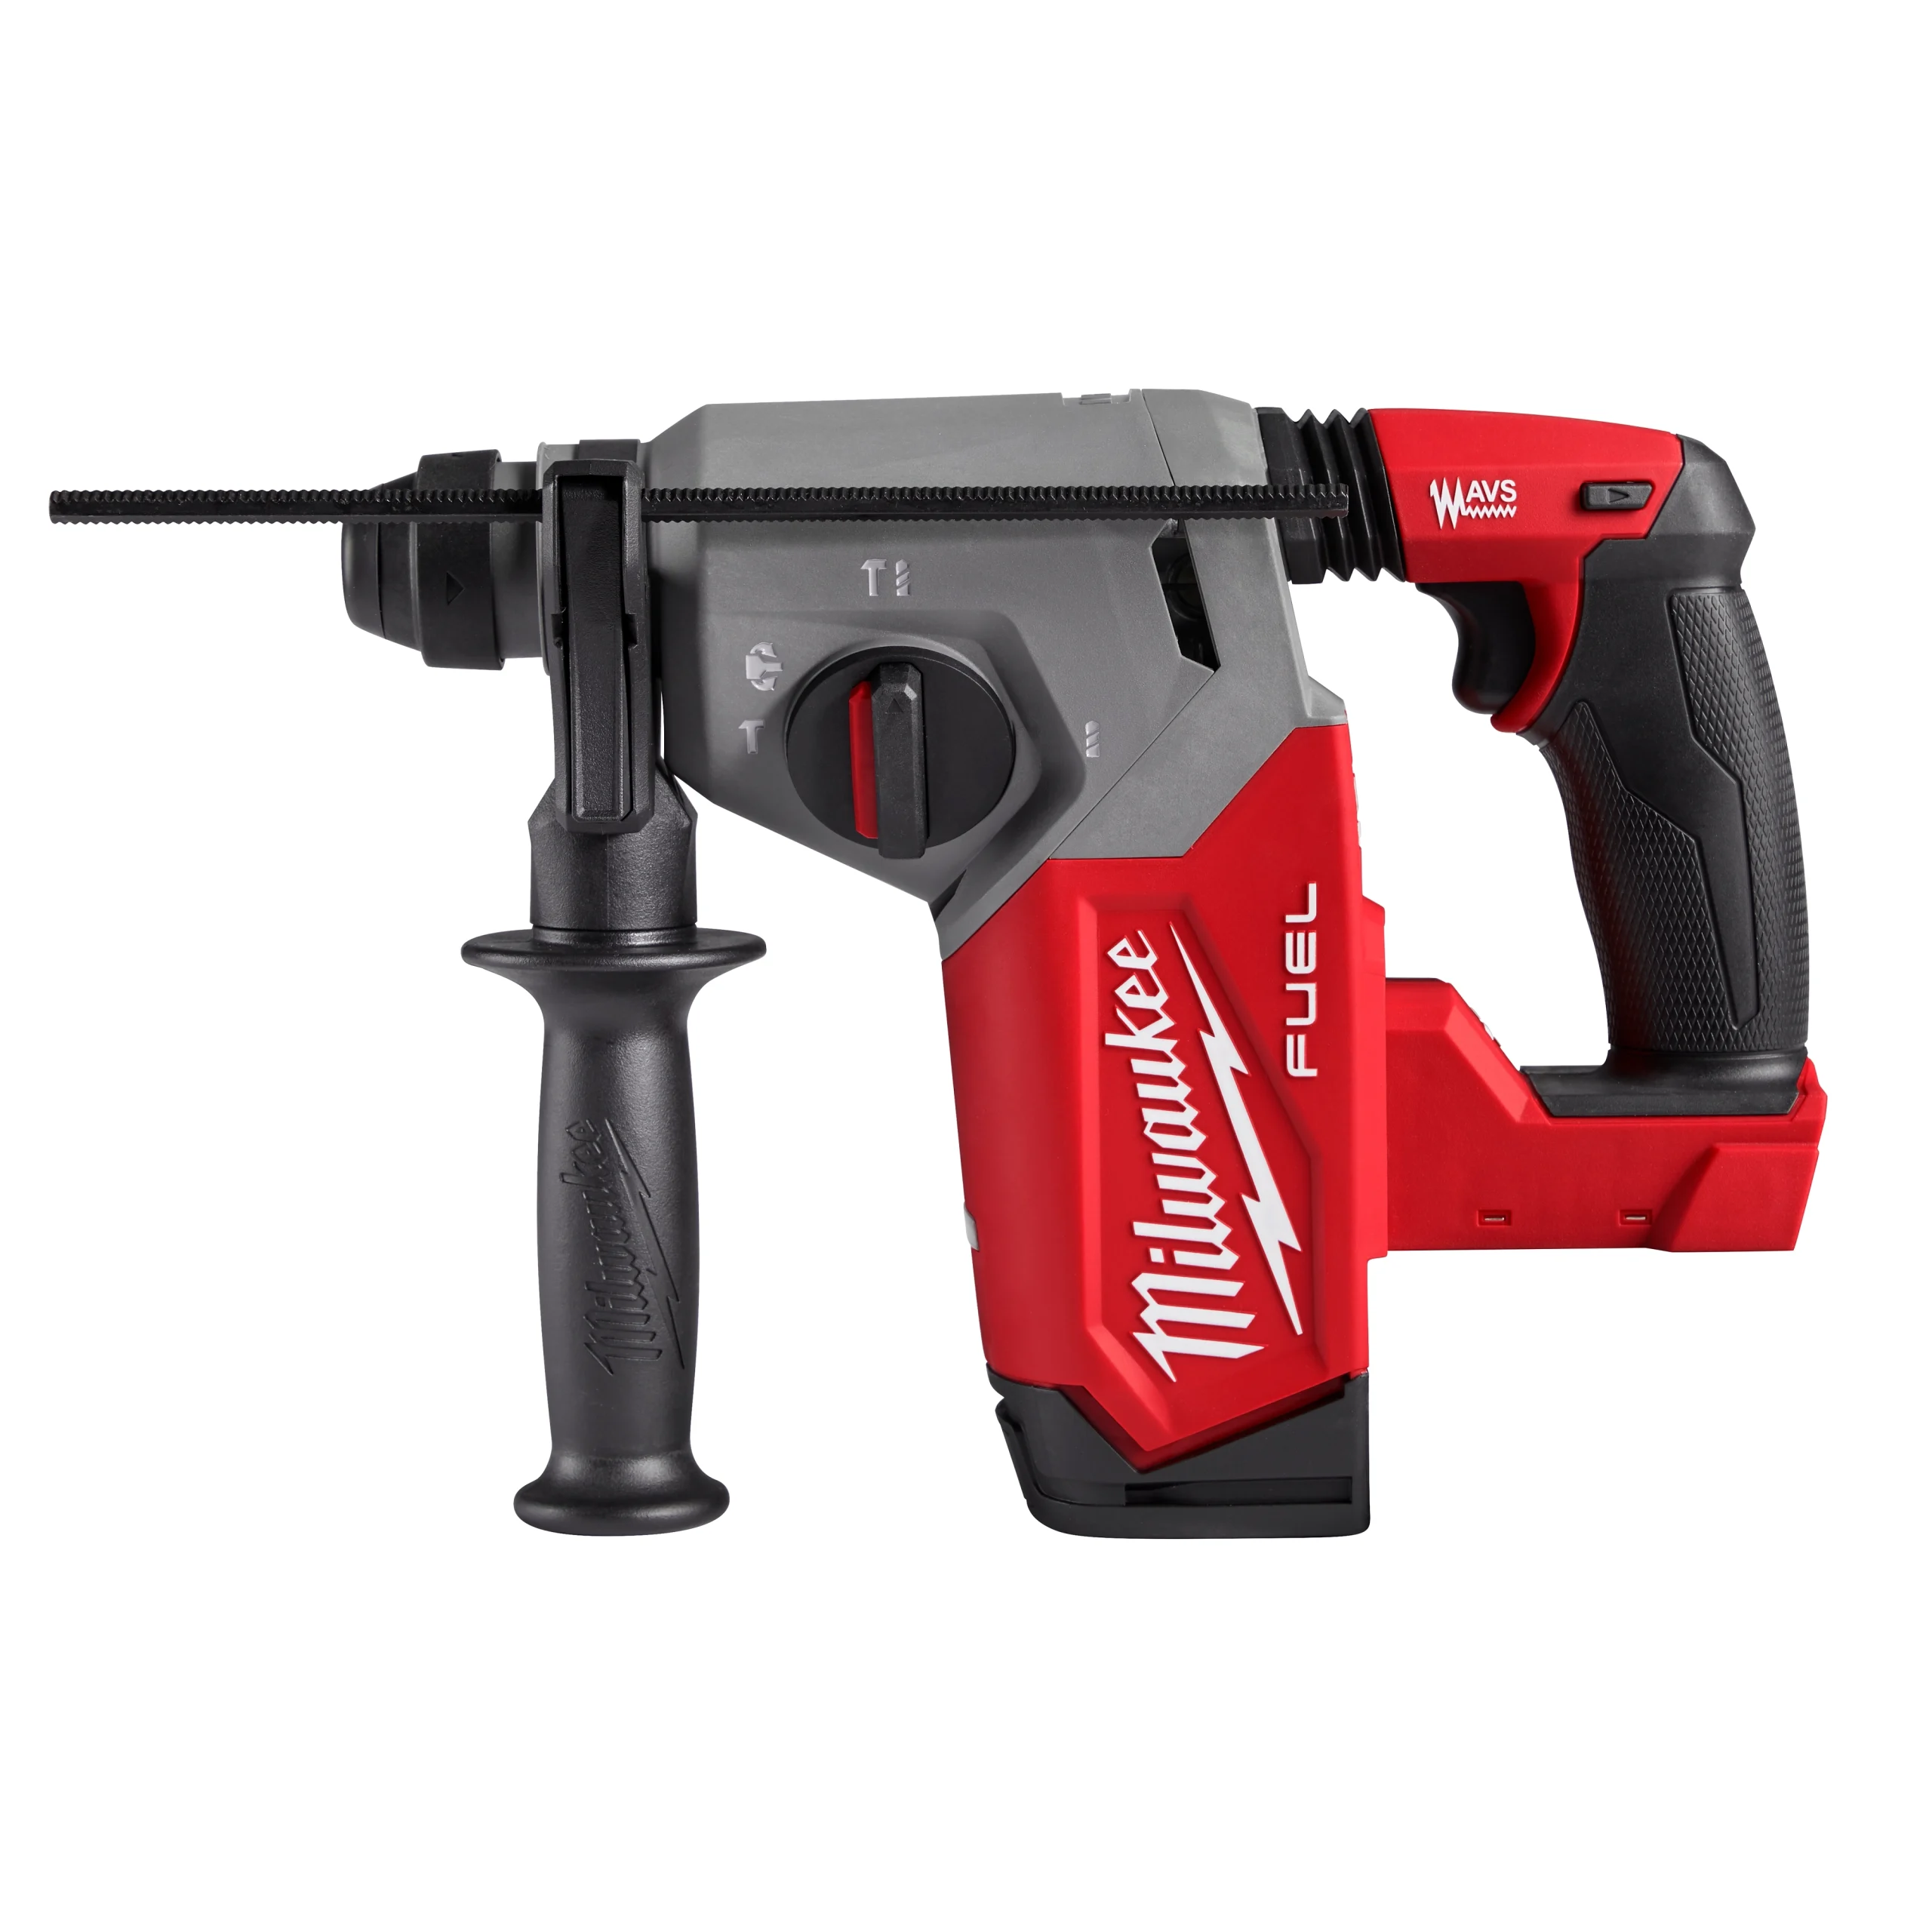
Chipping tile and mortar is a different job from drilling holes. You need impact energy, a comfortable chipping position, and enough battery capacity to finish without turning the tool into a hot, heavy brick. For most bathroom, kitchen, and flooring work, a cordless SDS-plus rotary hammer with hammer-only mode is the best fit. Dedicated demolition hammers make sense when the work is continuous or the mortar is unusually hard.
As an Amazon Associate we earn from qualifying purchases at no extra cost to you.


Choose the right tool class
An SDS-plus rotary hammer is the practical choice for removing ceramic tile, thinset, grout, and small amounts of mortar. It accepts narrow chisels, weighs roughly 5 to 8 pounds with a battery, and is easier to control around drywall, plumbing, and framing. A model with 1.5 to 2.5 foot-pounds of impact energy is generally sufficient for residential tile work.
A cordless SDS-max rotary hammer or demolition hammer delivers more impact energy, commonly around 6 to 12 foot-pounds, and accepts larger chisels. It removes brick mortar, thick-set tile beds, and concrete faster, but it is heavier and more likely to cause damage if the chisel wanders. These tools are often 12 to 18 pounds with a battery. They are productive for a full day of demolition, but excessive for removing a few square feet of backsplash.
Dedicated demolition hammers use hammer-only operation and are designed around impact rather than drilling. They are the right category for breaking up concrete, removing masonry, or stripping thick mortar beds. For tile, however, a lighter SDS-plus tool is usually easier to aim and less tiring.
For a typical home renovation, compare cordless SDS-plus rotary hammer kits first. If you already own batteries in a professional platform and expect substantial masonry work, stepping up to a cordless SDS-max demolition hammer can be justified.
Cordless demolition hammer comparison
| Tool type | Best use | Typical impact energy | Battery and handling trade-off |
|---|---|---|---|
| SDS-plus rotary hammer | Tile, thinset, grout, light mortar | 1.5–2.5 ft-lb | Lightest and easiest to control; usually enough for rooms and small repairs |
| Compact SDS-max hammer | Thick mortar beds, brick, heavier chipping | 6–9 ft-lb | Faster removal, but heavier and more tiring |
| Large SDS-max demolition hammer | Concrete and continuous masonry demolition | 9–12+ ft-lb | High output and high battery consumption; excessive for ordinary tile |
| Cordless rotary hammer with drilling modes | Chipping plus anchor and masonry drilling | Varies by class | More versatile than a dedicated breaker, but often less optimized for nonstop demolition |
Battery platform matters more than small specification differences
Demolition work drains batteries quickly. A compact 18V or 20V battery rated around 4.0 Ah may provide only 15 to 30 minutes of hard, nearly continuous chipping in a rotary hammer. Intermittent tile removal can stretch that considerably, because you spend time prying, scraping, and carrying debris. Large 8.0 Ah or 12.0 Ah packs run longer, but they add weight at the worst possible location.
High-output batteries can improve sustained performance, particularly in SDS-max tools. They do not turn a small hammer into a large one, though. The motor, gearbox, impact mechanism, and cooling system still set the tool’s output. A second battery is often more useful than buying the largest available pack, especially if the job involves overhead work.
If you are starting from zero, choose the battery ecosystem based on the other cordless tools you expect to buy. Chargers and batteries are a substantial part of the cost. A bare tool may look inexpensive until you add two batteries and a fast charger. Conversely, a bare demolition hammer is a good value if you already own compatible packs.
For occasional tile work, a bare cordless rotary hammer from your existing platform is often the cheaper and smarter option. Renting a large demolition hammer is also sensible when the job is one-time work involving a concrete slab or thick mortar bed.
Features worth paying for
Look for a true hammer-only setting, not merely a drill with a clutch. A rotating chisel holder is useful because it lets you set the blade at a comfortable angle before locking it. SDS-plus tools commonly have 12 chisel positions; the exact number matters less than whether the mechanism holds the chisel securely.
Vibration control is valuable, but do not treat it as permission to work indefinitely. Anti-vibration mechanisms reduce transmitted shock; they do not eliminate hand fatigue or the risk of numbness. A variable-speed trigger helps when starting under a tile edge, while a lock-on button can reduce finger fatigue during long floor work.
A brushless motor is preferable for a cordless hammer because it is efficient and generally requires less maintenance. An electronic clutch or kickback control is especially useful when the chisel catches in a joint or the tool is switched to drilling. LED lights are minor, but they help when working under cabinets or in poorly lit corners.
How to chip tile and mortar without making a bigger repair
Start with a narrow tile chisel or spade chisel held at a low angle, roughly 15 to 30 degrees from the surface. Do not begin with the chisel pointed straight down. Break one tile at a time, then lower the angle to skim thinset from the substrate. A wide chisel removes material faster but can gouge plywood, tear cement board, or crack an adjacent tile.
For wall tile, work from an exposed edge and keep the tool below the plane of nearby drywall. For floor tile, score or break the tile first with a hand tool if you need more control. Stop immediately when you encounter a pipe, electrical conduit, radiant-heating wire, or a change in material. A hammer can penetrate a hidden obstruction in seconds.
Let the impact mechanism do the work. Pushing hard reduces tool movement but can overload the motor and transfer more vibration into your hands. If the battery, housing, or gearbox becomes unusually hot, stop for several minutes. Running a nearly empty battery until it shuts off repeatedly can shorten battery life and leaves the tool prone to thermal cutout.
Safety and the cheaper-option test
Wear safety glasses or a face shield, hearing protection, gloves with a secure grip, and a dust mask or respirator appropriate for the material. Tile fragments are sharp and can travel farther than expected. Use dust extraction or wet methods where appropriate, but keep water away from the battery and electrical connections.
The cheaper option is fine when you are removing a small backsplash, a few loose floor tiles, or soft thinset. Buy up when the substrate is concrete, the mortar bed is thick, the work is overhead, or the project will consume several hours of continuous chipping. In those cases, better vibration control, a larger battery supply, and the correct SDS class will save more time and discomfort than a low initial price.
Related guides
- Longest Lasting Lawn Mower Battery: AGM vs Lithium vs Flooded Lifespan and Cost per Season
- Duralast Gold Lawn Mower Battery Review: U1 Fit, CCA and When to Pay for AGM
- Greenworks Pro 80V 21-Inch Mower Review: Runtime Math, Push vs Self-Propelled and Yard Fit
- Bosch High Pressure Washer Gun Replacement: Fittings, Adapters and What Fits Your Model