What's inside
As an Amazon Associate I earn from qualifying purchases. This post may contain affiliate links at no extra cost to you.
Cabinet face frames are a good match for cordless sanders, but they punish tools that are too aggressive, too bulky, or hard to control. Most of the work is leveling joints, removing pencil marks, and preparing hardwood or plywood for finish. A compact 5-inch random-orbit sander is usually the best first choice. A detail sander can reach inside corners, while a cordless belt sander is generally the wrong tool for final face-frame work.
As an Amazon Associate we earn from qualifying purchases at no extra cost to you.


What to Look For in a Cordless Face-Frame Sander
Choose a sander that accepts a standard 5-inch, eight-hole hook-and-loop disc. Those discs are widely available in grits from 80 through 220, and you will not be locked into one brand’s abrasives. Variable speed is more important than maximum speed. Cabinet parts are small, and running at full speed can round over rails and stiles or cut through thin veneer.
Weight and balance matter more than headline power. A tool around 2.5 to 3.5 pounds with its battery is comfortable for sanding vertical face frames. Larger batteries add runtime but can make the sander nose-heavy. A compact 2.0Ah battery is often the better choice for detail work; use a 4.0Ah or 5.0Ah pack when sanding a full kitchen’s worth of parts.
Dust collection is another deciding factor. A built-in dust box is convenient for a few cabinet doors, but it fills quickly and is less effective than a shop vacuum. Look for a standard vacuum port or an included adapter. Dust collection reduces cleanup and keeps abrasive grit from clogging the pad, though it does not eliminate the need for a respirator and good ventilation.
The Best Sander Types for Face Frames
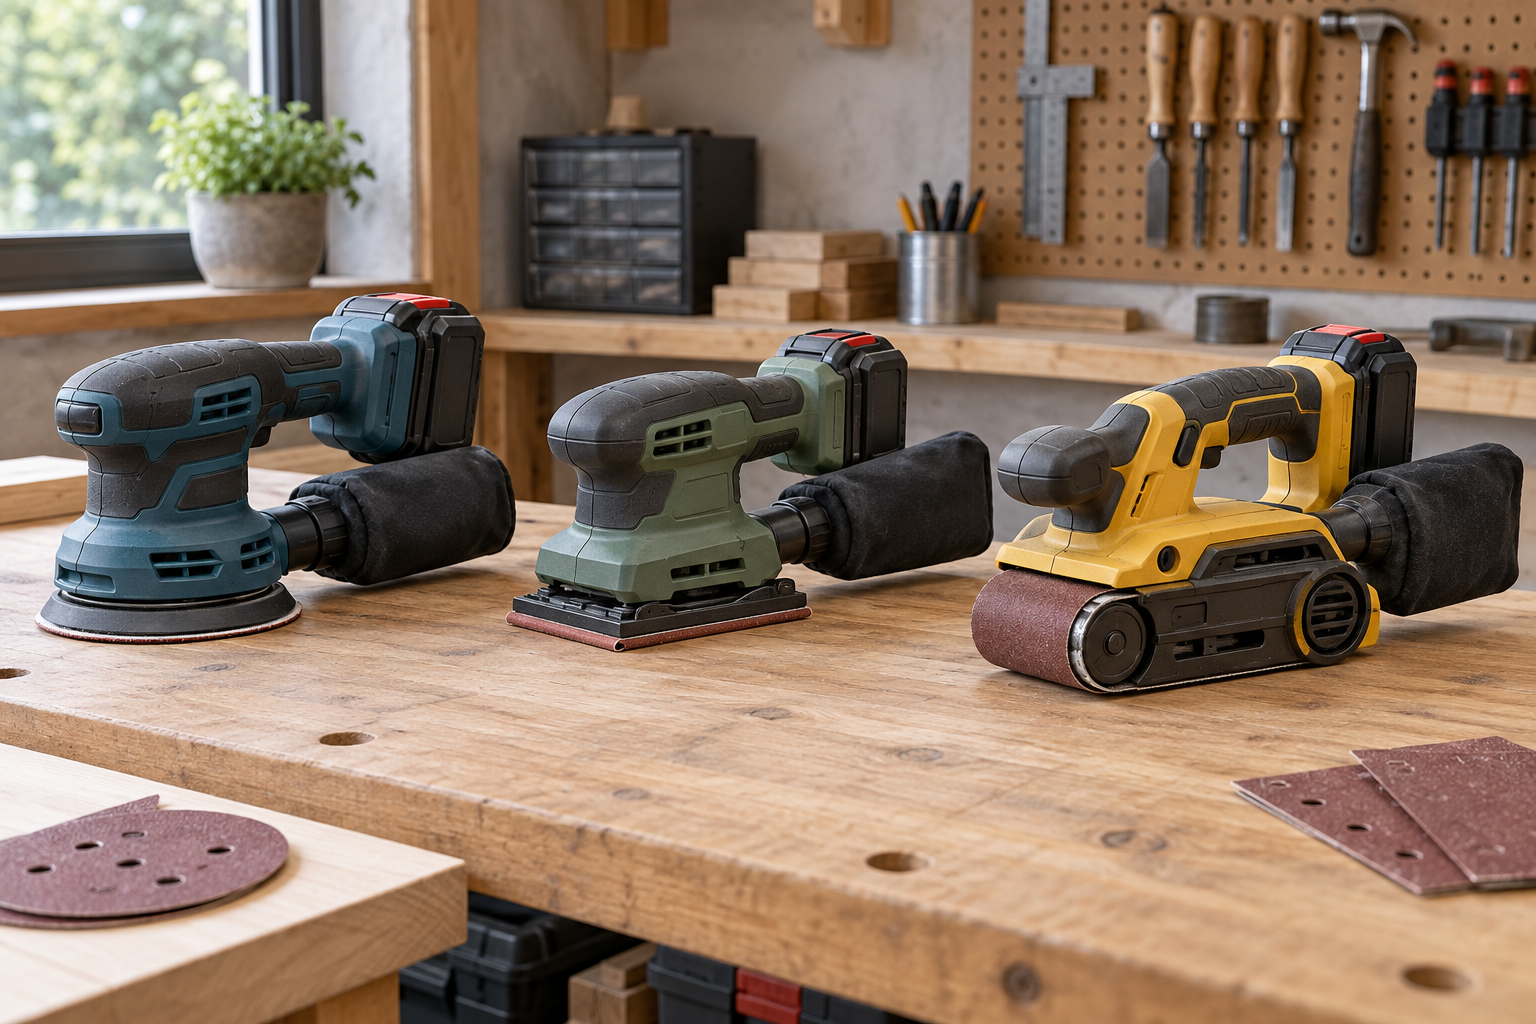
For most shops, the best purchase is a cordless 5-inch random-orbit sander. Its random pattern reduces visible swirl marks and removes material faster than a finishing sander. It is suitable for broad rails, stiles, filler strips, and assembled frames.
A cordless detail or corner sander is useful when the face frame has inside corners that a round pad cannot reach. It is slower and usually leaves more noticeable scratch patterns, so it should be a supplementary tool rather than your only sander. A cordless detail sander makes sense if you regularly build face frames around inset doors, narrow dividers, or complicated furniture parts.
Sheet sanders with a rectangular pad can produce clean results on flat surfaces, but their clamps or hook-and-loop sheets are less convenient for quick grit changes. They are also more likely to leave linear scratch marks if you dwell in one spot. A cordless belt sander removes too much material too quickly for normal face-frame preparation and can destroy a flush joint in seconds.
| Sander type | Best use | Main drawback |
|---|---|---|
| 5-inch random orbit | General face-frame sanding and finish preparation | Cannot reach inside corners |
| Detail or corner sander | Inside corners and narrow areas | Slower and easier to over-sand edges |
| 1/4-sheet finishing sander | Controlled final sanding on flat parts | Less aggressive and slower grit changes |
| Belt sander | Heavy stock removal before assembly | Too aggressive for normal face-frame sanding |
Choosing a Battery Platform
The best cordless sander is often the one that matches batteries you already own. If you have no batteries, compare the cost of the tool, charger, and at least two useful battery sizes rather than comparing bare-tool prices. A cheap bare tool can become expensive once a charger and battery are added.
Compact 18V and 20V systems typically offer the strongest selection of sanders, saws, drills, lights, and dust extractors. Their batteries are interchangeable within that brand’s voltage platform, but “20V” and “18V” tools from different brands are not compatible. Do not try adapters unless you accept the possibility of poor fit, lost warranty coverage, or battery protection problems.
For occasional cabinet work, a kit with one compact battery and a charger is sufficient. For production work, two batteries prevent the sander from becoming a bottleneck. Charging a small pack usually takes less than an hour on a standard charger, while high-output fast chargers can reduce downtime but add cost and heat.
If you are starting from zero, compare a cordless random-orbit sander kit with battery and charger against a bare tool on the platform you expect to use for future saws and drills. The cheaper option is fine when you are sanding one project a year. Paying more for a broad ecosystem is justified when you will add several cordless tools.
How to Sand a Face Frame Without Damage
Start with 80 or 100 grit only when the joints are proud, glue squeeze-out remains, or the wood has machine marks. Otherwise begin at 120 grit. Move to 150 grit and then 180 grit for most painted or clear-finished hardwoods. Going beyond 180 or 220 grit before painting can reduce adhesion on some primers, while stopping at 120 can leave scratches visible under clear finish.
Keep the pad flat and let the tool’s weight do the work. Pressing down slows the pad, overheats the abrasive, and creates uneven patches. Make overlapping passes at a steady pace, then inspect the surface under a bright light. A random-orbit sander can remove a surprising amount from a soft edge if you pause for even two or three seconds.
Sand rails and stiles separately before assembly whenever possible. After assembly, use a sanding block or the sander’s edge very carefully near inside corners. Do not chase a deep dent with a power sander; you may create a dish around it. Raise the wood fibers with a lightly damp cloth after the first sanding pass, let the part dry, and sand again with the next grit.
Common Failure Modes
The most common mistake is using a dull disc too long. A clogged disc generates heat instead of cutting, especially on pine, MDF primer, and finish residue. Replace it when sanding slows noticeably or the surface becomes hot. Cheap discs are acceptable for rough 80-grit work, but better discs usually save time at 150 and 180 grit.
Another problem is poor pad alignment. A disc that overhangs the pad can tear, catch an edge, and damage the hook-and-loop surface. Center each disc carefully and keep the pad clean. If the sander vibrates heavily, stop immediately; an off-center disc, damaged pad, or packed dust port can ruin the finish.
For the best balance of speed, control, and battery practicality, buy a 5-inch cordless random-orbit sander on a platform you will actually keep using. Add a detail sander only when your cabinet designs demand inside-corner access. That combination handles nearly every face-frame task without paying for a specialized tool that spends most of its time in a drawer.
Related guides
- Longest Lasting Lawn Mower Battery: AGM vs Lithium vs Flooded Lifespan and Cost per Season
- Duralast Gold Lawn Mower Battery Review: U1 Fit, CCA and When to Pay for AGM
- Greenworks Pro 80V 21-Inch Mower Review: Runtime Math, Push vs Self-Propelled and Yard Fit
- Bosch High Pressure Washer Gun Replacement: Fittings, Adapters and What Fits Your Model