Our Top Picks
 Wood Carving Kit Whittling Kit: Wood Carving KnifeWiddle Kit6 x 4 x 8 inches2.3 PoundsCheck on Amazon
 HURRICANE 4 Piece Wood Chisel Set for Woodworking.Regular Grip7.87 x 4.72 x 1.38 inchesCheck on Amazon
 Cordless Drill Impact Driver Brushless Power Tool ComboSmall5.5 x 2 x 8 inches2.1 poundsCheck on Amazon


What's inside
As an Amazon Associate I earn from qualifying purchases. This post may contain affiliate links at no extra cost to you.
The standard beginner woodworking list opens with a table saw, a jointer and a planer, and costs about $3,000. That advice has stopped more people from starting than it has helped. You can build genuinely good furniture with five tools and a bit of patience.
The list below is a purchase order, not a ranking by price or by how satisfying the tool is to use. Each entry unlocks a category of work you could not do the day before, which is the only test that matters when you are trying to finish a first project rather than assemble a shop. Buy in this sequence and you always have a complete, working setup instead of a half-shop waiting on one more machine.
As an Amazon Associate we earn from qualifying purchases at no extra cost to you.


Under each tool I have said which specifications are worth paying for, which are marketing, and where the cheap version is genuinely fine. Knowing which corners are safe to cut is most of what separates a good starter kit from an expensive pile of regret.
Here they are, in buying order.
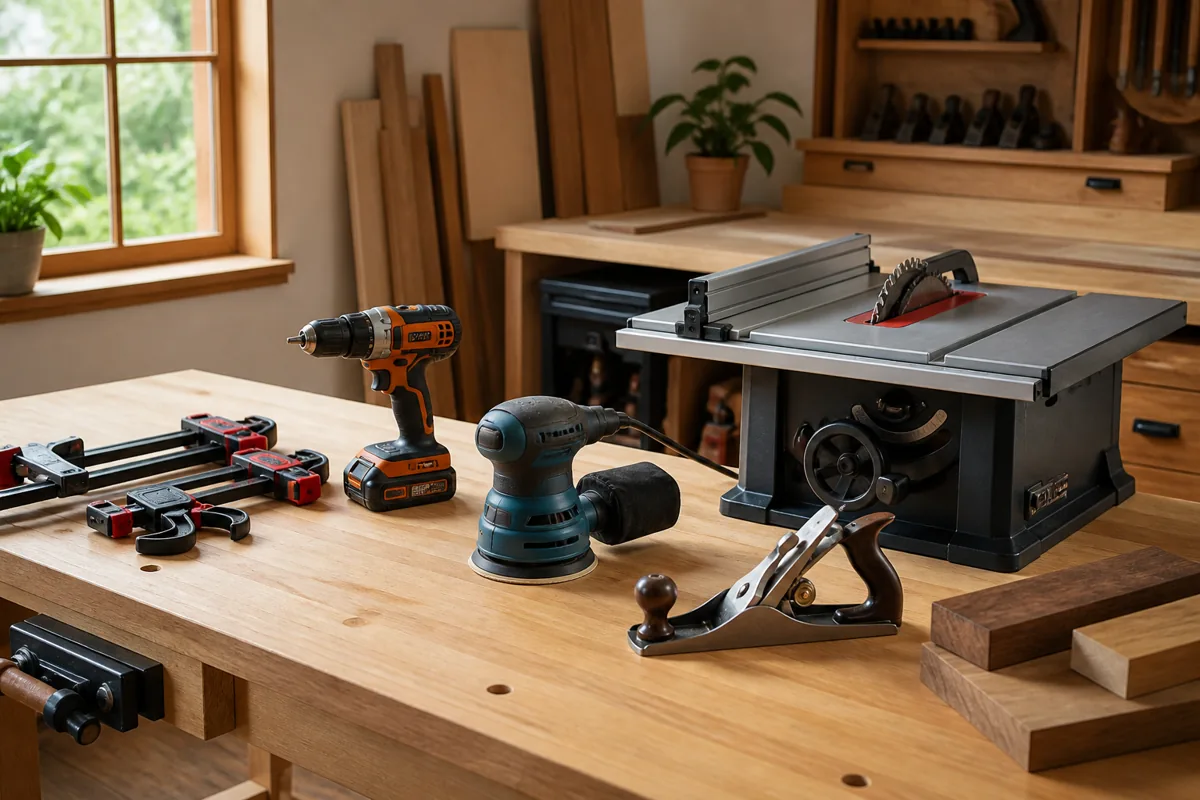
The five tools, in buying order
1. Cordless drill/driver
Assembly, pilot holes, pocket screws, sanding attachments. Nothing gets built without it. Compact, brushless, two batteries.
The decision that actually matters is the battery platform, not the drill. You will buy bare tools inside whichever system you choose for years, so pick a mainstream line that also sells a sander, a circular saw and a router, then buy your drill there. Changing platforms later means paying for batteries and chargers twice.
Weigh brushless and a second battery above headline torque numbers: brushless runs cooler through a long assembly session, and a spare pack keeps you working. A short head length helps inside cabinet carcases, and a clutch with usable low settings stops you snapping screws in softwood. An entry-level brushed drill is fine if you build twice a year; anyone working most weekends should buy mid-tier brushless and skip the fifteen-piece bundle built around a flashlight.
Brushless drill/driver kits
Keep it simple — you do not need a hammer drill for woodworking.
2. Circular saw plus a straight-edge guide
This is the piece of advice that saves beginners a thousand dollars. A decent circular saw running along a clamped straight edge cuts sheet goods as accurately as a table saw for most furniture work — and it stores against a wall.
Accuracy comes from the shoe, not the motor. A thick, flat, rigid base plate stays true along a guide, while a thin stamped shoe flexes and wanders — the clearest difference between a bad budget saw and a good one. Then change the blade. A fine-tooth crosscut blade in a cheap saw beats the stock blade in an expensive one and costs less than a pack of sanding discs. A full-size saw suits thick stock; a lighter cordless model is easier to control on plywood, which is most beginner work.
Two mistakes cause most bad cuts. The first is forgetting the offset between the blade and the edge of the shoe when you clamp the guide — measure it once and write it on the saw. The second is resting a sheet on two sawhorses so the offcut sags, closes the kerf and binds the blade. Cut over rigid foam or a grid of scrap lumber so both halves stay supported all the way through.
Circular saw and guide rail
Add a clamp-on straight edge and you have a poor man’s track saw. Upgrade to a real track saw later if woodworking sticks.
3. Random orbital sander
Finish quality is 80% surface preparation. A 5-inch random orbital sander and a stack of discs from 80 to 220 grit will do more for your results than any machine costing five times as much.
This is the tool you hold longest, so comfort and vibration outrank power. Cheap sanders numb your hands in twenty minutes and let the pad wobble, leaving faint swirls that only show up once finish goes on. Judge three things: how it feels running, whether the pad still grips discs after heavy use, and whether the dust port fits a shop vacuum hose rather than a token bag. A mid-range corded sander or a platform-matched cordless suits nearly everyone.
Skipping grits is the classic error — jumping from 80 straight to 220 hides scratches instead of removing them. Work through the range, let the tool’s own weight do the cutting rather than leaning on it, keep the pad flat instead of tipping it onto an edge, and change discs before they stop cutting.
Random orbital sander + disc packs
Buy more discs than you think. Worn abrasive is the most common cause of bad finishes.
4. Clamps — more than feels reasonable
Every woodworker’s regret is the same: not enough clamps. Start with four 24-inch bar clamps and four smaller F-clamps. Add more constantly.
Count beats brand. Parallel-jaw clamps are the nicest thing to own because their heads stay square and help pull a case together true, but pipe clamps give the most length per dollar and take longer pipe whenever a project demands it. Keep light quick-grip clamps for holding a guide rail or a jig, not for glue-ups — they flex well before they generate real pressure.
Choose lengths against the widest panel you expect to glue, plus a few inches for the heads; four clamps of the right length beat eight that are too short. Alternate them above and below a panel to keep it flat, add cauls across the ends, and dry-fit the whole assembly with clamps in place before glue touches wood.
Bar clamp sets
Glue-ups fail for lack of clamping pressure in the right places. This is the least glamorous, most useful money in the shop.
5. A compact router
Round-overs, dados, edge profiles, template work. The tool that starts making your projects look finished rather than assembled.
A trim-size router handles most beginner work one-handed: round-overs, chamfers, flush-trimming edge banding, hinge mortises, small dados against a guide. A two-horsepower machine only earns its space once you build a router table or run large panel bits, and that is a later problem. What to weigh: a depth adjustment you can nudge in small, repeatable increments, a clear base and dust shroud so you can see the cut, and a sub-base that accepts a guide bushing.
Buy fewer, better bits. Carbide-tipped round-over, straight, flush-trim and chamfer bits cover a year of projects, whereas the thirty-piece bargain sets bury four useful profiles in soft steel. Respect the direction of cut by feeding against the bit’s rotation, take shallow passes instead of full depth in one go, and rout end grain first so the long-grain pass afterwards cleans up any tear-out.
Compact routers with edge guide
Variable speed, soft start, and a plunge base if the budget allows. Add a basic bit set — round-over, straight, flush trim.
Where to spend and where to save
Money in a first shop works better spread than concentrated:
- Spend on the battery platform, save on the drill. The platform sets every price you pay afterwards.
- Save on the circular saw, spend on the blade and the guide. Both cost little and do most of the work.
- Spend on the sander. Grip, a flat pad and real dust extraction show up on every finished surface.
- Save on clamp brand, spend on clamp count. Nobody has regretted an extra pair.
- Save on router size, spend on router bits. Dull steel burns wood; sharp carbide cuts it.
What to skip at the start
None of these are bad tools. They simply do not remove a bottleneck between you and a finished piece in the first year, and each one costs money and floor space you would rather put into materials.
- ✘ Table saw — expensive, space-hungry, replaceable with a guided circular saw early on
- ✘ Jointer and planer — buy lumber pre-surfaced until you know you need them
- ✘ Domino or biscuit joiners — pocket screws and dowels work fine for a first year
- ✘ Expensive chisel sets — two good chisels beat eight mediocre ones
What actually improves your work fastest
Skill compounds faster than equipment. Everything below is cheap or free, and each one changes the next project rather than the next purchase.
- ✔ Learning to sharpen — a sharp $20 chisel beats a dull $80 one
- ✔ Better lumber, milled flat before you start
- ✔ More clamps
- ✔ Working slowly on layout and marking
- ✔ Finishing practice on offcuts before the real piece
FAQ
What is a realistic starting budget? $400–700 covers all five tools if you buy sensibly and catch a combo kit on sale. Spread the purchases over a few months and let each one arrive when a project actually needs it.
Can I really work without a table saw? Yes, for a year or more. Many furniture makers work primarily from a track saw and a router. A guided circular saw is slower for repeat rips, so you plan cuts more carefully — not a bad habit to learn early.
Corded or cordless? Cordless for the drill, no argument. For the saw and sander it depends on the space: cordless if you work in a driveway or a garage bay with one outlet, corded if you have power at the bench and would rather not tie up batteries during long sanding sessions.
What should my first project be? Something with a flat top and four legs that you will use daily. A workbench, ideally — you learn joinery and you end up with the thing every other project needs.
Buy the five in order, add clamps whenever you see a sale, and let the projects tell you what the sixth tool should be. That choice gets much easier once you have built something and know exactly which step slowed you down.
See beginner tool prices →